
Outerwear Development / Sample Review
Jacket Zipper Waviness: Sample Checks Before Production
A wavy front zipper can interrupt the clean line of a jacket even when it opens and closes. Before asking for a different zipper, record where the wave appears, when it becomes visible and which materials surround it. Zipper tape, shell fabric, facings, lining and assembly can all be relevant to the investigation.
For an autumn or winter collection, the useful outcome is a repeatable sample review: a clear description of the concern, an agreed correction and a retained approval record. A photograph alone cannot establish the cause.
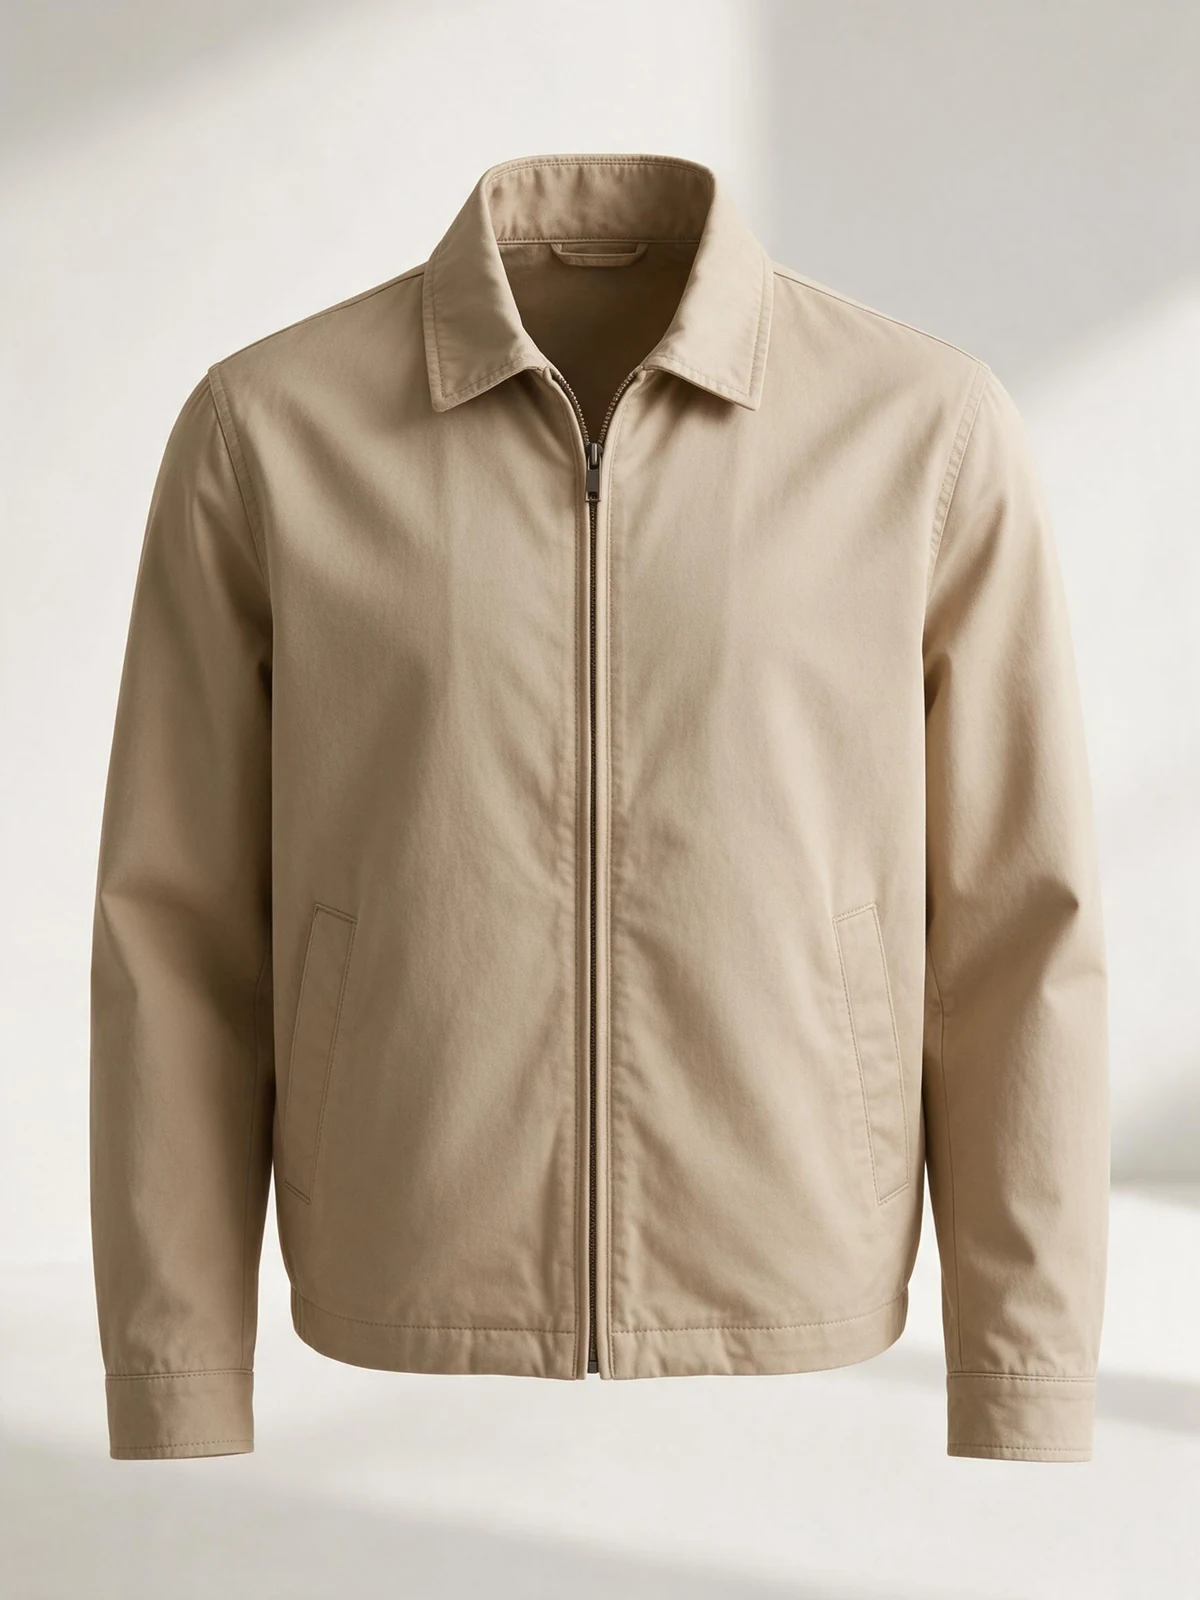
1. Record the waviness before changing the sample
Record the location, garment condition and timing of the waviness before deciding what needs to change.
Separate the appearance from the diagnosis
Look at the whole closed front, then the area beside the zipper. Does the zipper line bend away from the body? Are there small wrinkles concentrated along the stitching? Does the front sit unevenly only when the jacket is worn? Describe what is visible without treating these observations as proof of one manufacturing fault.
Note whether the sample arrived that way or changed after wearing, pressing or the intended care process. Keep the sample reference and any earlier photographs together. Avoid stretching or ironing the area before recording it, because that changes the condition you are asking the supplier to review.
Make comparisons repeatable
Photograph the entire jacket and the affected section. Use consistent support, lighting and camera angle; identify whether the zipper is open or closed. Compare the jacket laid flat with it hanging naturally, without pulling the hem to straighten it. Record which condition makes the concern visible.
A useful comment might read: “With the sample closed and hanging freely, the lower front forms a wave beside the zipper. Please review this area against the retained reference and report the proposed correction.” This is an example of wording, not a reported customer case.
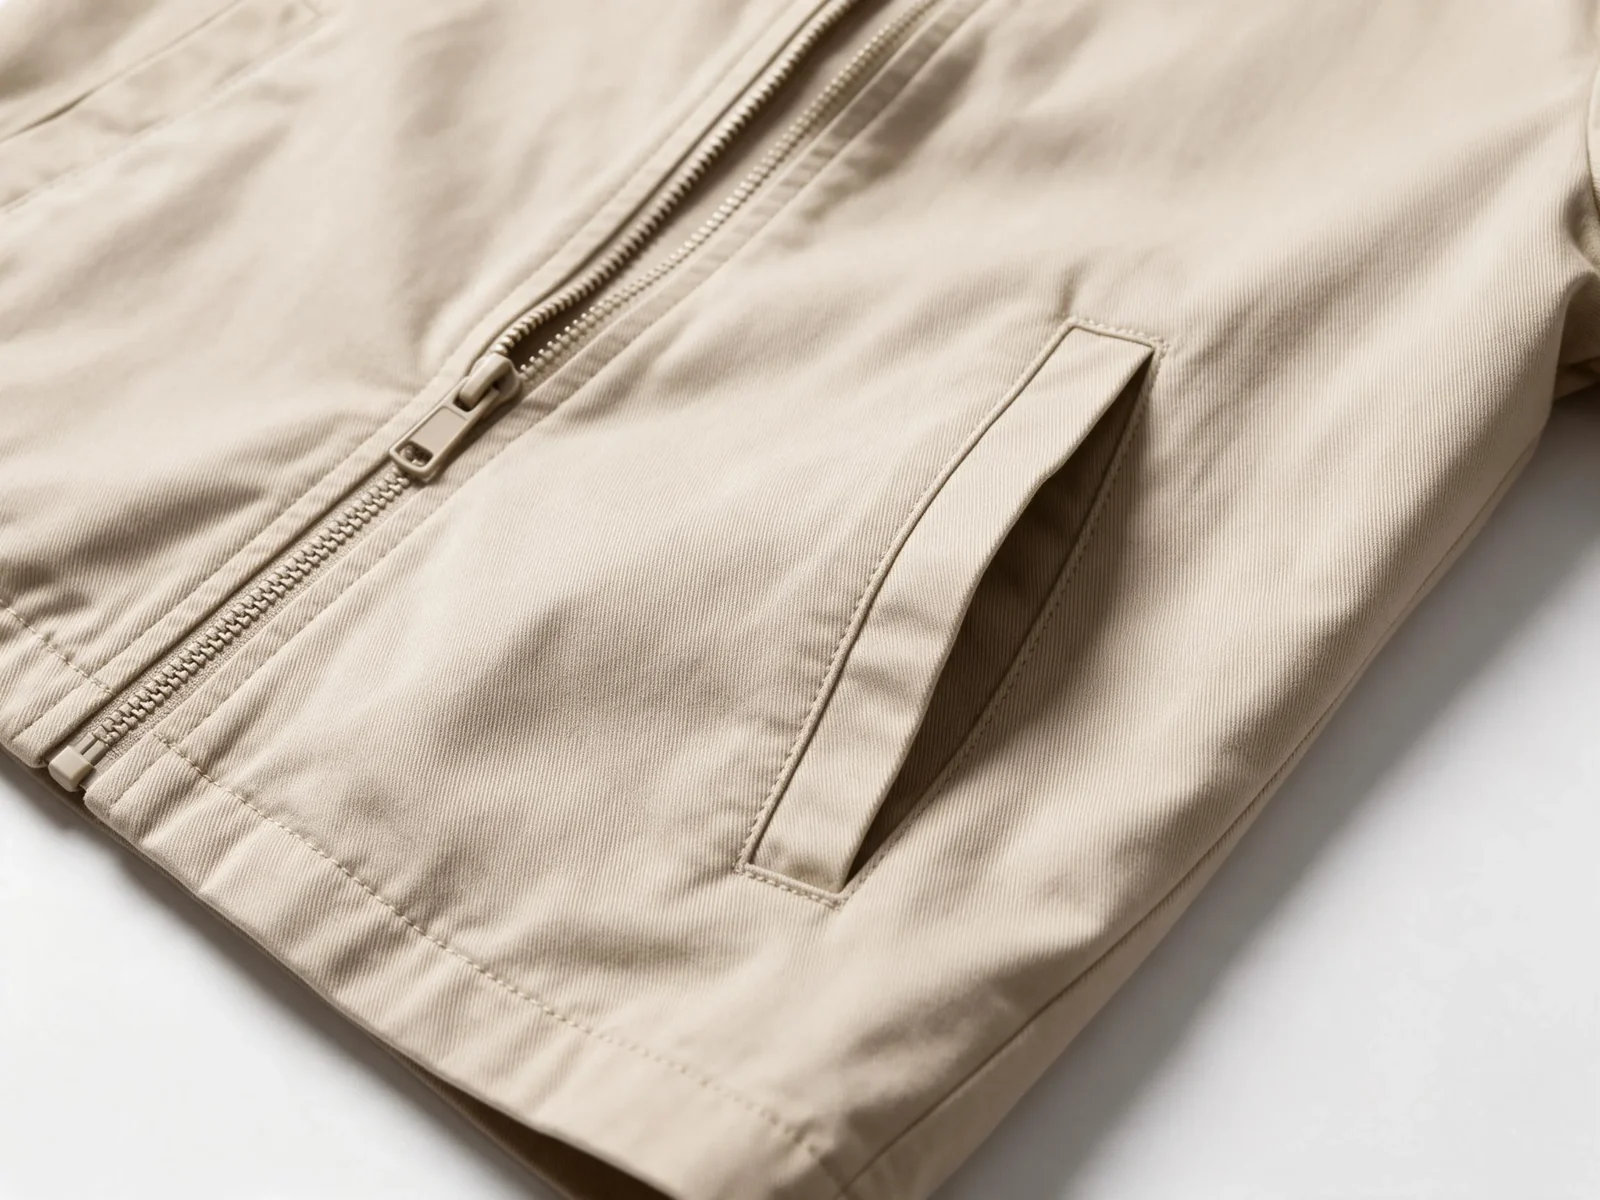
2. Check the zipper and fabric as one assembly
Identify the actual zipper, fabric and supporting layers before comparing their behaviour or approving a replacement.
Confirm the component references
“Use a better zipper” leaves too much open. Record the zipper supplier reference, type, specified length, tape colour and opening arrangement. Identify the shell, facing, lining and any interfacing used beside it. Keep the sample revision attached to those references so the buyer and sample maker are discussing the same combination.
The tech-pack guide explains how to connect these components to construction details and placement. For this review, include the zipper ends, adjacent seams and any intended placket. A similar-looking substitute can still require a fresh sample check.
| Review area | Information to request |
|---|---|
| Zipper and tape | Exact component reference and any substitution made during sampling |
| Shell and facing | Material references, grain direction and preparation used before assembly |
| Supporting layers | Interfacing or lining specification and how each is attached |
| Care and finishing | Conditions applied to the sample and when the waviness appeared |
Ask about dimensional compatibility
Ask whether the components remain compatible through the proposed care and finishing process. Different dimensional changes are one possible line of investigation; they are not a conclusion drawn from a wavy photograph. Request relevant observations on the actual materials and on a representative assembled sample.
If washing or drying changed the appearance, use the fabric shrinkage review to frame the discussion. A fabric result alone does not establish the behaviour of the complete zipper assembly. Do not choose a universal shrinkage allowance or simply lengthen one component without reviewing the construction.
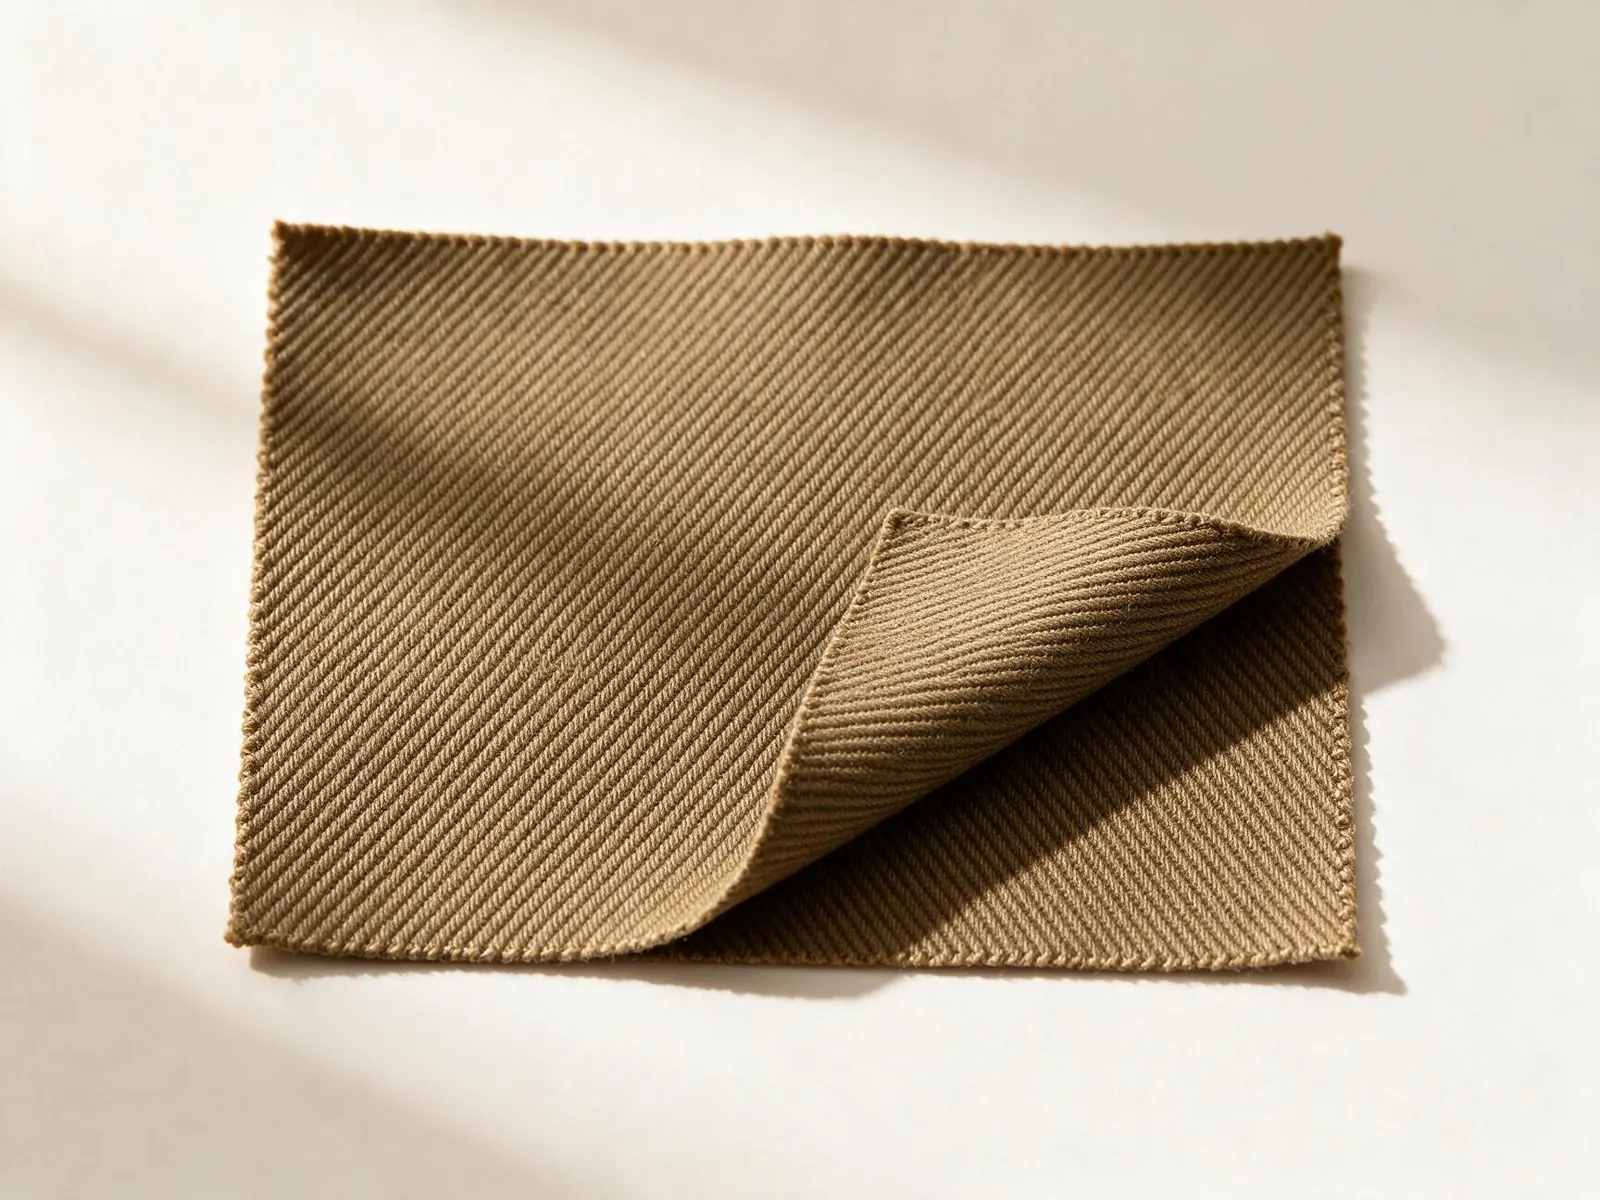
3. Review sewing, pressing and layered fit separately
Ask the sample team to investigate assembly and fit in separate steps so the correction addresses the observed problem.
Review the assembly process
Ask how the zipper tape and garment edge were held and fed during sewing, whether alignment points were followed, and whether either part was stretched. The team can also review stitching, the support beside the opening and any pull from an attached facing or lining. These are areas to investigate, not a remote diagnosis of incorrect machine settings.
Pressing may change how the front looks. Request observations before and after the intended finishing process, with the conditions recorded. A flatter photograph after pressing is not enough to demonstrate that the concern will remain resolved through handling or the agreed care process. Do not ask for extra heat without checking the materials and finish.
Recheck the intended winter layers
A jacket that lies flat can behave differently over a sweatshirt or other mid-layer. Close it over the intended clothing and review the front during ordinary reaching and sitting. Record whether the concern appears only in that situation, and whether there is restriction around the chest, shoulder or sleeve.
Discuss those observations with the pattern and sample team before changing the zipper. The Fall/Winter development guide covers the broader relationship between layers, materials and fit. Keep the zipper review focused on how that particular opening behaves in the intended garment.
4. Approve a corrected sample with a written record
Approve a named sample revision against agreed review conditions, and retain the information needed to reproduce that decision.
Agree what counts as acceptable
Define how the appearance will be reviewed: sample support, zipper position, intended underlayers and any agreed care or finishing stage. Use a retained reference where available. Normal folds during movement and an unacceptable persistent wave should be discussed explicitly; “perfectly flat in every photograph” is not a useful universal requirement.
Check appearance and operation as separate items. Observe whether the zipper engages and moves as intended, whether fabric catches, and whether nearby construction interferes. When the product brief requires formal durability or other performance testing, agree the method and acceptance criteria separately. An informal opening-and-closing check is not a test report.
Keep the revision traceable
The correction record should answer four questions:
- What was observed, and under which conditions?
- Which component, construction detail or process changed?
- How was the revised sample reviewed?
- Which sample and document versions received approval?
Retain the original concern and the revised result together. If the shell, zipper, facing or relevant finishing process changes again, review whether the earlier approval still applies. The clothing sampling process guide provides the wider approval sequence. A signed comment sheet should identify the approved version clearly enough that production does not follow an earlier specification.
5. Build the zipper review into your outerwear brief
Send the style context and the observed concern together so the development discussion starts with usable information.
For a new project, provide the jacket reference or tech pack, intended market and layering, fabric direction, zipper arrangement and proposed care instructions. Include the target delivery timing and relevant artwork or branding requirements. If a sample already exists, add its revision, full-garment photographs, detail photographs and a description of what happened before the waviness appeared.
Specify the result you want reviewed, such as a consistent front appearance when the jacket is closed over its intended mid-layer. Leave the technical correction open for investigation instead of prescribing a replacement component from a photograph.
GoVoloom’s custom outerwear page provides the product context for this discussion. Send your outerwear brief with the available references and open questions. The next step is to clarify the development requirements and sample review scope before agreeing the production specification.
For pulling inside the jacket, use the jacket lining sample review checklist to record the affected area, attachment questions and revision conditions.