
Adult Streetwear · Trim Development
Zip-Up Hoodie Zipper Specification: One-Way vs Two-Way
Specify a zip-up hoodie zipper by its opening arrangement, exact component reference, length convention and position in the garment. Choose a one-way separating zipper when the front only needs to open from the top. Choose a two-way separating zipper when the wearer should also be able to open the lower front while keeping the upper section closed.
Those choices belong in the trim brief before sampling. A reference photograph can show the intended appearance, but it cannot confirm the opening mechanism, component size or performance. Use the steps below to turn that reference into instructions the sample team can check.
Choose how the front should open
Specify a separating zipper and describe the required opening action, rather than ordering by slider count alone.
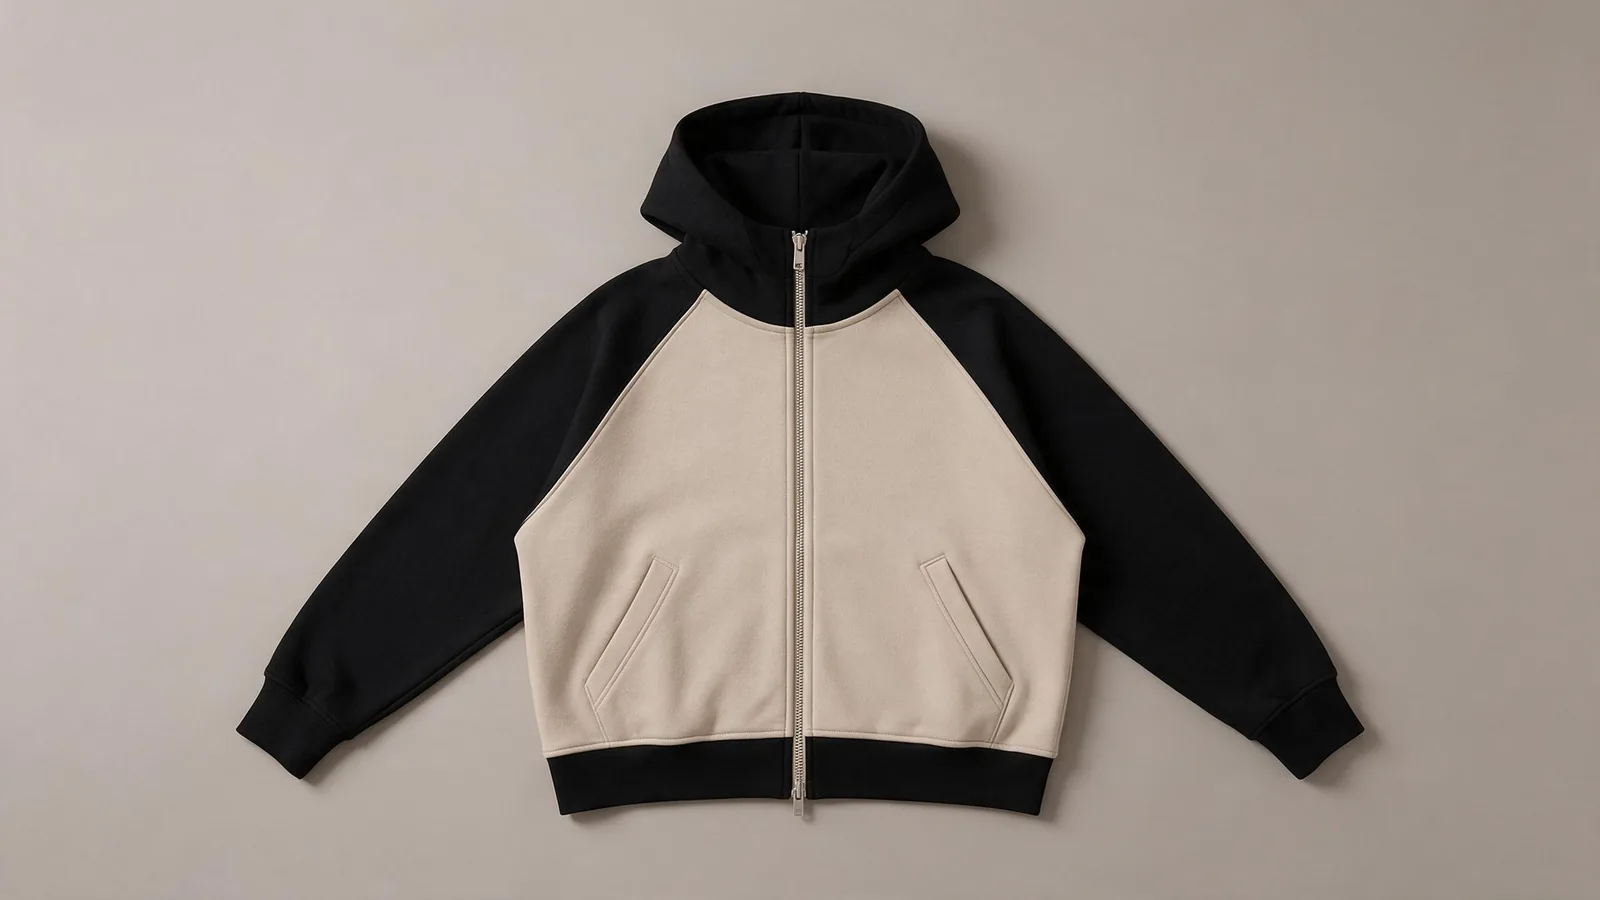
A full-front hoodie normally needs its two sides to separate at the bottom for dressing. A closed-end zipper keeps its bottom joined and suits a different opening. For a one-way separating arrangement, the slider travels upward to close the front and downward to open it. For a two-way separating arrangement, a second slider allows an opening from the hem.
“Double zipper” is too vague: two sliders can be arranged for different purposes. Show the desired closed front, lower opening and fully separated state on the drawing. Specify which side carries the insertion pin using wearer's left or right, rather than relying on a photograph's orientation.
A two-way arrangement can change how the lower front sits when seated or styled open. It does not automatically improve fit. Review the intended opening with the body length and ribbed or straight hoodie hem, then decide whether the extra opening serves the design.
Identify the chain, tape and puller separately
Give the zipper a complete component reference; a colour name or size number alone cannot define the trim.
Record the proposed chain construction, such as metal teeth, moulded teeth or a coil, with the supplier's article and size designation. Do not assume a number guarantees interchangeable dimensions or strength across component families. Ask the supplier to identify the exact matching zipper and slider assembly.
Specify tape colour, exposed tape width, slider appearance and puller shape separately. An antique-metal appearance describes a finish, not proof of material composition or durability. Likewise, a photograph cannot establish whether a slider locks. If locking behaviour matters, name the requirement and confirm the proposed component.
Keep the approved component reference in the tech pack bill of materials. Mark any sample substitute clearly. A temporary puller may help discuss appearance, but it does not approve the final component or its operation.
Separate zipper length from garment placement
Define both the supplier's zipper-length measurement and the zipper's endpoints in the finished hoodie.
Total tape length, the supplier's ordered zipper length and the garment's front opening are not interchangeable measurements. Ask for a component drawing that marks the ordered length's endpoints. Then mark where the upper stop and bottom assembly should sit relative to named finished seams or edges.
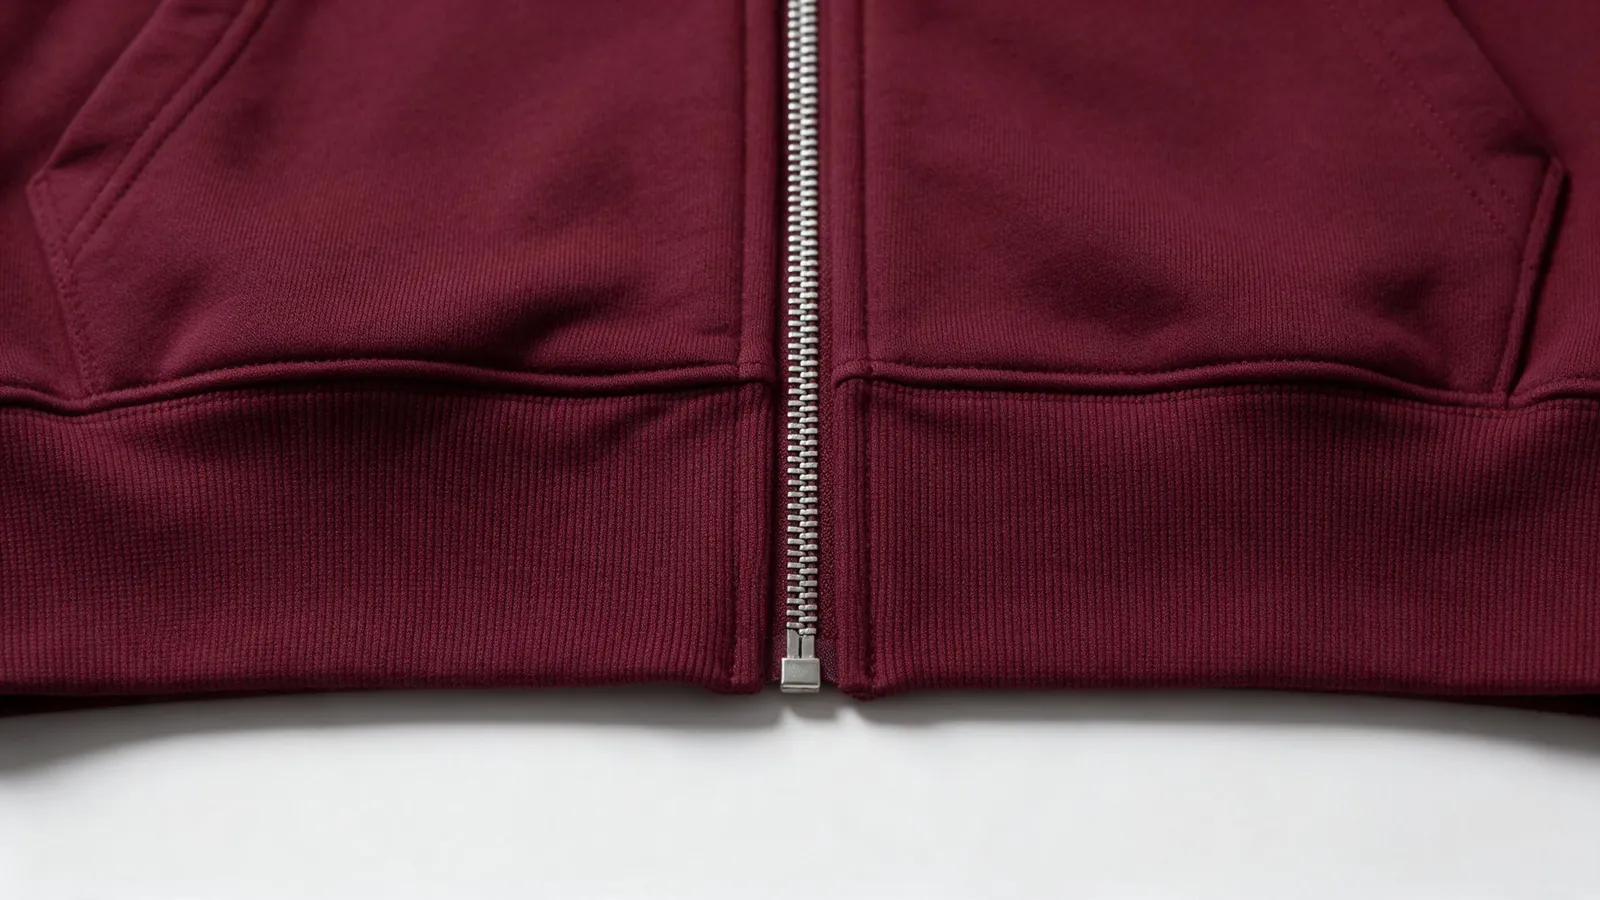
At the top, show the relationship to the neckline, hood seam and any protective fabric cover. At the bottom, show whether the opening continues through the rib band or finishes above another construction detail. Include the visible gap, if any, between the bottom assembly and finished hem.
Record units and the sample size. For the size range, confirm which zipper lengths are proposed and where the endpoints will land in each garment size. Do not silently increase zipper length by the body-length increment: the neckline, hem treatment and available component lengths also need agreement.
Review the zipper with its facing and hem
Check the assembled front from both sides, including the layers that can enter the slider path.
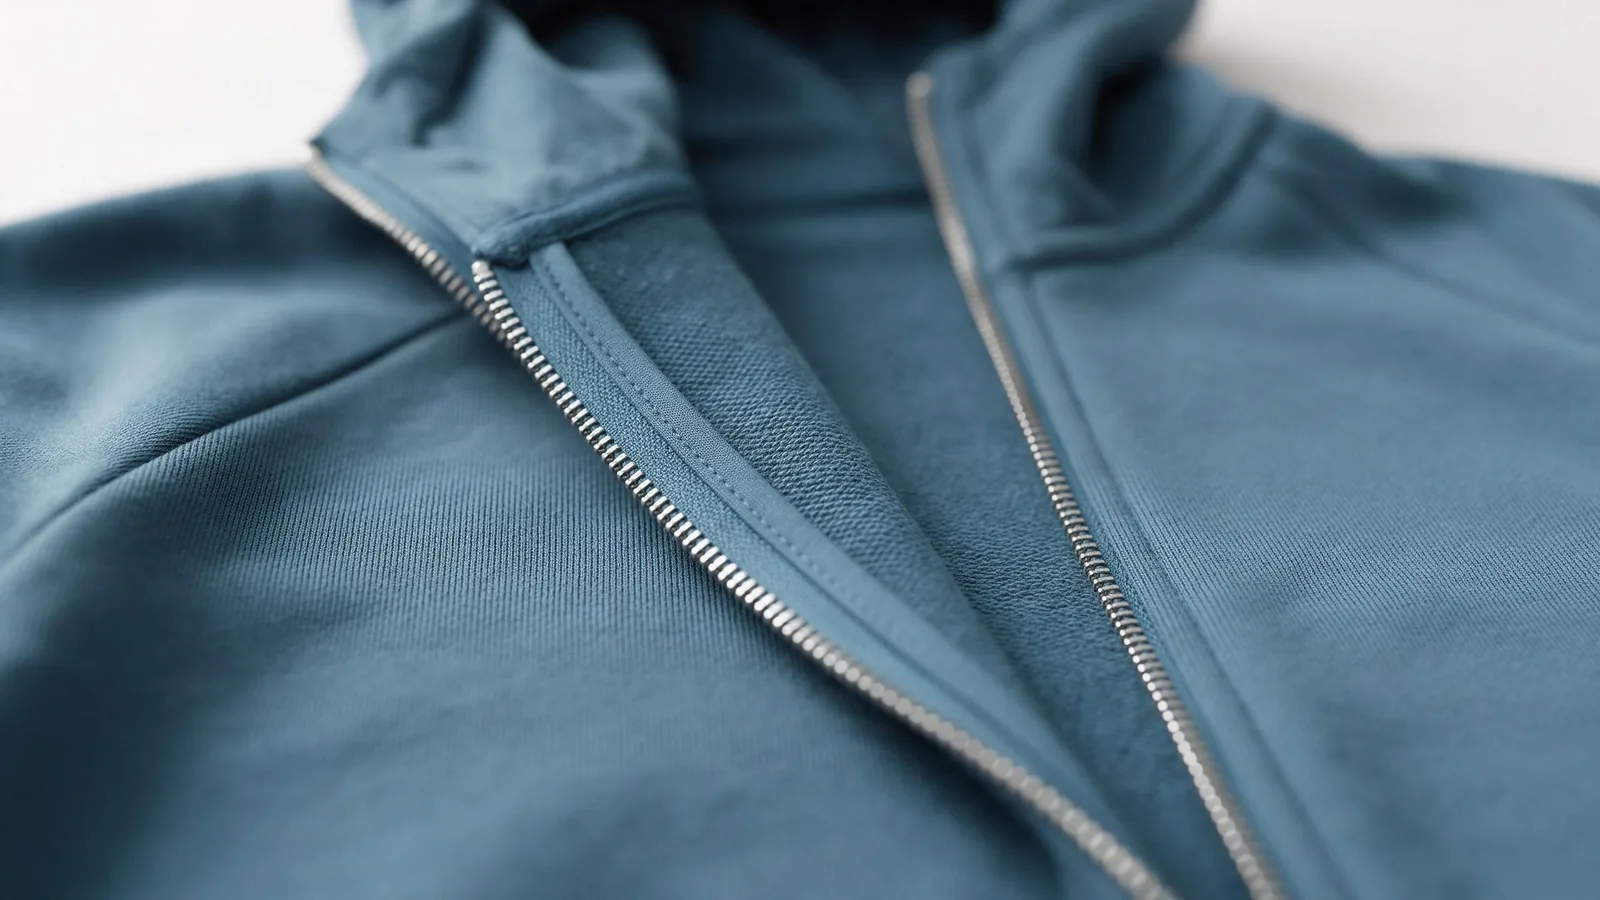
Draw the inside edge finish, facing or backing strip actually intended for the hoodie. Identify which layers sit behind the chain and how they attach. At the neckline and hem, show where those layers end. Do not add a lining or protective cover by assumption simply because another reference garment has one.
On the sample, check whether fabric catches during normal operation, whether the bottom can engage without forcing it and whether the puller is accessible. Review contact near the neck and the bulk where the zipper meets the hem. For a two-way version, check closing, lower opening and full separation using the supplier's operating instructions.
Record front alignment with the zipper closed and the garment supported consistently. If a wave or pull appears, use the zipper assembly review checklist to describe the observation and investigate the materials and assembly. A photograph alone cannot identify the cause.
Send one trim brief and keep approval traceable
Connect the selected zipper, placement drawing and sample decision to the same style and revision.
| Field | What to record |
|---|---|
| Opening | One-way or two-way separating; required opening states; insertion-pin side |
| Component | Supplier and article reference, chain construction and size designation, slider and puller |
| Appearance | Tape colour and visible width, component finish and agreed physical reference |
| Dimensions | Ordered-length convention, units, upper and lower placement endpoints, size-specific lengths |
| Assembly | Facing or backing, edge finish, neckline and hem junctions, adjacent seams |
| Approval | Sample ID, actual component used, appearance and operation checks, open questions |
Separate visual approval from any care or performance requirements. Agree the conditions and acceptance criteria for the intended garment; an informal opening-and-closing check is not a durability test. If the fabric, zipper or relevant finishing process changes, review the affected approvals again.
Follow the sample review sequence and retain dated comments with the component and garment versions. A useful revision instruction states the change and the features to preserve: for example, keep the approved puller appearance while revising the lower placement to match the updated drawing. This is an instruction format, not a completed customer case.
Questions before choosing a hoodie zipper
Resolve the opening, length and approval scope before committing to a component.
Is a two-way zipper always better for a hoodie?
No. Choose it when opening the lower front serves the intended wear or styling. Check its operation on the assembled sample; slider count alone does not establish fit, quality or durability.
Can I order the zipper using the hoodie body length?
Not without checking the endpoints. Define the supplier's ordered-length convention and the zipper's upper and lower positions in the garment. Body length and zipper length measure different things.
Can a zipper photograph replace a component reference?
A photograph can communicate appearance. Confirm the exact component, opening arrangement, dimensions and operation separately, and record any substitution used in the sample.
Start your hoodie development brief with front and back views, preferably a side view too, plus a reference size, fabric direction and fit requirements. Add the zipper decisions above using the project brief builder, or send your references and open questions. GoVoloom's MOQ is 100 pieces; component availability, sample scope, costs and timing require written confirmation for the project.