
Apparel Quality Control / Hoodie Development
Hoodie Measurement Tolerances: Agree the Rules Before Bulk
A hoodie can look right in a sample review and still cause a dispute when the finished order is measured. One person includes the cuff in sleeve length; another stops at the cuff attachment seam. One measures the rib hem relaxed; another pulls it flat. The figures disagree before anyone has established whether the garment is wrong.
A useful tolerance agreement defines the target, the measurement method, the garment condition and the permitted variation together. Here is how to write that agreement for a hoodie without turning an example number into a rule for every style.
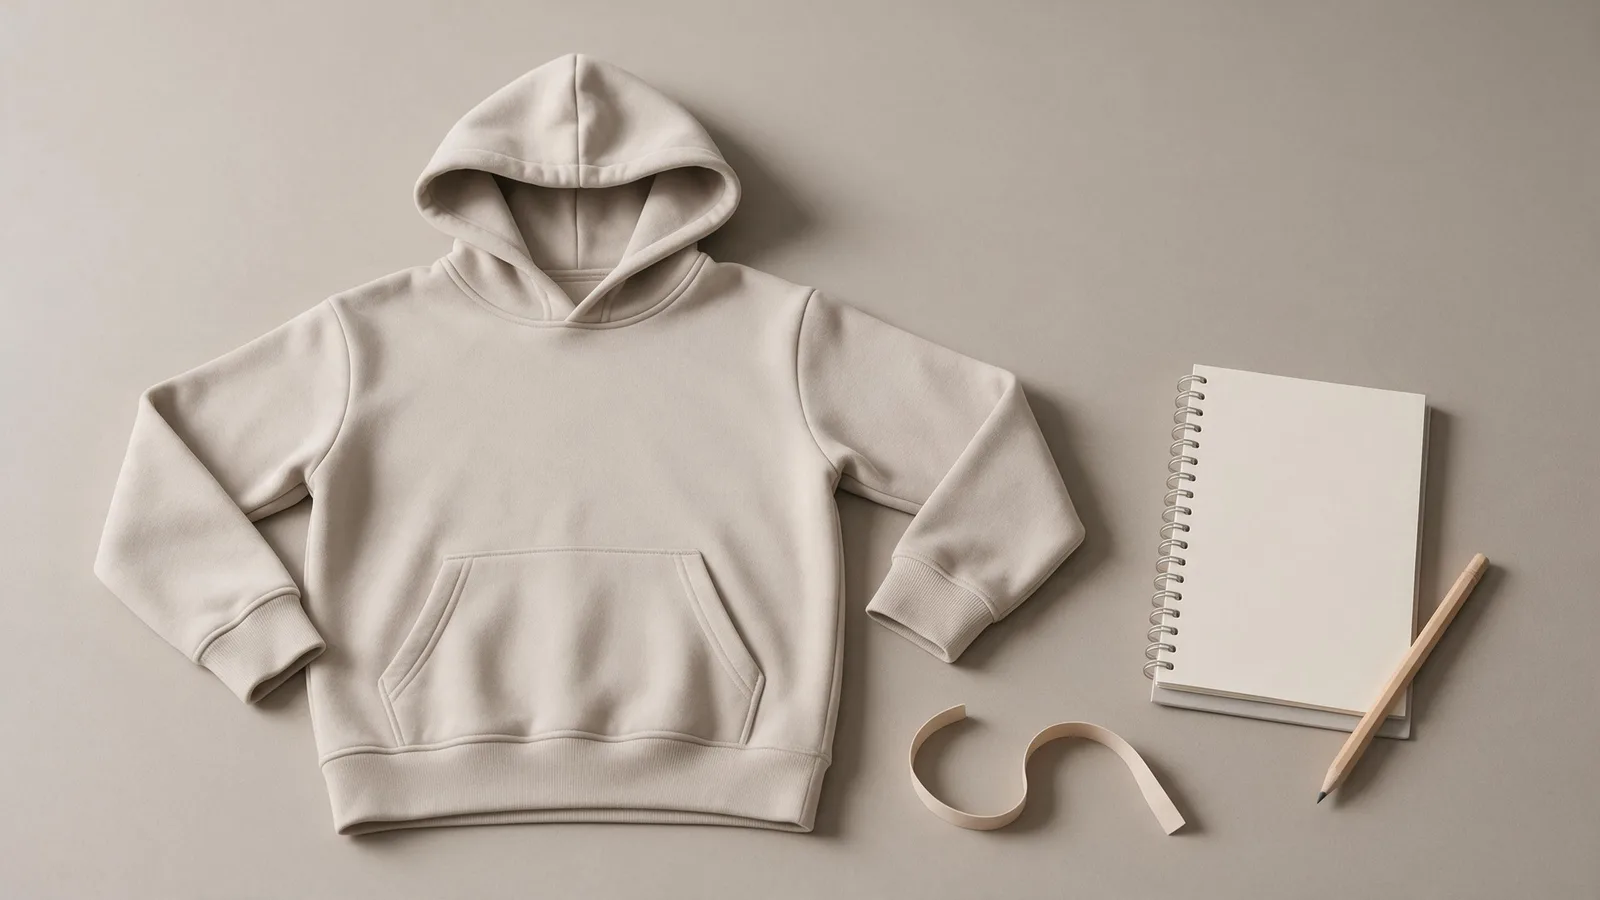
What does a hoodie measurement tolerance actually mean?
A measurement tolerance is the agreed permitted deviation from a specified garment dimension, measured under a defined method and condition.
For an arithmetic example only, suppose a hoodie has a target half-chest width of 60 cm and an agreed tolerance of ±1 cm. The permitted interval for that point is 59–61 cm, including its endpoints. A recorded width of 60.6 cm falls within that interval; 61.4 cm falls outside it. These figures explain the calculation. They are not recommended limits or a GoVoloom production specification.
The target still matters. A tolerance does not instruct the factory to aim for the largest or smallest acceptable garment. Nor does passing one chest measurement establish that the whole hoodie, or the shipment, is acceptable.
Keep the target separate from grading and shrinkage
Grading changes the intended dimensions between sizes. Tolerance describes permitted variation around a target within one size. Shrinkage is a reduction in dimensions after a specified treatment; dimensional-change testing can also record growth. Those are different decisions and belong in different fields.
A body chest circumference is also different from the half-chest width of a laid-flat garment. Label which measurement the chart uses and state the unit. Do not put a body measurement into a garment specification and assume the sample maker will add the intended ease.
Use one master unit throughout the approval record. If a second unit is shown, define the conversion and rounding rule so a borderline measurement does not change status merely because someone rounded a converted number.
Define the measurement method before setting the limit
Two people should be able to follow the written instruction and measure the same point in the same way.
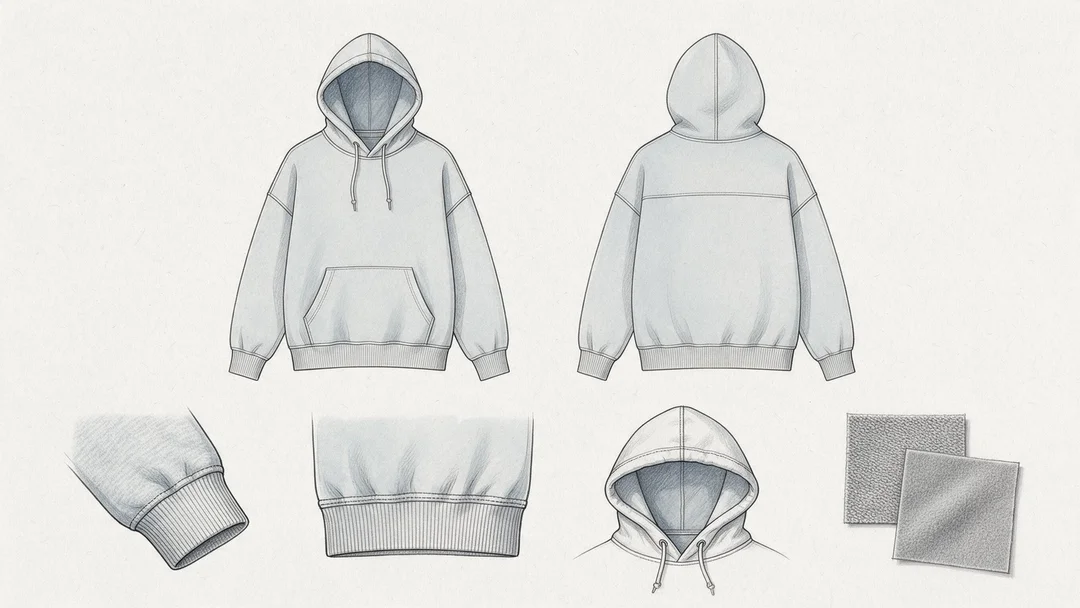
“Chest,” “length” and “sleeve” are useful labels, but incomplete instructions. Each point of measurement needs a start point, an end point and a path. A drawing in the tech pack should identify those locations on the actual style. A general hoodie illustration cannot do that job for every construction.
Record the garment condition
State whether the chart applies before or after garment washing, finishing or another agreed treatment. Lay the hoodie on a suitable flat surface, remove unintended folds and avoid stretching it unless the instruction specifically calls for a controlled stretch measurement. Record the agreed handling and relaxation conditions; do not compare a garment just removed from tight packaging with one prepared differently.
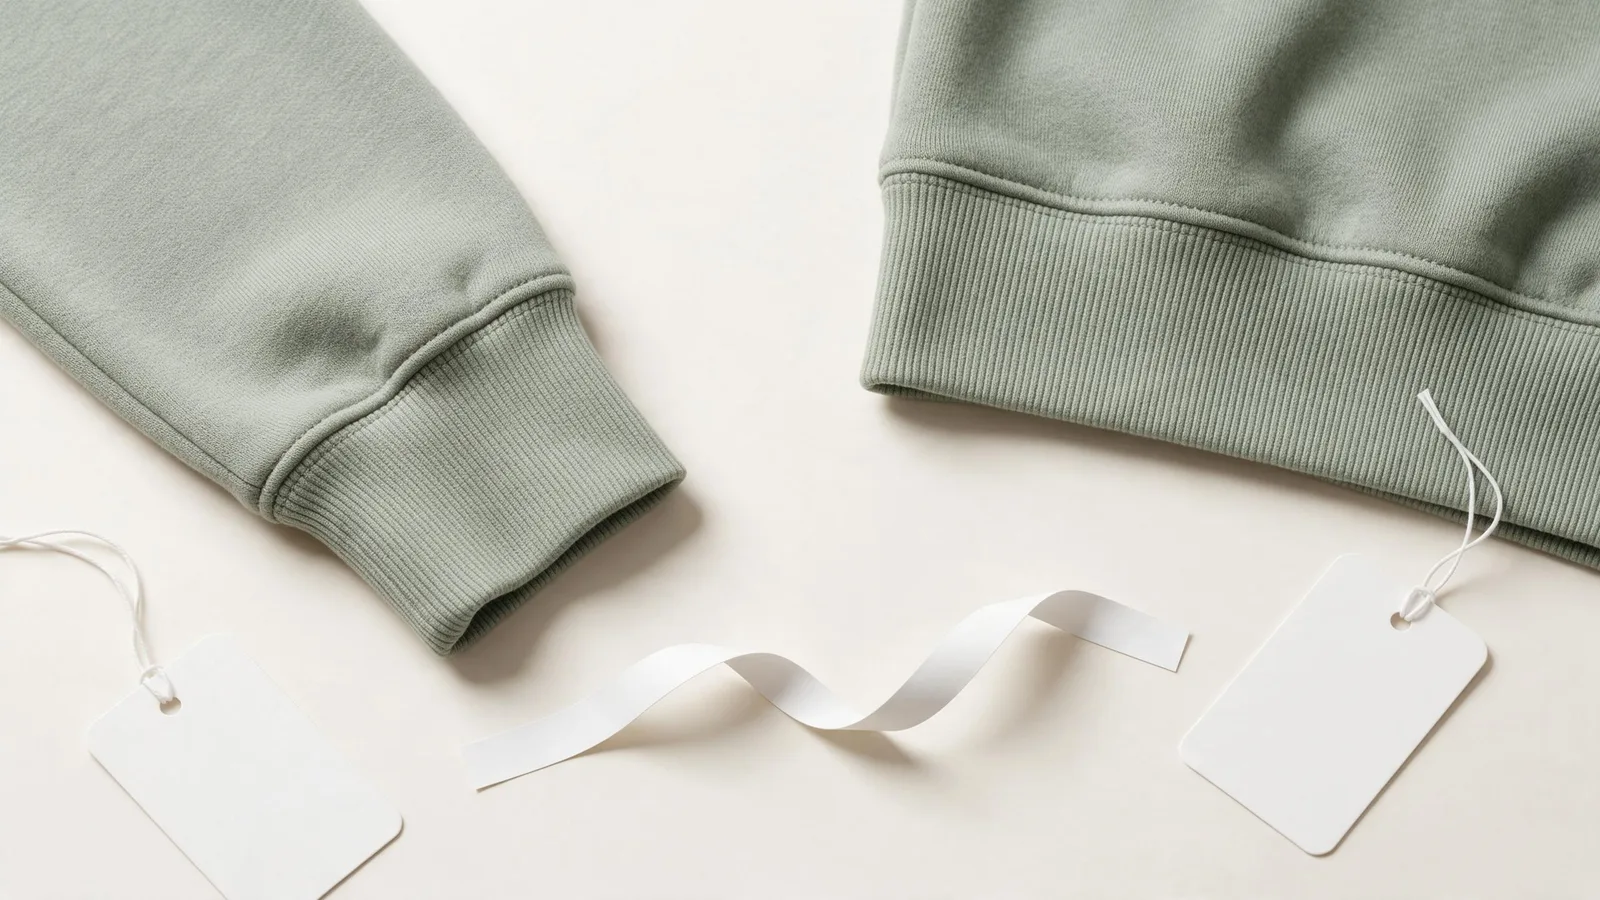
For a zip hoodie, specify whether the zip is closed. For rib openings, identify whether the reading is taken relaxed. A stretched opening requires a defined method; “pull firmly” is not a reproducible instruction. Keep pre-treatment acceptance separate from the fabric and garment shrinkage review.
Give each point an unambiguous instruction
Use the following prompts to complete the style-specific measurement sheet. They are fields to agree, not universal measuring rules.
| Measurement point | Detail to define before approval |
|---|---|
| Half chest | Exact level below the armhole; straight across the flat garment; one-way width rather than circumference |
| Body length | Named start point and route; whether the bottom rib is included |
| Sleeve length | Shoulder seam or another named start; route; whether the cuff is included |
| Shoulder width | Defined seam-to-seam points, taking the intended dropped shoulder into account |
| Hem opening | Flat width or circumference; relaxed rib or another explicitly defined state |
| Cuff opening | Relaxed width or circumference; left and right readings identified separately |
Put a measurement-point code beside each instruction and repeat that code on the diagram and inspection record. If the sample maker needs to ask where the tape starts, resolve the drawing before debating the tolerance.
Choose limits by fit risk and confirm them during sampling
Agree tolerances point by point, using the approved fit, construction and repeatable sample measurements to support the decision.
A large body dimension and a small opening do not automatically need the same absolute allowance. A change in a cuff can affect how the hand passes through; a change in body width can affect the overall silhouette. Fabric behaviour, seam construction and the measuring method also influence what can be checked consistently.
Ask the sample maker to flag a proposed limit that cannot be measured or produced consistently. Review the evidence together. The answer may be a clearer method, a construction change, further sampling or a revised specification. Widening every tolerance without checking the fit leaves the original problem unresolved.
Check the relationship between measurements
Individual passing readings can still produce an unwanted shape. Consider an illustrative pair of targets: half chest 60 cm and body length 70 cm, each with a hypothetical ±1 cm tolerance. A garment measuring 61 cm wide and 69 cm long passes those two numerical limits, but sits at the wide-and-short corner of the permitted range. Review whether that silhouette fits the approved design.
Check left and right sleeves or cuffs as a pair as well. If symmetry needs its own acceptance rule, document it separately instead of assuming that two individual passing readings guarantee a matching pair. Do not introduce a new symmetry limit only after production is finished.
Static measurements do not show how a cuff behaves after use. Record that separately in a hoodie cuff review.
Tie approval to the full size chart
The clothing size grading article explains how targets progress through a size range. Use that chart alongside the tolerance sheet. A fit approval in one size does not establish that every other size has been reviewed, and grade increments do not automatically determine tolerances.
During the clothing sampling process, agree which sizes and points need review. Keep the approved chart, measurement instructions, sample identity and revision date together. When a later fit comment changes a target or method, issue a dated revision and make clear which earlier instruction it replaces.
Handle an out-of-tolerance result without rewriting the target
Confirm the measurement, record the deviation and agree a documented disposition before releasing the affected goods.
First check the style, size, chart revision, unit, garment condition and tape placement. Remeasure using the agreed method and retain both readings if they differ. A second reviewer can help identify a method disagreement; an average should not be used simply to make an unfavourable reading disappear.
If the deviation is confirmed, record the measurement-point code, target, allowed interval, actual result and garment identifier. Investigate whether the finding is isolated or appears across related pieces, sizes or production groups. The agreed inspection plan determines the extent of checking and the lot decision. A dimensional tolerance alone does not specify how many garments to inspect or how many failures permit shipment.
A worked example with a documented decision
Return to the hypothetical 60 cm half-chest target with a 59–61 cm interval. An initial reading of 61.4 cm is outside the limit. If a correctly prepared remeasurement is still 61.4 cm, keep it recorded as a confirmed deviation. If the first reading included an unintended fold or a different measuring path, record the reason for correction and the replacement reading.
Possible dispositions include holding the affected goods, an agreed correction followed by reinspection, or a written concession from the authorised buyer for identified goods. A concession records an exception; it does not silently change the master size chart or approve the next order. The disposition should name the responsible person, affected scope and follow-up check.
Put the agreement into your hoodie tech pack
Give the factory one controlled specification containing the measurement rules, targets, limits and approval record.
Add the following block to the measurement section of your tech pack for factory quotes. Fill in the blank fields with the sample maker before treating the document as an acceptance standard.
- Style and revision: ___; applicable sizes: ___; master unit: ___.
- Measurement-point code and diagram reference: ___.
- Start, end and measuring path: ___; cuff or hem inclusion: ___.
- Garment treatment and preparation: ___; relaxed or controlled-stretch state: ___.
- Target by size: ___; permitted lower and upper deviation by point: ___.
- Additional paired-dimension or fit checks, if agreed: ___.
- Approved sample reference, reviewer and date: ___.
- Inspection-plan reference and out-of-tolerance decision owner: ___.
Keep the target chart and the actual sample readings in separate columns. Record unresolved points openly so they can be addressed during development. Copying a familiar tolerance into an empty field is not a substitute for agreeing what the garment needs to do.
For a new project, the hoodie development page provides a starting point for discussing the style. Send GoVoloom your hoodie brief with the intended fit, fabric direction, size chart and measurement questions. Include any points where the drawing, sample and written specification currently disagree so those questions can be reviewed together.