
Adult Streetwear · Pants Development
Streetwear Pants Fit: Rise, Thigh and Hem Balance
A pair of pants can look wide on a table and feel restrictive when someone sits down. Another pair can feel roomy but lose the shape the designer wanted: the waistband slips, the crotch hangs lower than intended, or the hem piles over the shoe. Calling either problem “not oversized enough” gives a pattern maker too little information.
For a streetwear brief, separate the desired outline from the space needed to wear it. Decide where the waistband should sit, how the leg should fall and what should happen at the shoe. Then review the waist, rise, seat, thigh and lower leg together. A larger waist size is not a reliable shortcut to a different silhouette.
Start with the wearing position and leg shape
Define where the pants sit and how the leg falls before changing the measurement chart.
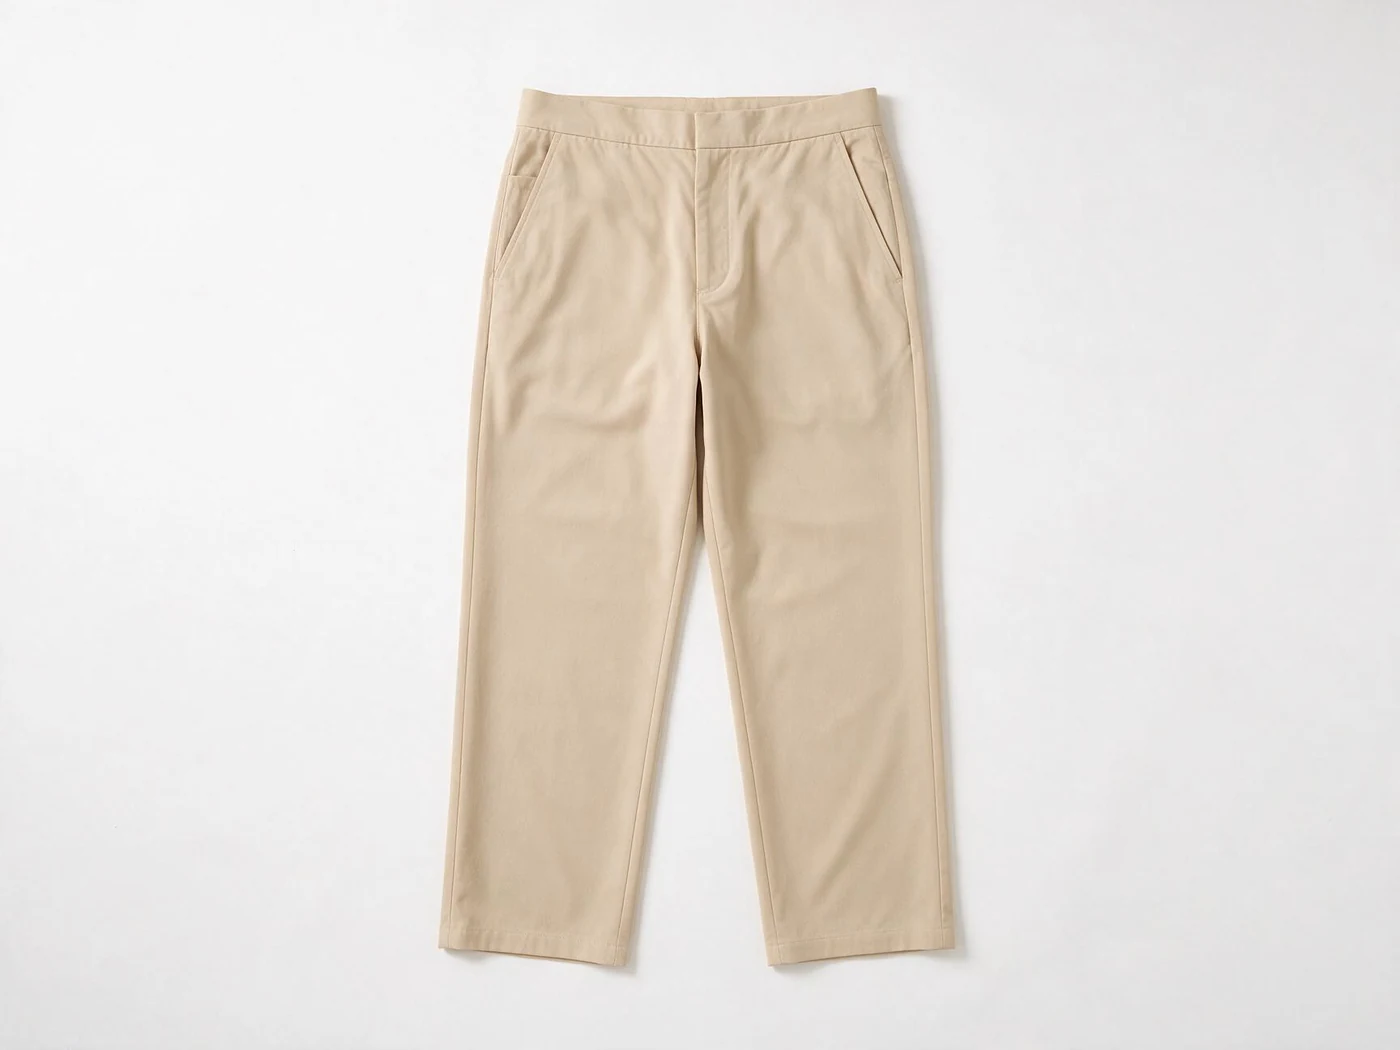
“Relaxed,” “baggy,” “straight” and “tapered” describe different parts of a design, and brands do not use those labels consistently. A roomy thigh can lead into a straight lower leg or a narrow cuff. A short inseam can expose the shoe, while a longer inseam can create a deliberate break. Neither decision tells the factory where the waistband belongs on the wearer.
Record the intended wearing position with a front and side reference. Specify whether the hem should clear the shoe, touch it or settle over it, and identify the footwear used for the review. A high-volume sneaker can support a hem that falls past a slimmer shoe. If the wearer pulls the waistband lower between photographs, the apparent crotch depth and leg length change even though the garment has not.
Keep the fit reference separate from the styling reference. One image might communicate a wide outline; another might show a pocket arrangement or a fabric surface. Mark what each reference contributes. Asking the factory to copy every visible feature can import an unwanted waist position or leg proportion into the design.
For a new style, use the pants development brief to connect the intended fit with the fabric, closure, pocket layout and size range. If a physical reference garment is available, identify its size and condition. Treat its measurements as a starting record, not as proof that the same dimensions will work in a different fabric.
Read waist, rise and seat as separate decisions
Waist fit, vertical crotch position and room around the seat need separate observations; changing one does not automatically resolve the others.
Start by checking that the garment is worn at the position recorded in the brief. If the waistband slides down, first determine whether its opening, closure or elastic behavior is allowing that movement. Shortening the leg to compensate can leave the pants too short once the waist fit is corrected.
Define front and back rise measurements on a sketch. State the start and end points, the seam path and whether the waistband is included. A measurement taken along a curved seam is not the same as a straight vertical distance. Also distinguish a body measurement from a finished-garment measurement. Two people can write the same number while measuring different things.
The rise length alone does not describe the full crotch shape. The front and back pattern extensions and the distribution of room around the seat also affect how the garment fits. If the wearer feels pressure while sitting, “add rise” is only a proposed correction. Send the observation, the pose and the relevant measurements so the pattern maker can evaluate where additional space or a shape change is needed.
A dropped crotch may be intentional, but record how low it should appear and whether the wearer can take a comfortable step. Do not approve restriction simply because the design is oversized. Equally, do not remove all folds without checking the intended look: soft fabric, body position and deliberate volume can produce folds that are not faults.
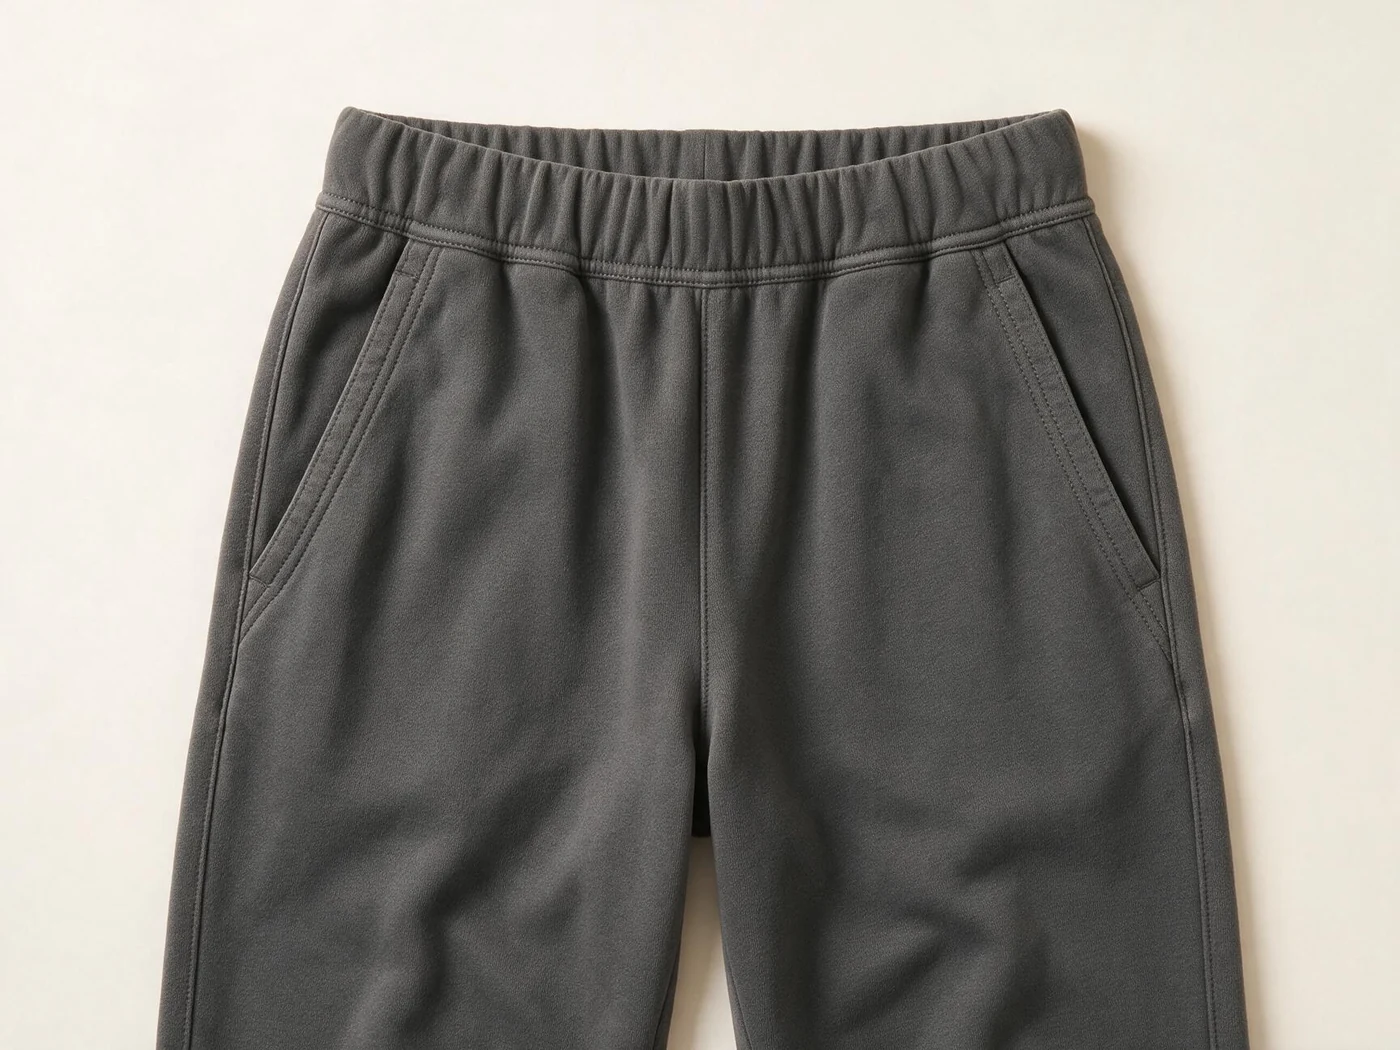
For an elastic waist, distinguish the relaxed opening from the measurement under an agreed stretch condition. Record how it feels when worn and whether it stays at the intended position. The flat width of a relaxed elastic waistband does not directly tell you the body size it will fit. Keep that wearing check separate from the measured opening.
Use the waistband construction brief to choose fixed, fully elasticated or partly elasticated sections and define the casing, elastic attachment and closure before requesting a sample change.
Balance thigh volume, knee shape and the hem
Review the leg as a continuous shape; a wider thigh, narrower hem or different length can change the whole silhouette.
Measure the thigh at an agreed distance from a defined reference point, and mark that location on the sketch. Do the same for the knee and hem. “Thigh width” without a measurement position is hard to repeat, particularly when the crotch is deliberately low. Record whether each figure is a flat width or a circumference, and use that convention consistently.
Look at the front, side and back in a neutral stance before discussing changes. Then check sitting, a normal walking step and stepping onto a low platform where appropriate for the wearer. Note the exact area that feels restrictive or pulls out of position. These are practical development observations, not a substitute for a formal performance test or a universal pass standard.
A cuff holds the lower leg differently from an open hem. With a cuff, extra length can gather above the ankle; an open hem may instead fall onto the shoe. A narrow opening can also catch on the calf when sitting or interfere with getting the foot through. Check entry and movement on the actual sample rather than deciding from the flat-lay outline alone.
Once the leg outline is clear, use the cargo pocket placement checklist to review pocket position, opening and volume without confusing a pocket change with a whole-leg fit correction.
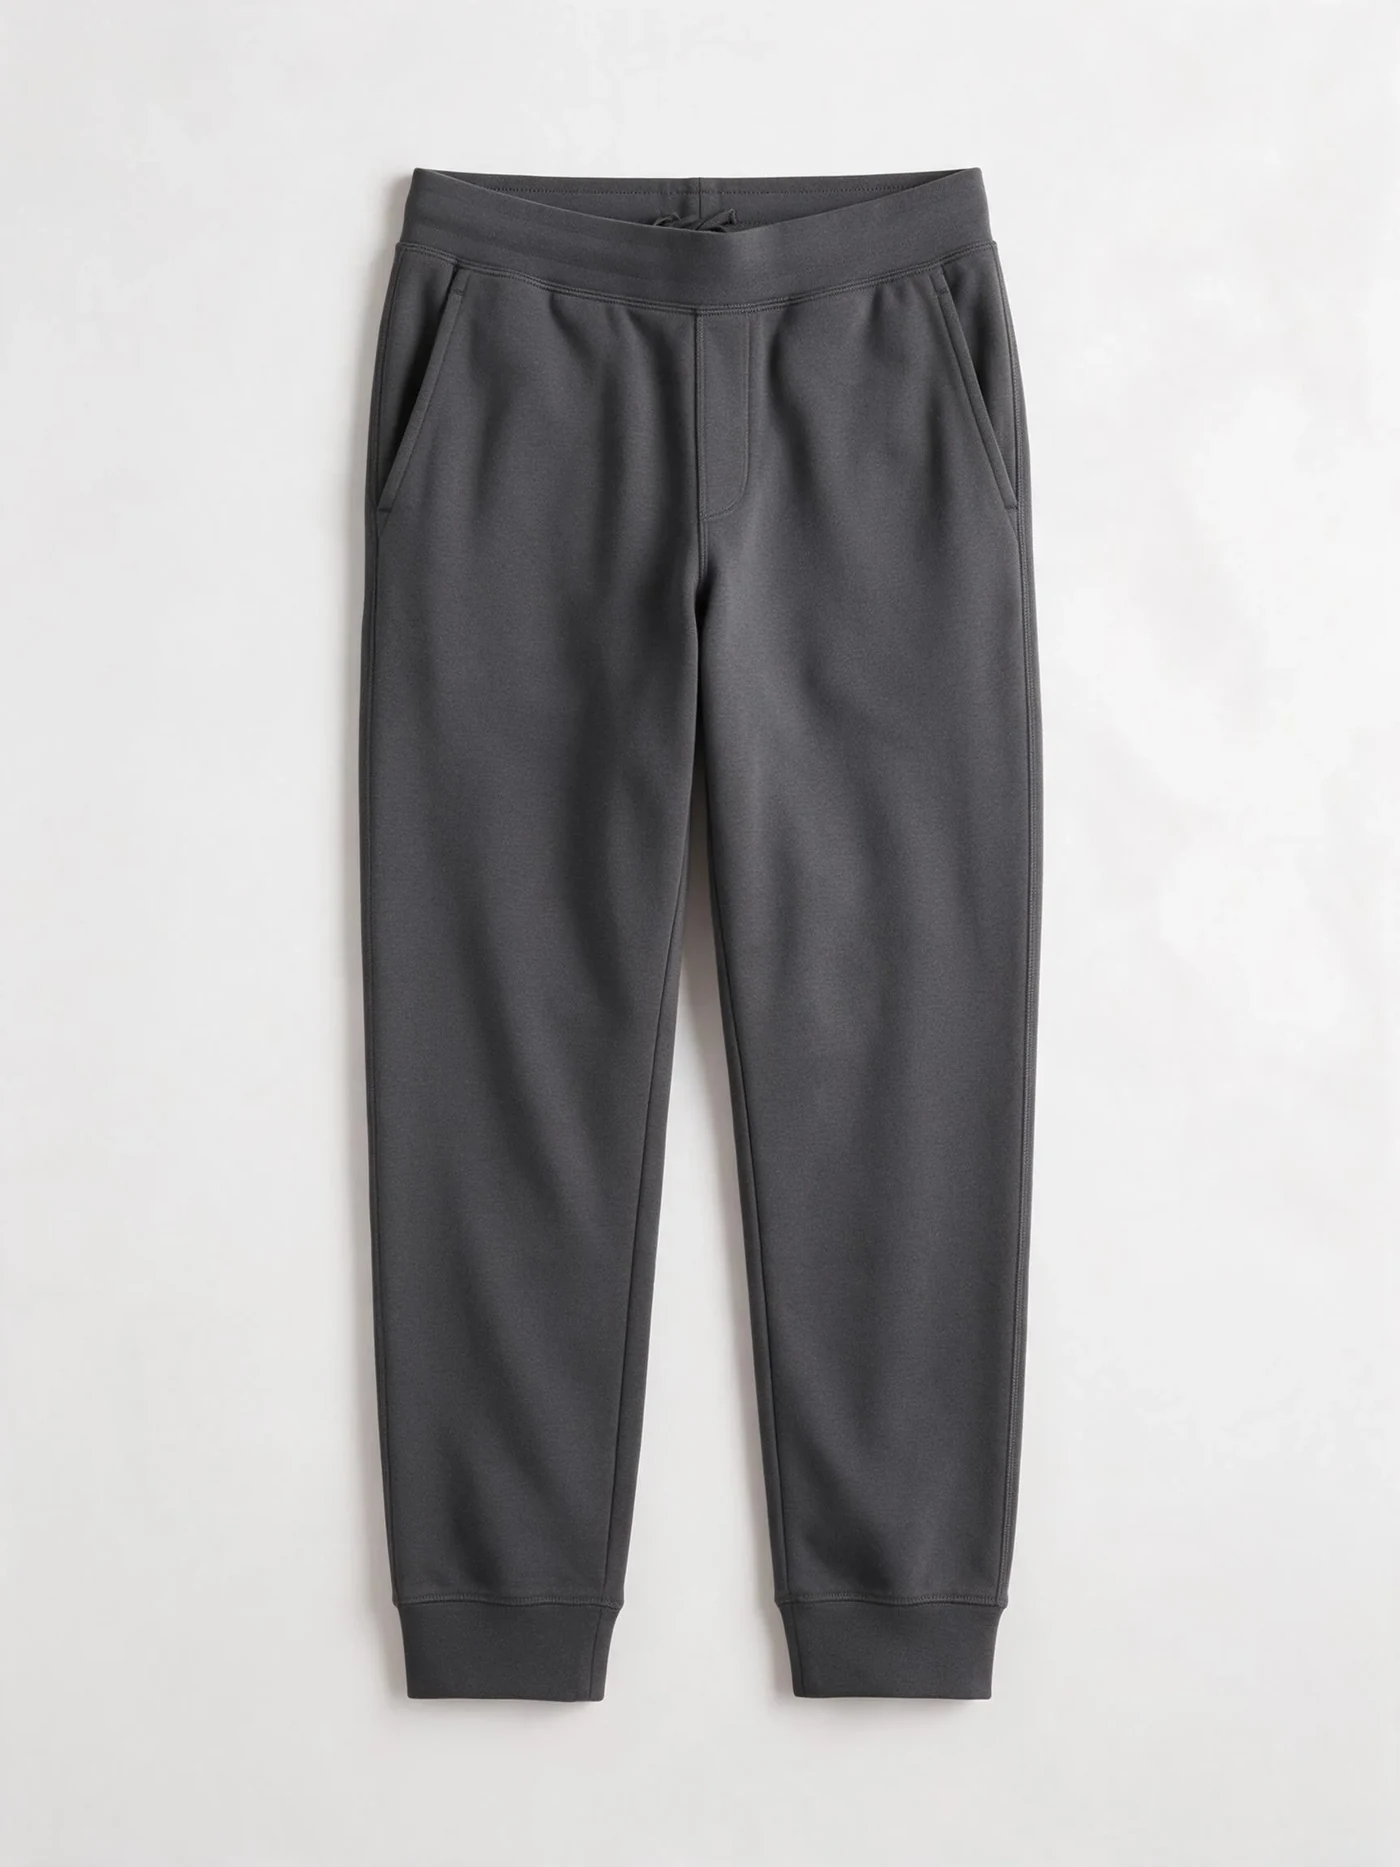
Fabric changes the result even when the pattern is unchanged. A firm woven fabric may hold volume away from the leg, while a softer knit can drape closer to it. A replacement material with a different stretch or recovery can change the wearing experience. Record substitute fabric in the sample notes and keep fit approval conditional where the final material has not been assessed.
Check length in the agreed garment condition. If the product will be washed before approval, use the recorded care and conditioning procedure before comparing it with the target. The fabric shrinkage review explains why measurements before and after care need a consistent method. Do not hide a dimensional change by adjusting the waistband position in the next photograph.
Turn a fit comment into a useful revision
Describe the observed problem and the intended result before specifying a pattern correction.
“Make the pants baggier” can mean more seat room, a wider thigh, a lower crotch or a straighter lower leg. Those changes are not interchangeable. A useful comment names the sample, the area, the condition of the review and the feature that should remain unchanged. It lets the pattern maker propose a correction without guessing which part of the silhouette matters most.
The following pairs are example wording, not actual customer records or prescribed corrections.
| Vague fit comment | More useful revision note |
|---|---|
| The pants feel tight. | The wearer reports pressure across the upper thigh when seated at the agreed waist position. Review that area while retaining the approved hem opening. |
| The crotch is too low. | The crotch sits lower than the marked reference in the neutral standing view. Check waist position and the front/back rise definitions before changing the pattern. |
| The leg looks too narrow. | Keep the current waist and seat appearance. Review the taper from knee to hem against the marked side-view outline. |
| Make the pants shorter. | With the agreed shoe and waist position, the open hem covers more of the shoe than the brief shows. Review the required finished length and break together. |
Keep one revision record for the sample round. Separate observations, proposed changes and approvals so a suggestion does not become an instruction by accident. Identify any linked adjustments the pattern maker considers necessary; a revision can involve more than one measurement even when it addresses a single fit problem.
When the next sample arrives, compare both the changed area and the features that were meant to stay the same. Use the same wearer or documented fit reference, waist position, footwear and garment condition where possible. If something has changed, record it rather than treating the comparison as directly equivalent.
Connect the approved fit to the size range
Approve the base fit and then review how the intended proportions carry across the planned sizes.
A good fit in one size does not establish the full range. The size grading guide covers the measurement chart and grade rules; this pants review supplies the fit intent those rules must preserve. Ask which sizes need physical review for the particular style, material and target wearer. Do not assume every point should increase by the same amount.
State what the approval covers: for example, the identified sample's waist position, leg outline and movement observations under the recorded conditions. List unresolved fabric substitutions, other sizes or construction changes separately. The clothing sampling guide explains how fit review connects with later material and production approval.
To discuss a streetwear pants project with GoVoloom, send your fit brief with front, side and back references, the intended waist position, fabric direction, measurement definitions, planned sizes and current sample notes. If you have only a sketch, mark the open decisions clearly. Sample scope, revisions, fees and timing can then be confirmed for the project in writing.