
Fabric Sourcing / T-Shirt Development
T-Shirt Neck Rib: What to Specify Before Sampling
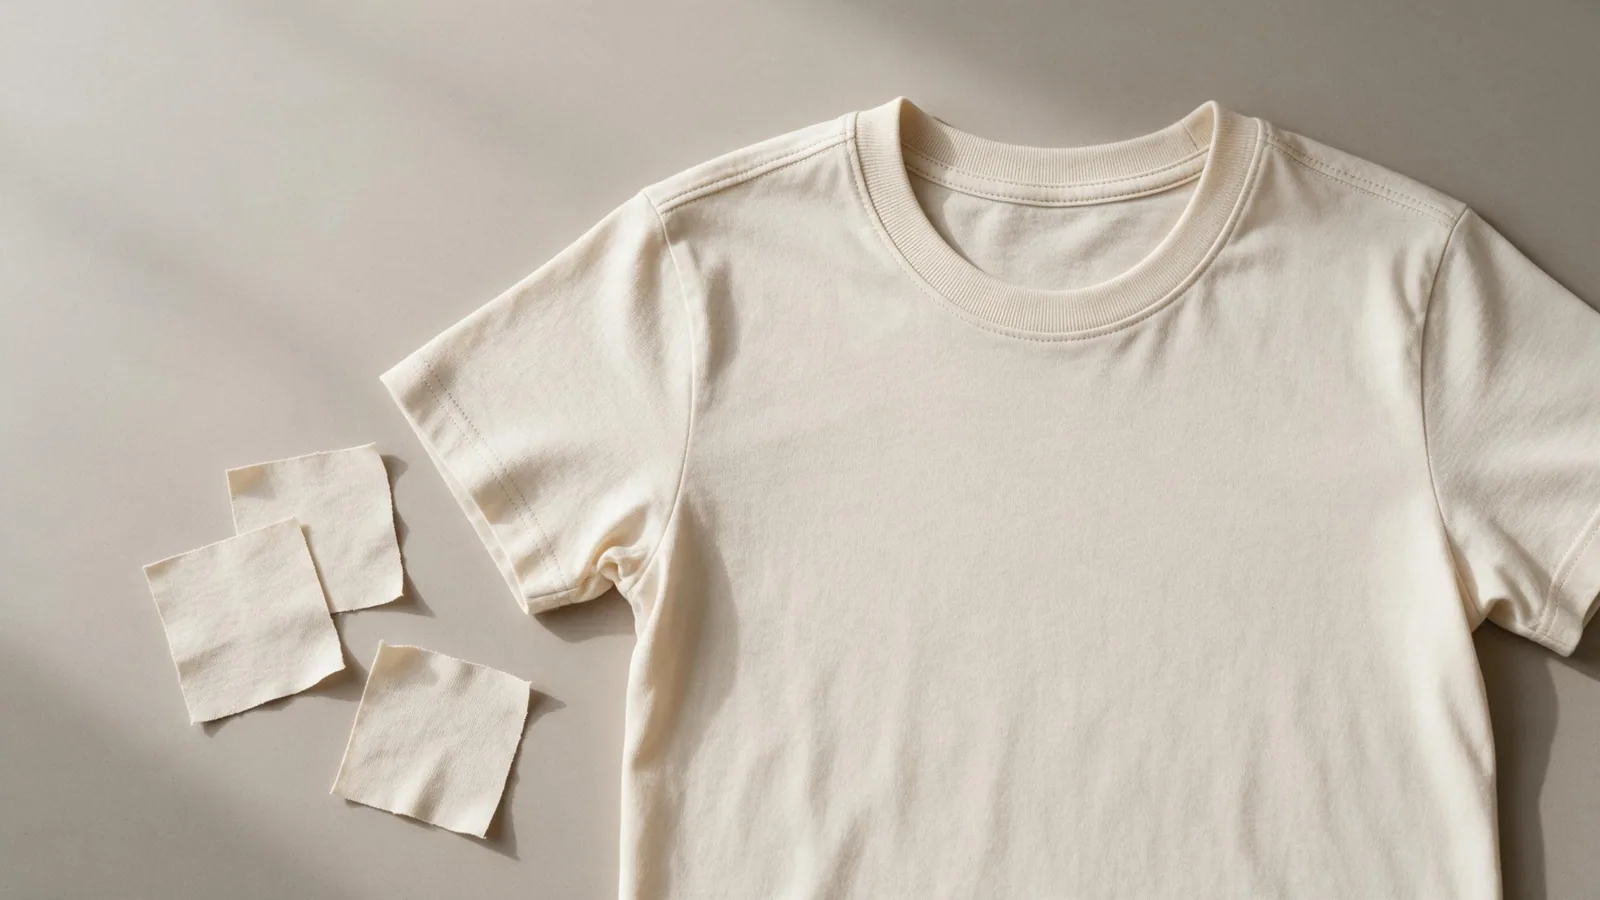
A T-shirt collar can match the colour and still miss the brief. The band may look too wide, stand away from the body, feel restrictive when pulled over the head, or change shape after washing. A photo alone rarely tells the sample maker which part matters most.
For a crewneck tee, specify the neck rib as a separate material and construction detail. Then review it attached to the intended body fabric. This article focuses on that neckband; polo collars and bound necklines need different construction instructions.
What should a T-shirt neck rib brief include?
Specify the rib material, finished band width, neckline shape, attachment details and review conditions, with drawings that show exactly where to measure.
“Same collar as the reference” leaves several decisions open. A reference garment helps communicate appearance and feel, but the sample maker also needs to know whether you want its opening shape, its rib texture, its visible width, or all of them. Name the features you are keeping and mark the ones you want changed.
Separate the finished measurement from the cut piece
Finished rib width is the visible band between the neckline attachment seam and the folded edge at the neck opening. Cut-strip width includes the material needed for folding and seam allowances. They are different dimensions; calling both “collar width” can produce a sample that follows the wrong interpretation.
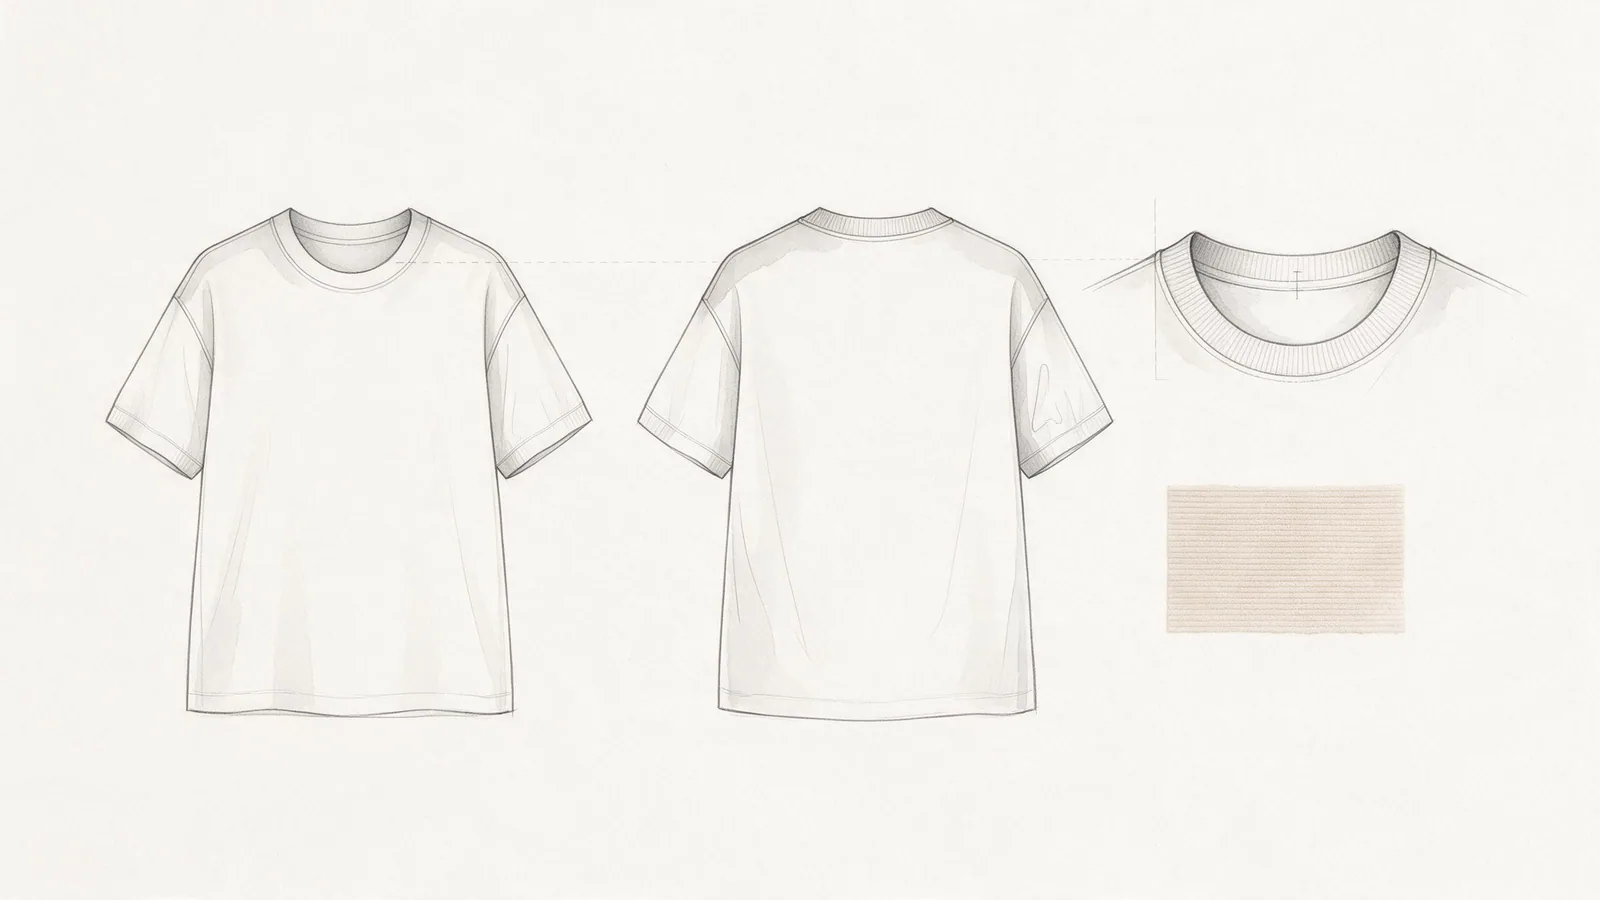
Define the measurement on a flat drawing, including the measuring point, unit, relaxed condition and whether the garment is before or after care. Front neck drop, back neck drop and neck opening width also need their own reference points. They cannot be replaced by the rib width.
| Brief field | What to record |
|---|---|
| Style and reference | Style ID, sample size, revision and approved reference image or garment |
| Rib identity | Supplier reference, knit structure, fibre composition, colour and finish |
| Finished band width | Target, measuring point and agreed minus/plus tolerance |
| Neckline geometry | Opening width and front/back drops, with marked measuring points |
| Pattern information | Body neckline seam line and rib joining/attachment allowances, supplied or confirmed by the pattern maker |
| Construction | Rib join position, attachment seam, visible stitching and any back-neck tape |
| Review conditions | Wearability, appearance, agreed care method and how results will be recorded |
Put these details in the material list, drawing and measurement chart of the same revision. The tech pack article explains how those sections fit together. A collar note in an email should not silently override the version sent for sampling.
Which rib works with your T-shirt fabric?
Compare rib construction, composition and recovery alongside the body jersey; a matching fibre name or colour does not establish a suitable collar combination.
Compare structure as well as composition
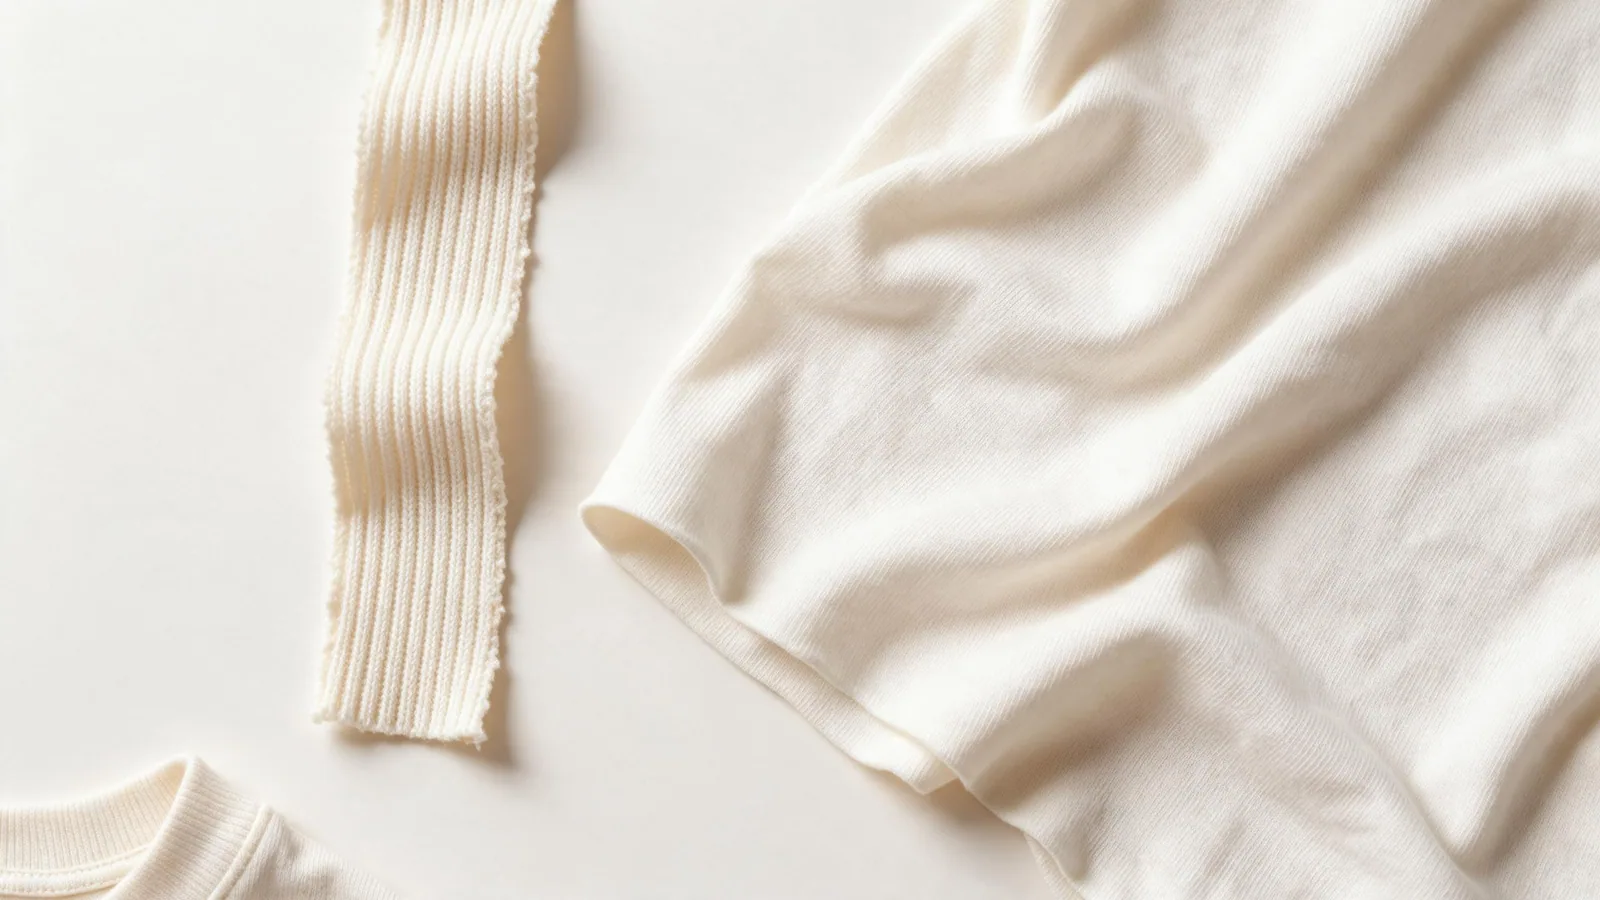
The terms 1×1 and 2×2 describe knit structures. They can give different visible rib textures, but neither term alone specifies firmness, stretch or recovery. Yarn, knitting density, fibre blend and finishing also affect the result. Ask for identifiable swatches rather than approving a material from a short label.
A cotton rib and a cotton rib containing elastane are possible options to compare, not interchangeable descriptions. Record the actual composition offered. Elastane content by itself does not prove that a collar will retain its shape, and choosing an all-cotton rib does not establish that it will become loose. The assembled sample must resolve that question.
Place each candidate beside the body jersey in the intended colour and finish. Look at texture, thickness, shade and how the combination bends. A substantial rib can look appropriate on one tee yet create unwanted seam bulk on another. A heavier body jersey does not automatically call for a wider or heavier neckband.
Distinguish stretch from recovery
Stretch describes extension; recovery describes what happens after release. A rib that opens easily may still retain unwanted growth. A rib that feels firm may make the finished opening uncomfortable even when it appears neat on a table.
For a development comparison, agree the direction and amount of extension, how long to hold it and when to measure again after release. Mark the intended direction of use on each swatch and use the same procedure. This is a comparative observation unless a defined test method and acceptance limits have also been agreed; it should not become an unsupported performance claim.
For broader body-fabric choices, use the clothing fabric sourcing guide. Keep the collar decision tied to the actual jersey and rib pairing selected for this style.
How should rib length and sewing be developed?
Develop rib length against the neckline seam line and the chosen materials, then confirm the result in a sewn sample; no single ratio fits every tee.
Measure the relevant seam line
The rib loop length and the body neckline length must use clearly defined measurement conventions. The pattern maker needs the curved neckline attachment seam line, not simply twice the flat neck opening width. A cut edge may differ from that seam line because of seam allowance and curvature.
Ask whether a proposed rib length refers to the open strip including its joining allowances or to the joined loop with those allowances taken up. Mark the measurement line on the pattern and record the length in a relaxed state, without stretching the rib. The rib’s available stretch, recovery, finished width and the neckline shape all affect the development decision.
If the neckline pattern or rib source changes, revisit the pairing. A length copied from an earlier tee is a starting reference, not approval for a different fabric or opening.
Check attachment and seam finish together
The sewing instructions should identify where the rib is joined, how it is distributed around the opening, the attachment seam and any visible topstitching. Mark useful alignment points on the pattern. Ask the sample maker to avoid distorting the body neckline during attachment and to record changes made during development.
Back-neck tape also needs a placement and material description. It affects the inside finish and may affect how that area moves; it cannot be assumed to correct an unsuitable rib or distorted neckline. Check the completed construction for seam bulk, scratchy ends and its ability to extend during dressing without stitch failure.
When comparing alternatives, keep the body pattern and sewing method consistent if rib length is the variable under review. Label any necessary additional change. Otherwise, an improved second sample cannot tell you whether the difference came from the material, the pattern or the sewing.
How do you review the collar before and after care?
Review the finished neckline in its relaxed state, during dressing and after the agreed care process, using consistent measurements and recorded observations.
Record the starting condition
Identify the sample revision, body fabric and rib reference before measuring. Lay the garment down without pulling the opening into shape. Record the marked dimensions and photograph the front, back and inside neck finish. Use consistent framing so the next sample can be compared fairly.
Check whether the neckband follows the intended shape, whether its visible width is consistent, and whether the attachment seam puckers. Then assess putting the garment on and taking it off in the intended size. A flat measurement does not establish comfort or prove that the opening and seam can accommodate dressing.
These observations help direct a discussion, but appearance alone does not identify the cause:
| Observation | What to investigate before revising |
|---|---|
| Rippling at the attachment seam | Material behaviour, rib distribution, sewing feed and handling of the body opening |
| Neckband standing away from the body | Rib width, firmness, loop length and neckline shape as a combination |
| Tight opening or stressed stitches during dressing | Opening geometry, available extension, seam construction and tape restrictions |
| Changed neck shape after care | Dimensional change of body and rib, seam behaviour, finishing and the recorded care conditions |
Repeat the review after the agreed care process
Record the washing and drying conditions, number of cycles, and any pressing or finishing. Let the garment return to the agreed conditioned state before measuring the same points again. Compare the neckline as well as the body; a body measurement within tolerance does not mean the collar has retained the intended shape.
Rib and body fabric may change differently. If a problem appears only after care, inspect both materials and their attachment before deciding to shorten the rib. The fabric shrinkage article explains directional measurements and why the care method matters.
Agree acceptance criteria before review. Record each concern as an observation, the proposed correction, the responsible person and the next verification step. Keep collar approval linked to the current sample and tech pack revision within the clothing sampling process.
Send a collar brief that a sample maker can use
Send the body-fabric reference, rib candidates, marked neckline drawing and review conditions together, and ask for unresolved construction decisions to be confirmed before sampling.
Use the following collar note as a starting point. Fill the fields for your style and mark unknowns for discussion; blank values are not production instructions.
- Style / size / revision: [your reference].
- Body jersey and rib: [separate material references, compositions, colours and finishes].
- Finished neckline: [rib width, opening width, front/back drops, measuring diagrams and agreed tolerances].
- Pattern confirmation: [who confirms the neckline seam line, rib length and allowance definitions].
- Construction: [rib join position, attachment, visible stitching and back-neck tape details].
- Review: [appearance and dressing checks, care conditions, comparison method and acceptance criteria].
- Open decisions: [questions, owner and next confirmation].
A useful reference photo shows the detail you want to discuss, with a note identifying it. Pair that photo with the drawing and material references so the receiver does not have to infer hidden construction from an exterior view.
Explore the T-shirt development page for the wider fit and fabric brief. To discuss your crewneck project, send GoVoloom your T-shirt brief, including the collar reference and the decisions that still need resolving.