
Dress Development / Sample Review
Dress Lining and Opacity: What to Check in a Sample
Dress lining affects how a garment looks, moves and covers the body. A shell fabric that seems suitable on a swatch card may look different over a lining, across a fitted hip or beside an unlined panel. When preparing or reviewing a sample, describe the coverage you want and the conditions in which you will assess it.
The useful starting point is a paired material reference, a coverage sketch and a short review plan. These give the person developing the sample something more precise than “make it less see-through.” Use the checks below to prepare that brief, then apply them to the physical sample before approving the next stage.
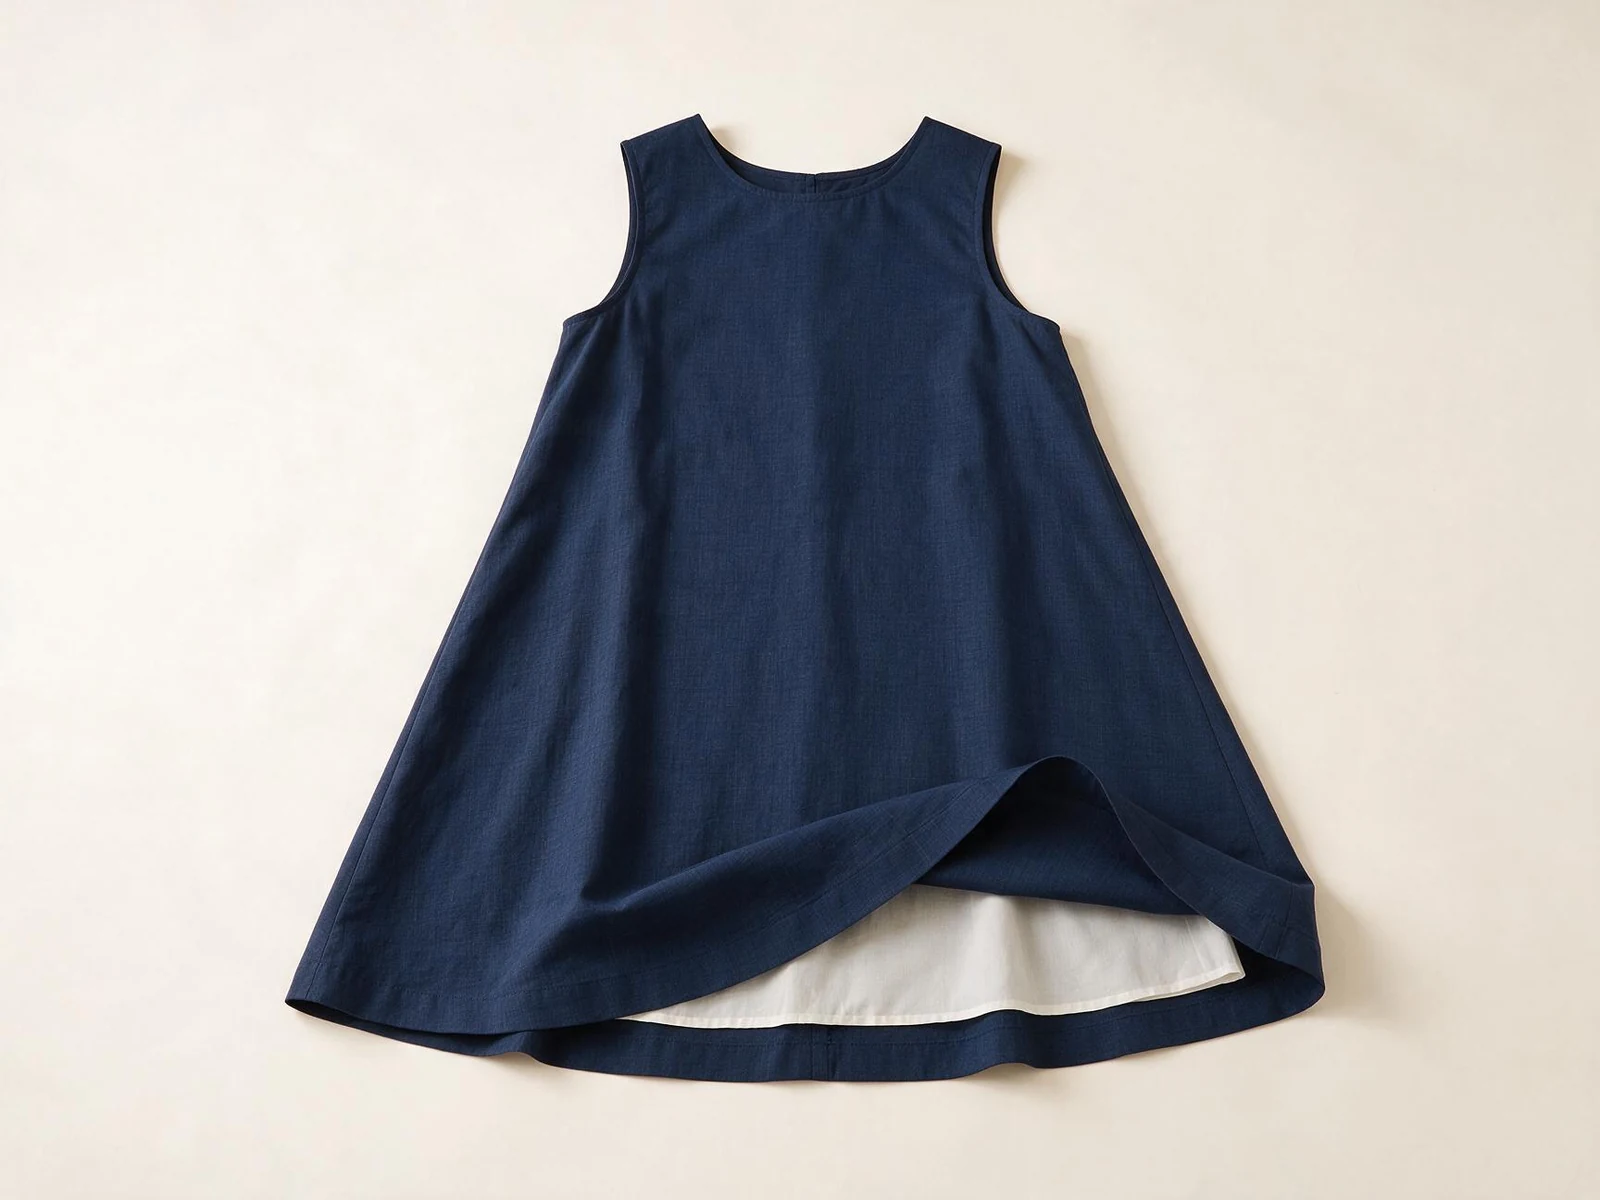
Define the shell, lining and coverage together
Specify the shell and lining as a pair, with a clear drawing of where coverage starts, stops and changes.
Record both material references
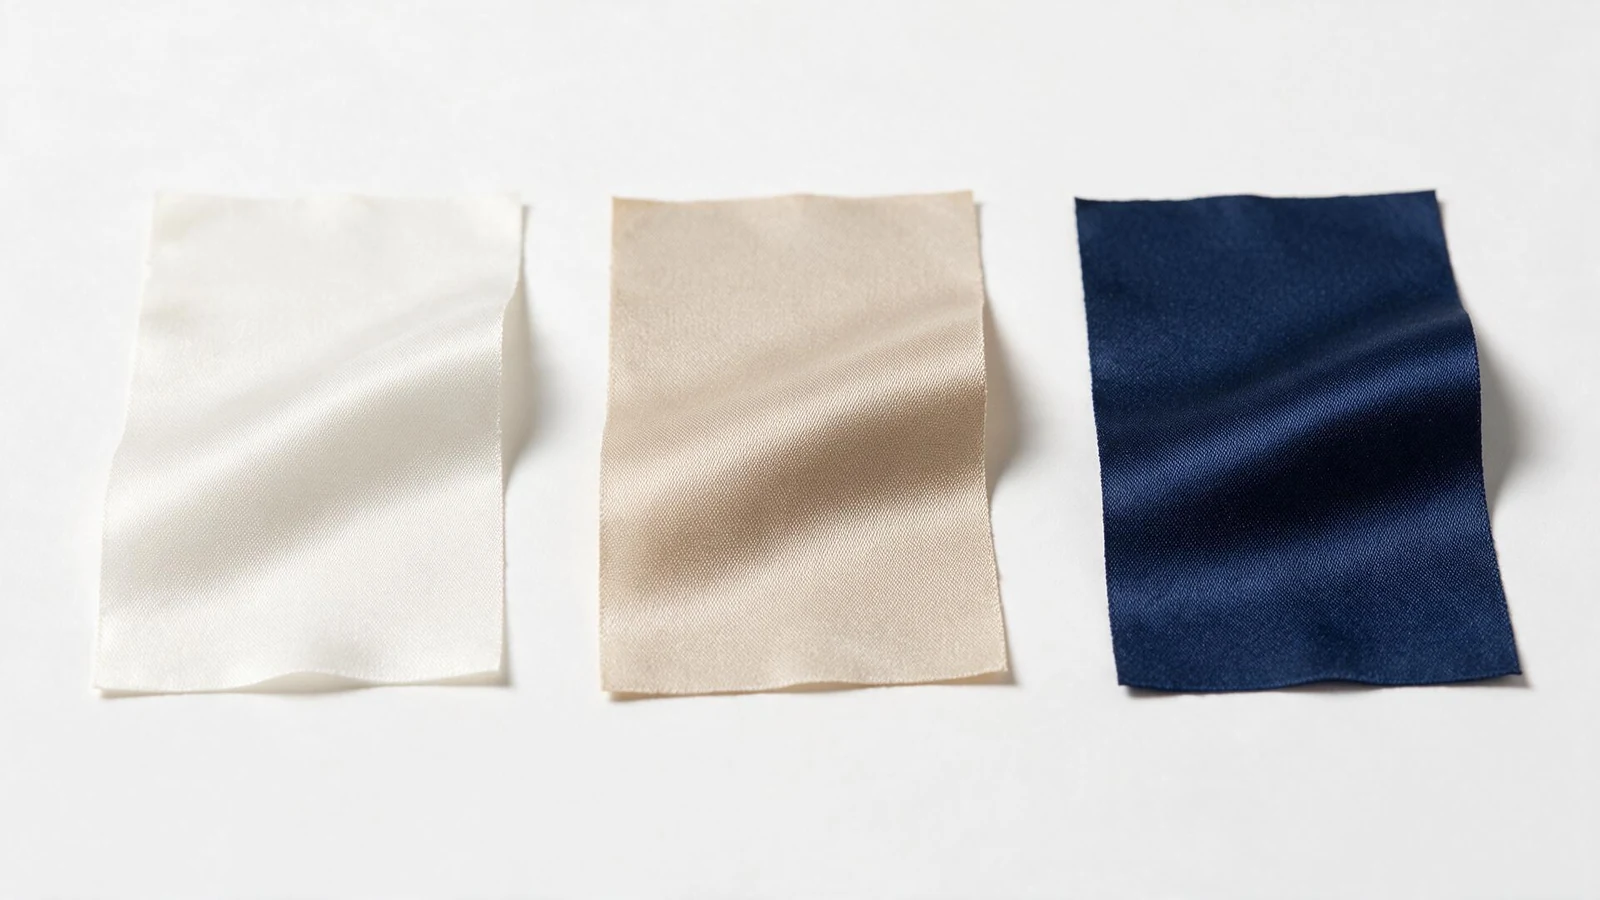
“Lined dress” leaves several decisions open. Identify the outer fabric, lining fabric, colour reference and intended finish separately. Mark any substitute material used in an early sample. A substitute can help explore shape, but it cannot settle how the final combination will look or feel.
Compare the layers together. A lining can change the apparent colour of a pale shell, soften a print or make seam allowances more noticeable. Review the proposed combination for each colourway that needs approval. Do not assume that a darker shell, a different print or another lining shade will behave like the combination already reviewed.
Fibre name and fabric weight are useful specification fields, but neither is a guarantee of opacity. For the wider material brief, the clothing fabric types and sourcing guide explains how to describe composition, construction and finish. Here, the decision is how the actual shell and lining work together in the intended dress.
Draw the coverage boundary
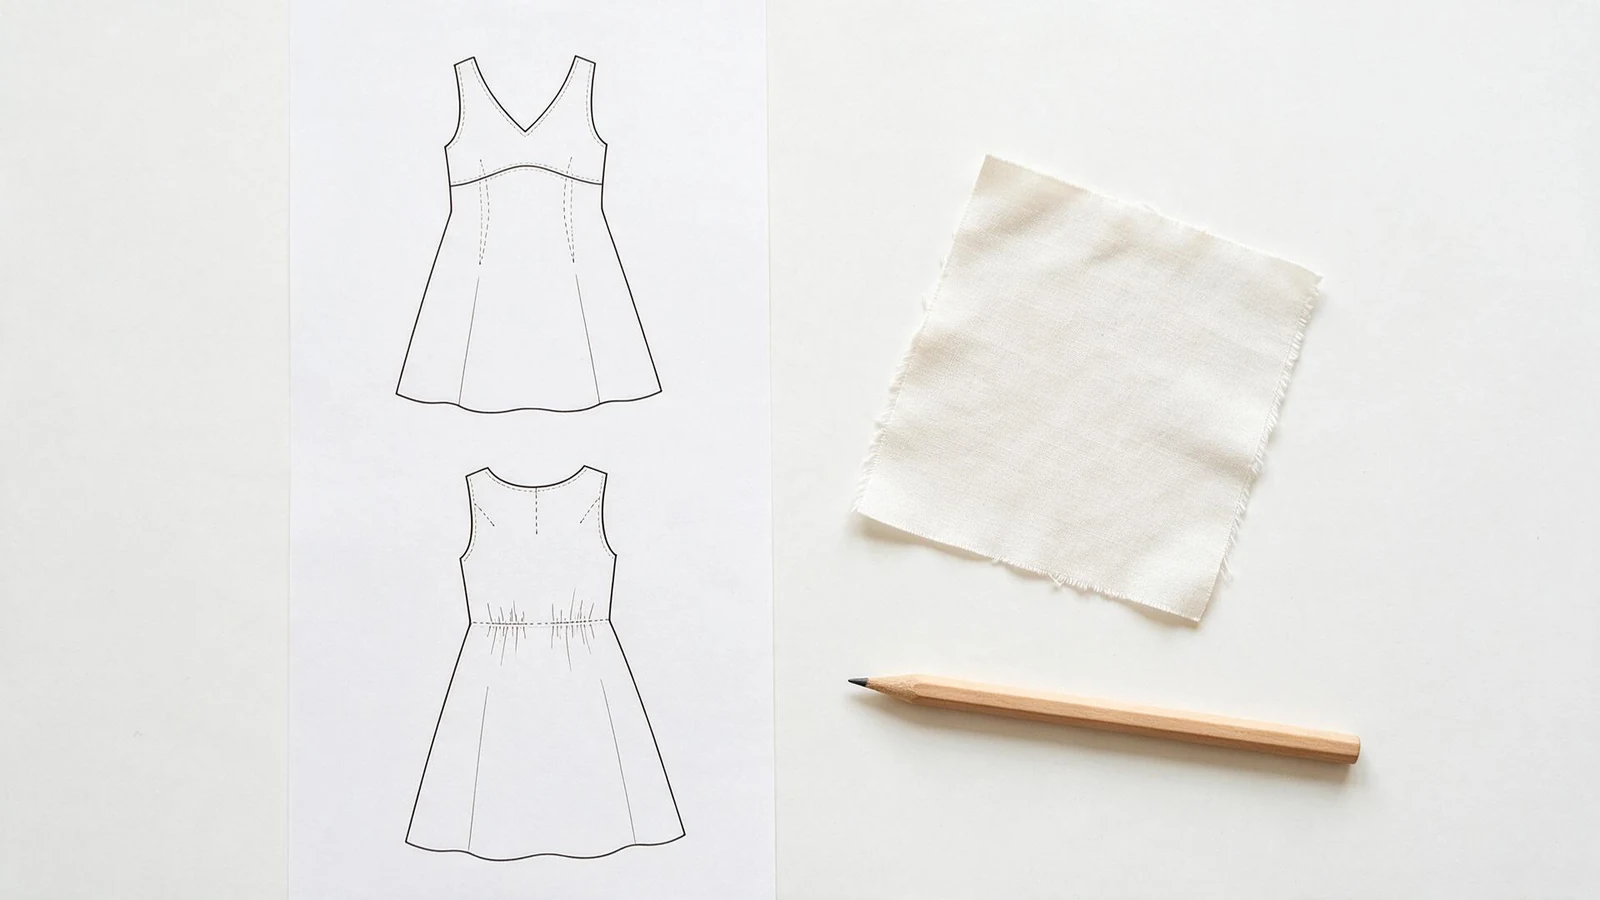
Show whether the bodice, skirt, sleeves or other panels are lined. Mark the lining hem, neckline, armholes, waist seam and slit or vent openings. Clarify whether a sheer area is intentional. A lining ending above the shell hem may be part of the design; an unexpected visible edge needs different feedback.
Also identify attachments and free edges. Ask how the lining connects around the zip, straps and openings, and where it must move independently. A flat sketch with these boundaries is easier to review than a general request for “full coverage.”
Review opacity under agreed viewing conditions
Assess the actual fabric layers under recorded lighting and background conditions; a photograph alone cannot establish acceptable opacity.
Make the comparison repeatable
Agree on the situations relevant to the dress: ordinary indoor viewing, daylight and any stronger backlighting that reflects its intended use. Record the light source, direction, background and viewing position. A bright window behind the garment gives a different comparison from light falling onto its front. These are development observations, not a universal laboratory method.
Use a consistent backing when comparing swatches, then check the assembled garment over the intended underlayer. For worn reviews, agree the underlayer colour and type rather than changing them between samples without a note. Include skin tones relevant to the intended customer review where feasible; a match selected on one wearer does not establish the result for everyone.
Look separately for visible outlines through the fabric and for changes in surface colour. A lining may reduce the visibility of an underlayer while still changing the shell's appearance. Record the location and condition of each concern, such as “underlayer edge visible at front hip in window backlight,” rather than simply writing “transparent.”
Use images to communicate the concern
Photos and video can help another reviewer find the same area. Keep the view and exposure as consistent as practical, and label the material and sample version. Camera processing, exposure and screen settings can change apparent transparency, so a pleasing image is not proof of coverage.
If a buyer requires a formal opacity assessment, agree the applicable method, specimen preparation, reporting and acceptance criteria with the testing provider. Do not turn a phone torch check or an edited product image into a pass certificate.
Check coverage while the dress moves
Review the dress during its intended movements, because lining position, fabric tension and openings can change the coverage seen at rest.
Observe the wearer and the garment
A hanging sample cannot show every issue that appears during wear. Use the planned fit sample and record its size, the wearer's relevant fit measurements and the agreed underlayer. Ask the wearer to walk, sit, reach and use steps when these actions fit the intended use. Record what happens rather than requiring every dress to follow the same movement routine.
Watch the lining at the hip, seat, neckline, armholes and openings. Does it travel upward, catch on the shell, pull across the body or show below the hem? Does a slit reveal an area the brief intended to cover? For stretch styles, assess the garment at its intended fit; pulling a loose swatch by hand does not reproduce garment tension.
Separate the observations. Light passing through a panel, a lining edge showing and a neckline gaping are different concerns, even if all are described as “coverage problems.” The first may need a material review; the others may involve length, attachment or fit. Record the symptom before deciding on the correction.
Preserve the intended drape
A longer or heavier lining may alter movement and appearance. Ask for a revised sample when a proposed correction affects the fall of the skirt, a bias panel or a fitted area. Do not approve the change solely because the exposed area became smaller.
Use the broader clothing sampling process guide to place these checks within your sample stages. Keep any unresolved lining or coverage observation attached to the sample comments so it is not lost when the discussion moves to another detail.
Compare the dress before and after intended care
Repeat the coverage and movement review after the agreed care process, since the shell and lining may change differently.
Keep the care conditions with the result
Agree the intended care route before requesting this review. Record the washing or professional cleaning process, drying, pressing and number of cycles where relevant. Follow the care direction under evaluation; a dress intended for professional cleaning should not receive a home-wash approval by default.
Measure and photograph the relevant points before care. After the agreed drying and conditioning, recheck lining length against shell length, the positions of attachments, seam appearance and the way the layers hang together. Use the same review conditions where possible. Note any departure so the result can be interpreted.
A changed hem relationship may expose the lining or reduce the area it covers. Different dimensional changes between the layers may also affect drape or create pulling. The fabric shrinkage guide covers recording dimensional change; the dress review must then connect that result to the assembled garment.
Revisit the affected appearance
If the colour, surface or dimensions changed after care, revisit the earlier opacity observations. Do not infer that coverage is unchanged just because the dress still fits. Record new puckering, lining exposure, colour transfer or other visible differences and request an explanation or revision where needed.
Keep the before-care and after-care identities clear. If a different sample or material lot was used, say so. A comparison without that detail can lead the next reviewer to attribute a difference to care when the starting materials were different.
Send an annotated dress brief for sampling
Send the material pair, coverage sketch, review conditions and open decisions together, then record exactly what each sample revision changes.
Put these instructions into the tech pack and factory quote brief alongside the dress measurements and construction details. Avoid spreading the current requirements across unlabelled photos and separate messages.
| Record | What to include |
|---|---|
| Sample identity | Style, version, size, colourway, shell and lining references; note substitutions |
| Observation | Location, viewing or movement condition, care state and the visible issue |
| Requested revision | The specific material, length, pattern or attachment change to evaluate |
| Recheck | Which appearance, fit, movement and care observations must be repeated |
| Decision | Approver, date, accepted reference and any unresolved items |
For example, “revise lining” is difficult to act on. “Review the lining hem position at the back slit and return an updated coverage sketch” identifies a development task without prescribing an unverified fix. Once the revision is made, compare it with the previous version under the recorded conditions.
The custom dress development page provides a starting point for discussing the garment direction. For your own style, send GoVoloom your dress brief with the shell and lining references, intended coverage, care direction, sample comments and open questions. Ask for the development scope and next sample requirements to be confirmed for that project.