Adult Streetwear · Print Artwork
Streetwear Print Artwork: A File Handoff Checklist Before Sampling
Preparing streetwear print artwork for sampling starts with a controlled file, its intended physical size and a description of the garment it will be printed on. A mockup helps explain the look, but it cannot tell a sampling team which file is approved, whether a dark background belongs in the print, or how fine details should survive a change in size.
For a graphic hoodie or printed jacket, separate the design decisions from the production decisions. Approve the illustration first, then agree how it will be prepared for the selected fabric and printing process. Keep those decisions together so a revised file does not quietly change the result you approved.
Choose the master file before sending a mockup
Send one approved artwork version with an accessible preview and written instructions for anything the preview leaves open.
Keep the editable source where it is available. Ask the supplier which vector or raster formats its production team can use, then include a preview that shows the intended appearance. A file extension alone does not establish whether the contents are editable: a document may simply contain an embedded, flattened image.
The source file and the mockup do different jobs. The source carries the design; the mockup communicates its relationship to the garment. Do not ask the sampling team to extract the production graphic from a small screenshot of a dressed model. Cropping, perspective and compression can change the edges or hide detail.
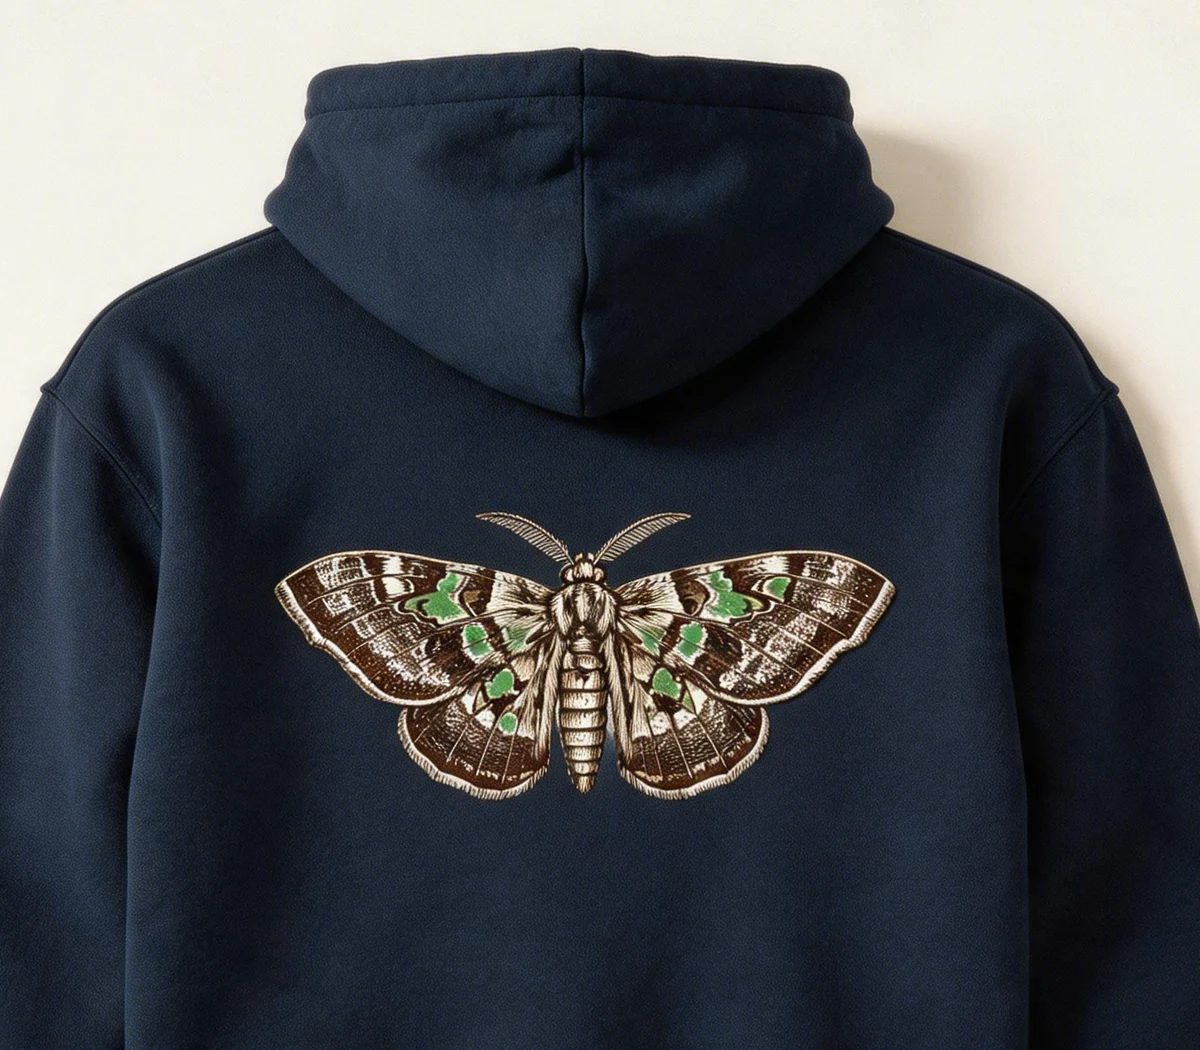
Check what happens when the artwork is opened away from your own computer. Confirm that lettering retains its shapes, placed images remain available and the background behaves as intended. A dark rectangle behind a motif might be part of the artwork, or it might only help someone view pale lines. State which applies.
Give the approved file a revision identifier and use the same identifier in the preview and brief. Retain earlier files in an archive, but separate them from the current handoff. If you send an updated attachment, identify the change instead of asking the supplier to choose between several files called “final.”
Review the design at its finished print size
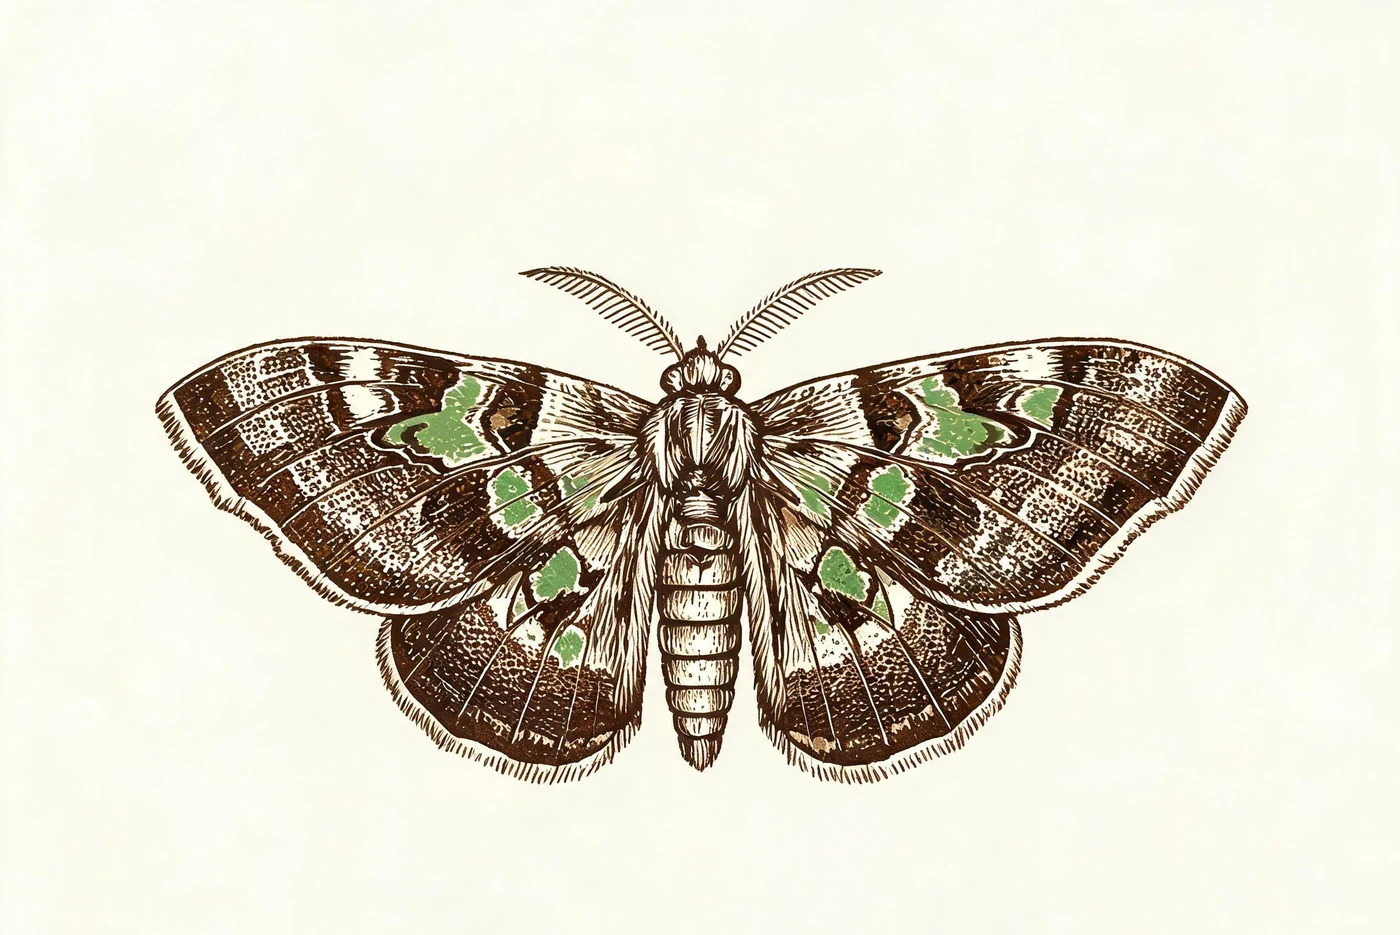
Set the finished width and height before deciding whether the artwork detail is suitable for the intended print.
Measure the visible design boundary, not an empty page or transparent canvas around it. State whether an outline, shadow or surrounding texture belongs inside those dimensions. Preserve the intended aspect ratio; stretching a graphic to fill a placement can alter lettering, faces or symmetrical shapes.
Inspect the file at the planned output size. Look at fine lines, small lettering, narrow gaps and isolated marks. In a distressed graphic, identify which broken edges are deliberate. Otherwise, a production adjustment intended to clean up the file could remove part of the design language.
For raster artwork, ask the supplier to assess whether the available pixels support the intended size and process. Changing a resolution label does not recreate missing detail. For vector artwork, inspect small shapes and negative spaces just as carefully: a clean edge on screen does not guarantee that every feature can be reproduced on fabric.
A paper layout at the proposed physical size can help a brand judge proportion on a garment. It cannot confirm ink behaviour or print quality. Record the intended placement separately and decide whether the same graphic dimensions will apply across the size range. If you need different print sizes, name the variants and connect each to the relevant garment sizes.
Separate design colours from production colour layers
Approve the design palette, then ask how the selected printing process will reproduce it on the chosen garment colour.
Colours in an illustration are design information. Production layers describe how those colours will be applied. They do not always map directly to one another. A pale area might be printed ink, an unprinted opening that reveals the fabric, or part of a tonal effect. Mark the intended interpretation before the supplier prepares production files.
For screen printing, ask the team to explain its proposed colour separations and whether an underbase or other layer is needed. Garment colour, ink system, opacity and the chosen effect influence that decision. Gradients and shading may need halftone treatment or a different printing route; the artwork should be reviewed before either is assumed. The screen printing process provides the wider context for these decisions.
Keep design colour references distinct from the screen preview. Agree which physical colour reference or approved strike-off will guide the result. A colour viewed on a laptop is useful for discussion, but it does not settle how the selected ink will appear on a particular cloth.
When the supplier proposes revised separations, request a readable composite preview and an explanation of visible changes. Ask whether fine marks, overlaps or tonal transitions have been simplified. Approve those changes deliberately. “Prepare for printing” should not become an open-ended instruction to redraw the graphic without review.
Connect artwork approval to the actual fabric
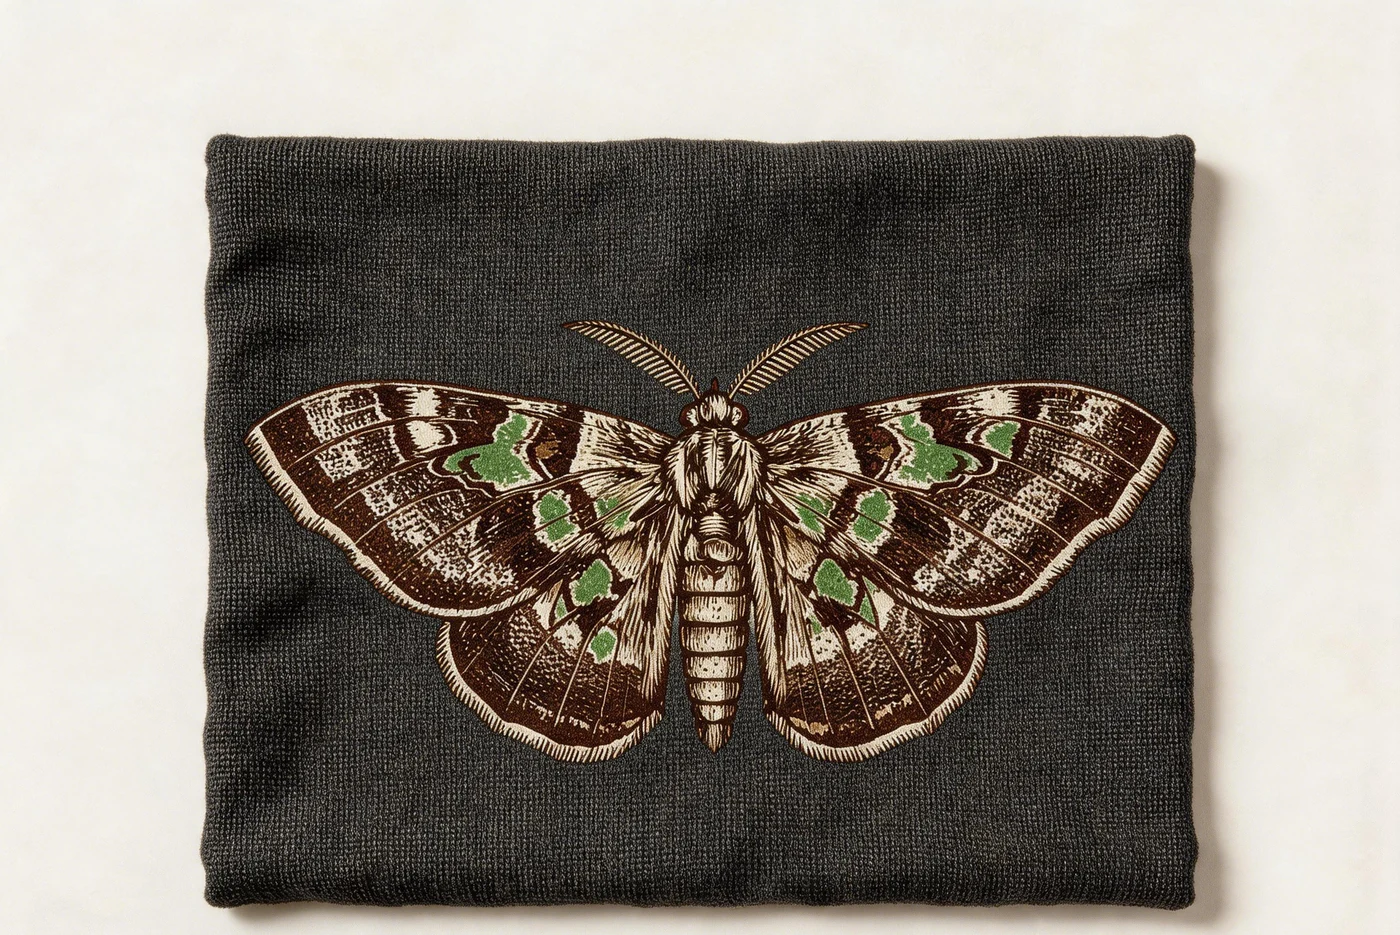
Use digital approval to settle the file and layout, then review the physical print on fabric representative of the planned garment.
Identify the garment fabric, colour and relevant finishing treatment in the artwork brief. If those details are undecided, flag them as open decisions. A preview on a plain background cannot establish coverage, handfeel or edge definition on the eventual material.
For a hoodie project, the custom hoodie development page can help bring the garment and decoration requirements into the same brief. Include the silhouette and intended print position, especially where a large graphic sits near a hood, seam or pocket. These construction details belong in the sampling discussion even when the artwork file itself is unchanged.
Agree what the physical strike-off must show. Compare the retained artwork with the printed dimensions, visible colour areas, open gaps and edges. Review surface coverage and handfeel against the intended result. If the strike-off uses a substitute fabric, record the substitution and decide what still needs checking on the production material.
Keep any wash or durability assessment separate from visual approval. Define the relevant care conditions, test scope and acceptance criteria for the project; an attractive print photograph cannot answer those questions. The clothing sampling process explains how individual approvals fit into the wider development sequence.
A change in garment colour, fabric or artwork size may require another review. Record which combination was approved rather than treating a successful appearance on one version as approval for every variant.
Send a brief that keeps revisions under control
Keep the artwork, dimensions, colour references and unresolved questions together so every response refers to the same version.
Use the artwork section of your factory quote tech pack as the home for this record. The handoff can be short, provided it leaves the production team with clear decisions and visible gaps.
| Brief item | Information to include |
|---|---|
| Current artwork | File name, revision, editable source where available and matching preview |
| Finished dimensions | Visible graphic width and height, units, aspect ratio and any size variants |
| Garment context | Style, fabric, garment colour, finish and placement reference |
| Colour and process | Design references, intended effect, proposed route and separation questions |
| Review status | Digital approval, physical strike-off reference, requested changes and pending checks |
Return corrections against that record. For example: “Artwork revision B is approved for composition; the proposed colour separations and fabric strike-off remain to be reviewed.” It tells the next person what can proceed and what still needs a decision.
Keep the earlier artwork and comments accessible when a revision is issued. Explain whether the change affects only the file, the quoted setup, the print size or the sampling scope, and ask the supplier to confirm any consequences before proceeding.
Send GoVoloom your artwork, garment and fabric references, intended print dimensions, planned quantities and open questions through the project enquiry form. That gives the development discussion a defined starting point for file review, process selection and sampling.