
Adult Hoodie Development
Hoodie Kangaroo Pocket Placement: A Tech Pack Checklist
A kangaroo pocket can match the sketch and still leave the sample reviewer asking, “Is it too low?” That comment is difficult to act on unless the tech pack says which pocket point was measured, where the measurement started, and how the hoodie was positioned.
For an adult pullover hoodie, specify pocket placement alongside finished pocket dimensions, hand openings and the surrounding front-panel layout. The aim is to let the designer, pattern maker and sample reviewer describe the same location. A cropped body, deep rib band or oversized silhouette needs its own decisions; a single placement rule cannot settle every design.
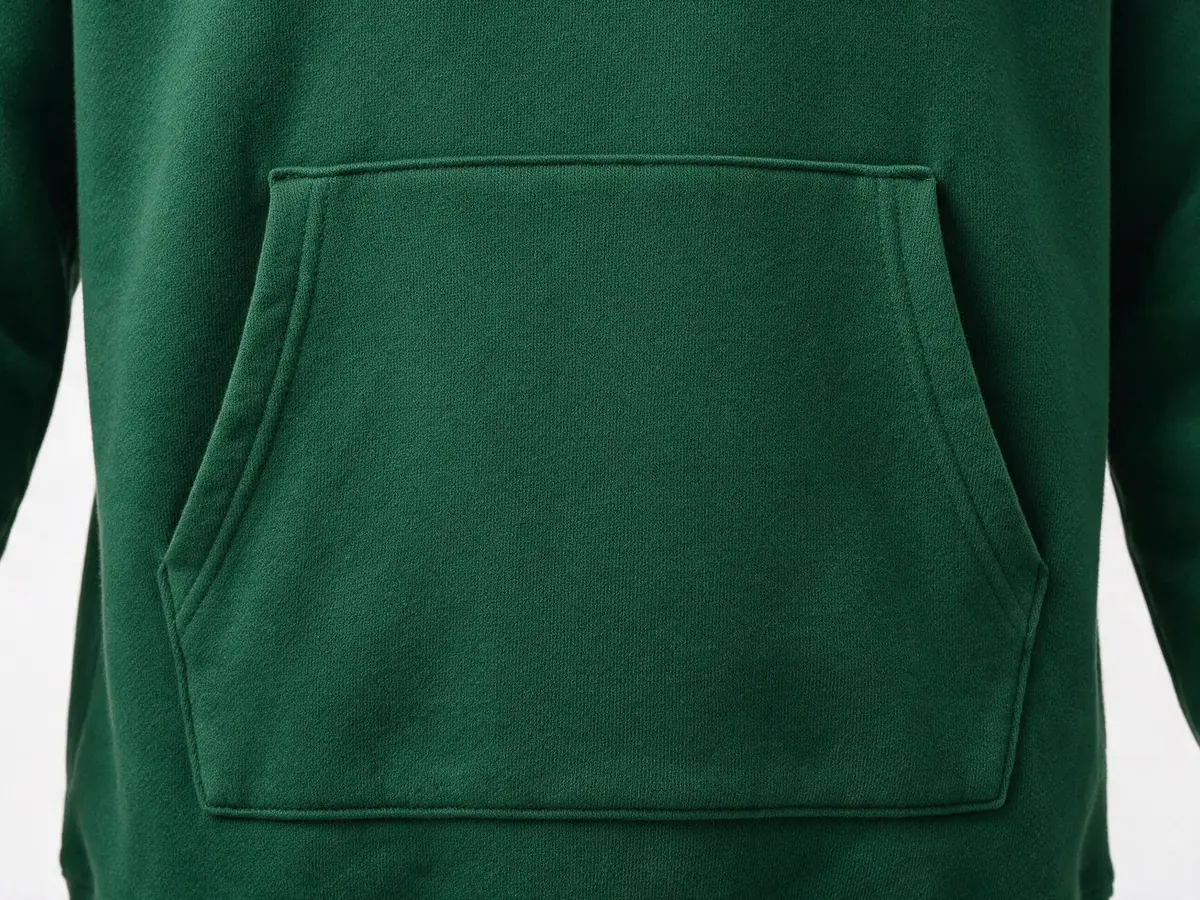
Establish a finished-garment reference before placing the pocket
Define the garment state, reference point and measurement direction before assigning a pocket position.
Start with the style revision and base size. State whether the placement callout describes the finished, laid-flat garment or the pattern. A pattern coordinate may include construction allowances that are absent from the finished measurement. Keep those instructions labelled separately so the reviewer does not compare a pattern dimension directly with a sewn pocket edge.
Describe the flat setup: front facing up, body arranged without stretching, and rib relaxed unless the measurement method explicitly says otherwise. Record whether the sample has received the project's specified finishing or washing. Do not compare a finished sample with an unfinished one without noting the difference.
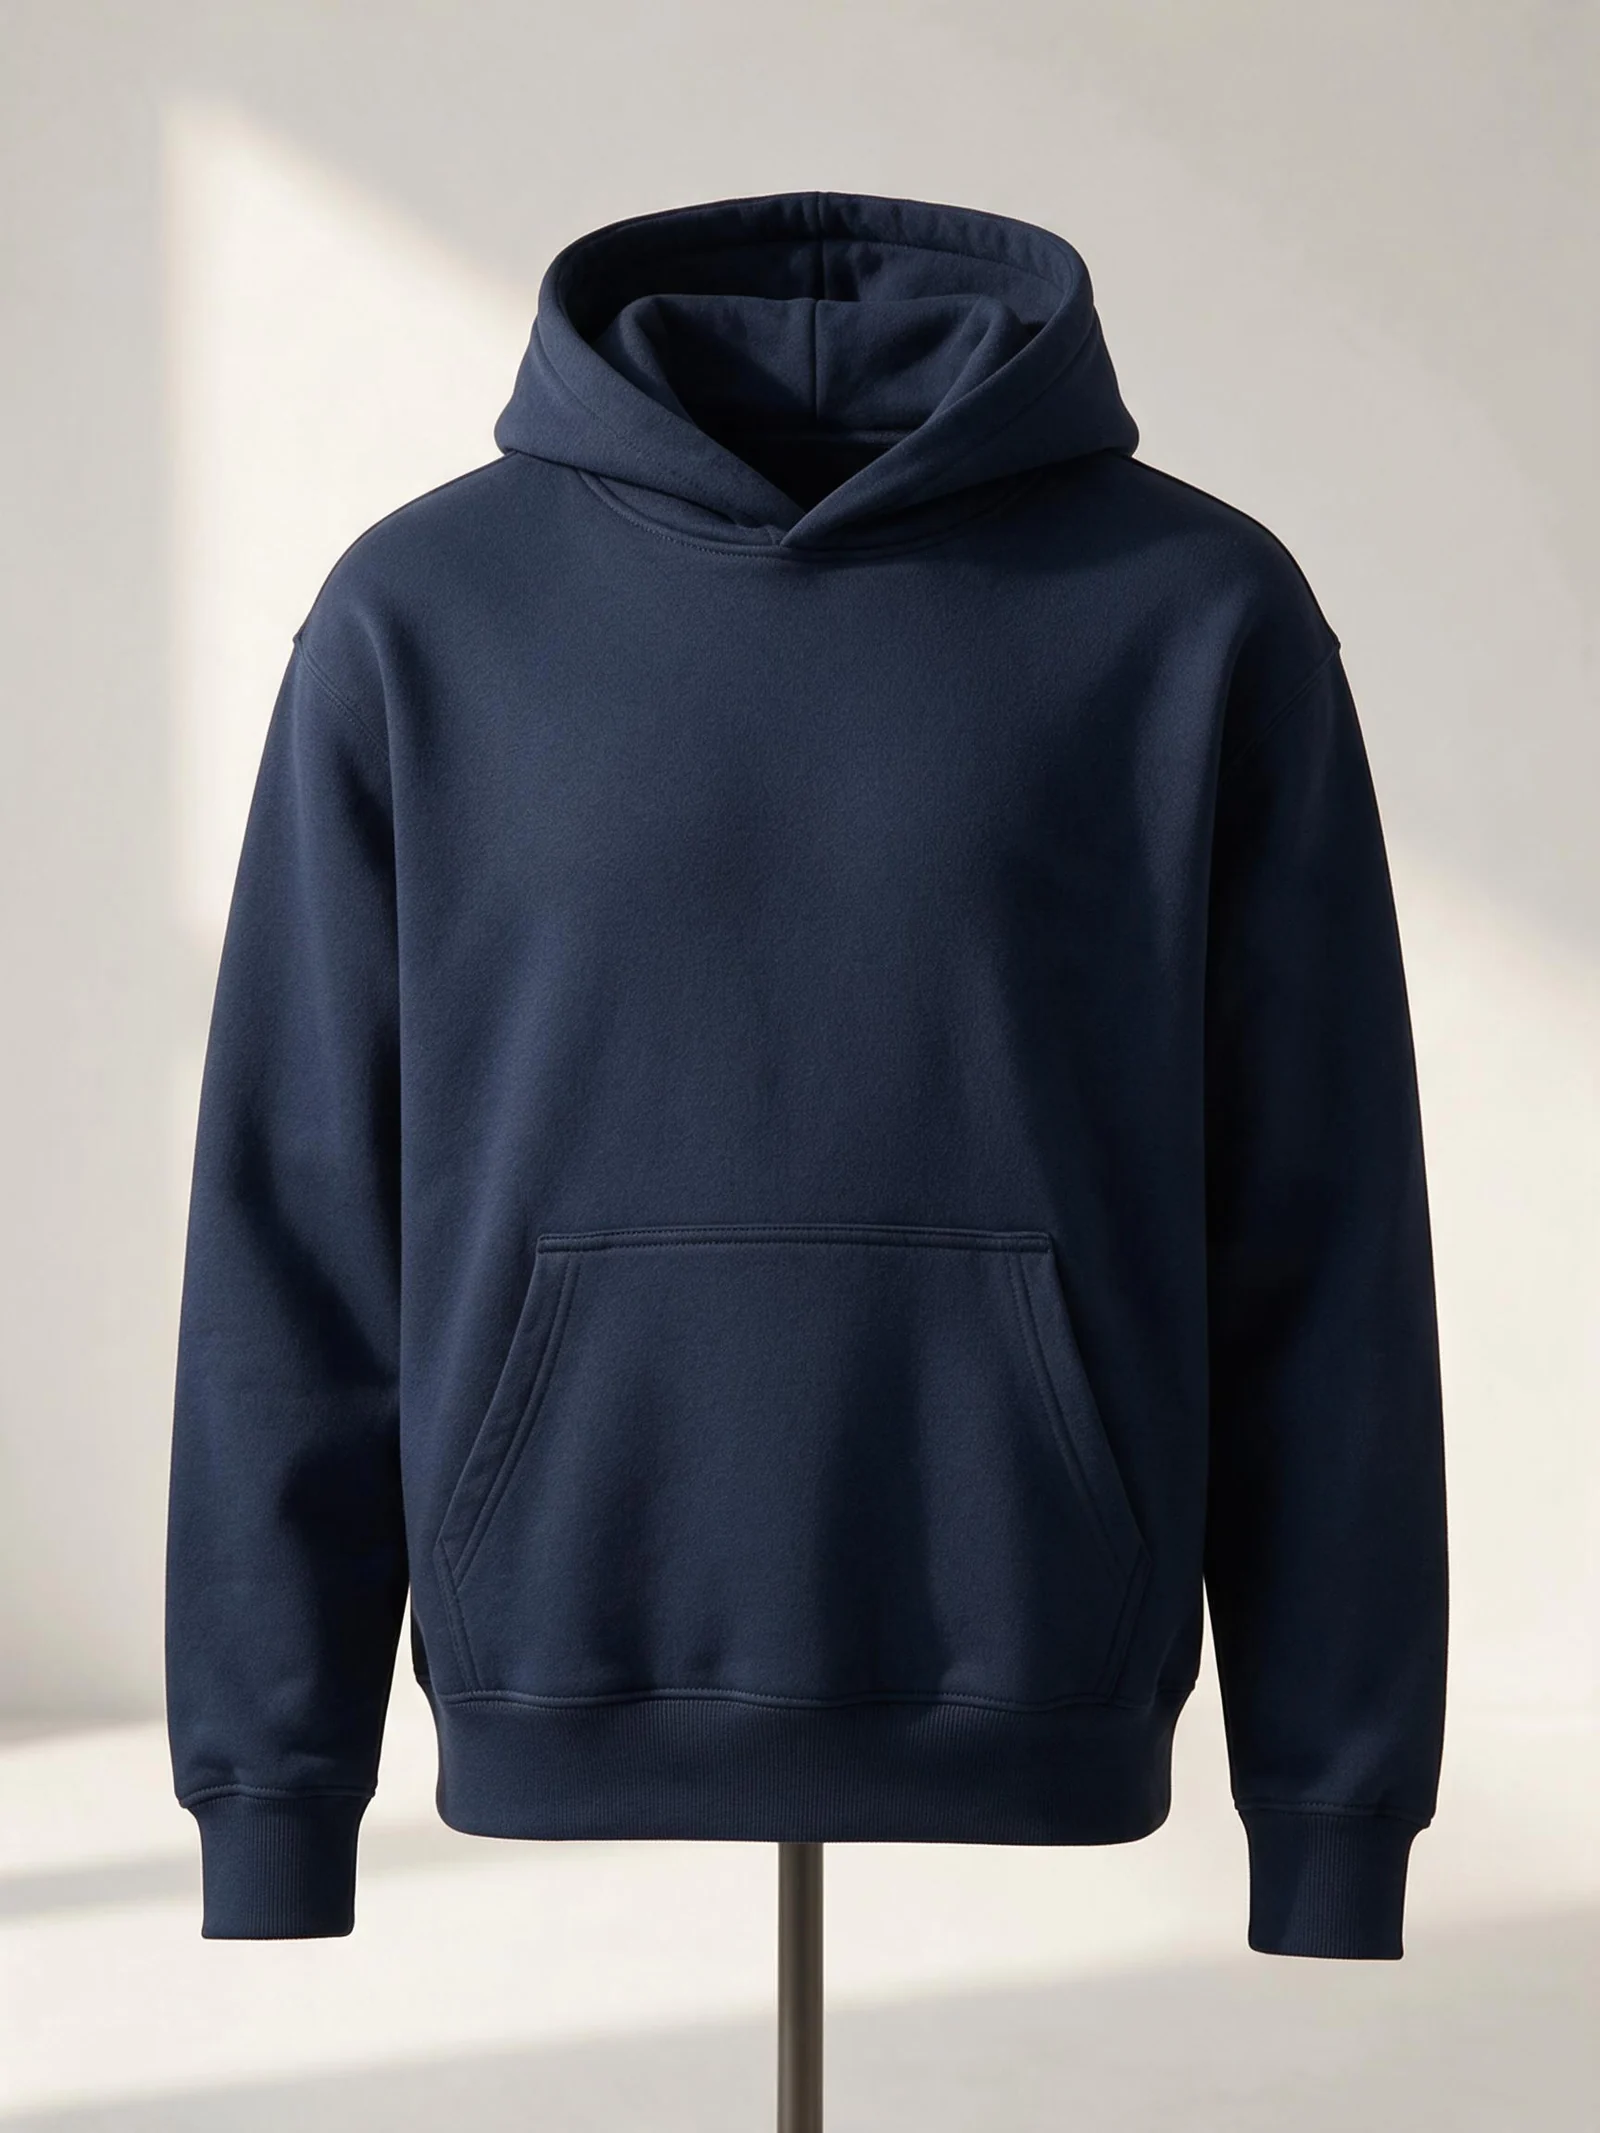
On the drawing, identify the garment center front even when there is no visible center seam. Then mark the vertical reference. This might be a defined neck point or the body-to-rib joining seam. “From hem” is incomplete if one person uses the bottom edge of the rib and another uses its joining seam.
Draw the measurement arrow all the way to a named pocket point. Specify whether it runs vertically, horizontally or along an edge. Choose a controlling reference for placement; if you also show a cross-check dimension from another landmark, label its purpose. Otherwise, a later body-length change can leave competing instructions on the same drawing.
Separate pocket size, usable opening and placement
Record finished pocket dimensions, usable entry and garment location as separate specifications.
Pocket width and height describe its outline. They do not, by themselves, define the opening through which a hand enters. An angled opening also needs named endpoints and a stated measurement path: the distance along the opening edge differs from its vertical projection.
Use a labelled front drawing with a short specification table:
| Specification | What to identify |
|---|---|
| Finished pocket outline | Width and height at named points, excluding any concealed allowance |
| Hand opening | Entry endpoints, finished edge and measurement path |
| Vertical placement | Garment reference, pocket endpoint and direction |
| Horizontal placement | Relationship to center front and any intended offset |
| Left and right relationship | Symmetrical design or separately defined positions |
Define left and right from the wearer's perspective. For a symmetrical pocket, show how its position relates to center front and which features should mirror each other. If the design is intentionally asymmetric, record the difference instead of asking the reviewer to make both sides equal.
A requested opening change should also identify what stays fixed. Lengthening an entry may alter its endpoints or the pocket outline; moving the whole pocket changes its garment position. State the intended result so the technical team can work through the construction without silently changing another approved feature.
Check the pocket against the rib seam and artwork
Define the pocket's relationship to the rib junction and graphics before approving the front layout.
First establish whether the pocket ends above the rib seam, meets it, or is incorporated into that junction by design. For a separate pocket, identify the finished pocket edge and seam line used to measure the gap. Do not substitute the lower edge of the rib band for the body-to-rib seam.
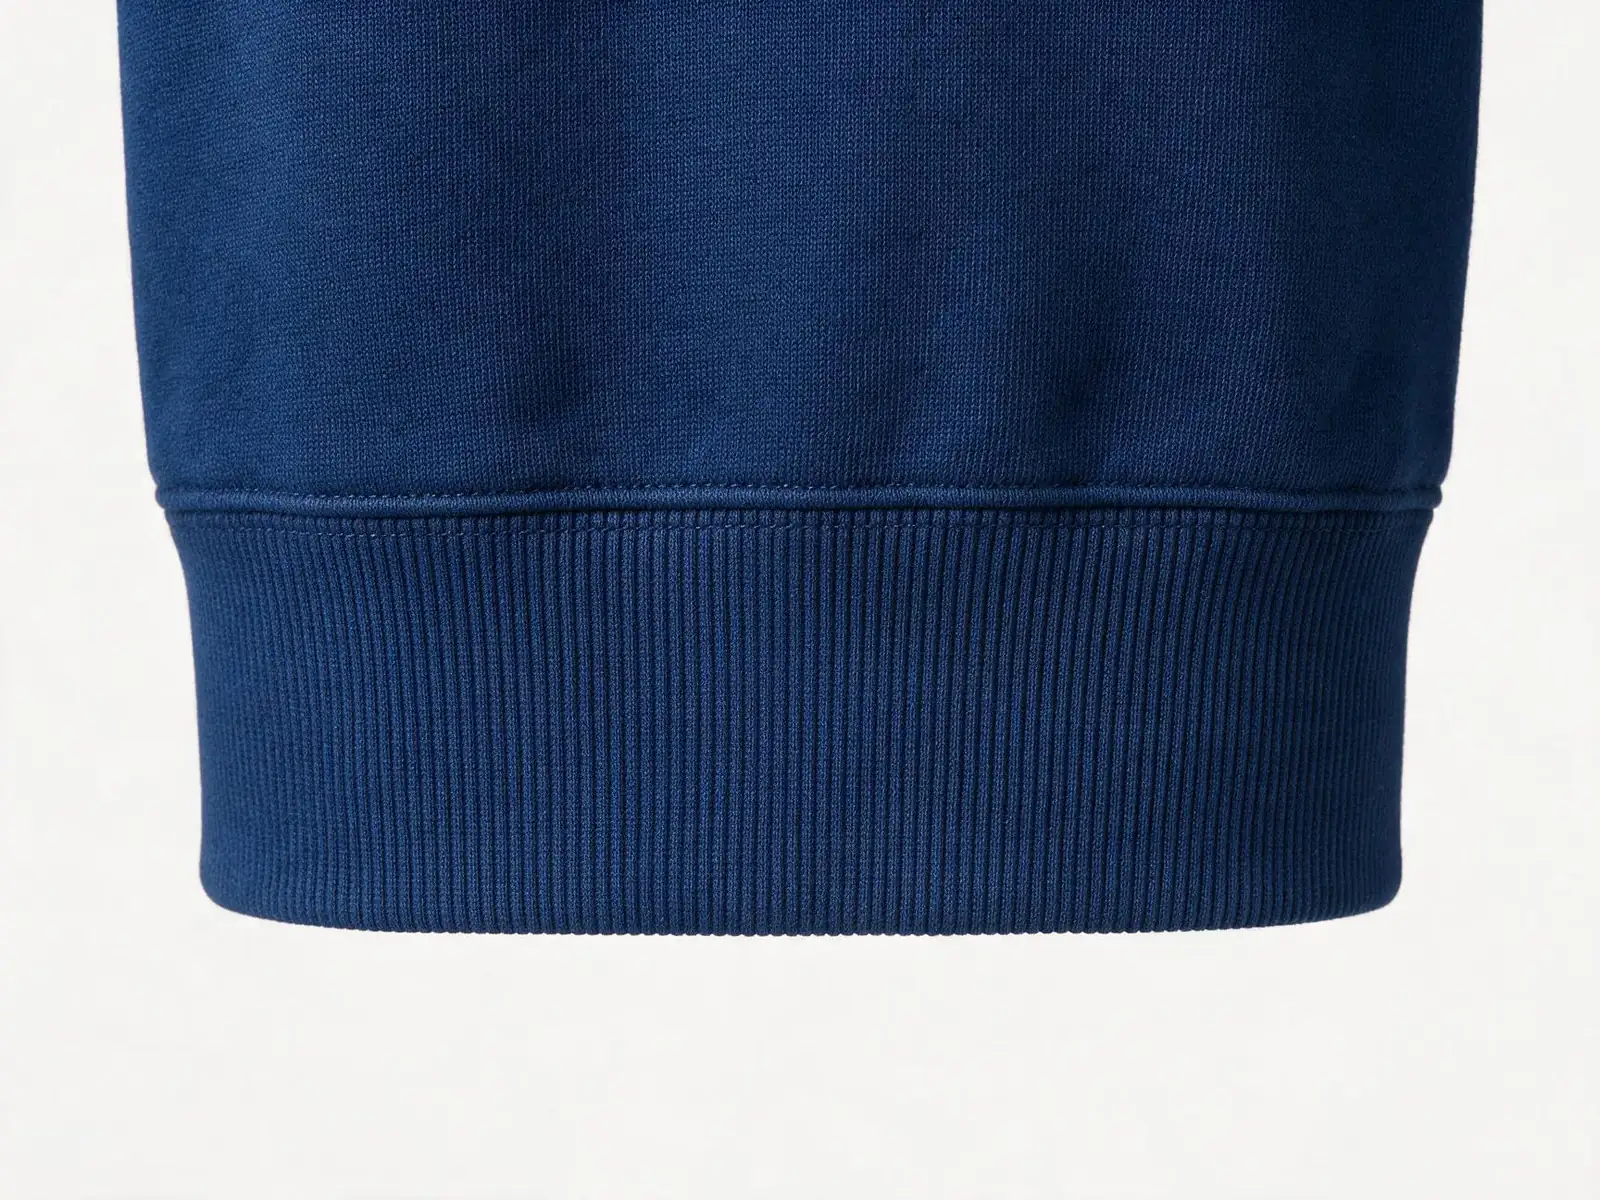
If the pocket is caught into the junction, ask the technical team to document the assembly rather than copying a gap specification from another style. Review the resulting pocket shape and access on the sample. Visible puckering or distortion should be recorded as an observation with its location, not diagnosed from a photograph alone.
Place the artwork outline on the same front drawing. Show whether it belongs entirely above the pocket, sits on the pocket or deliberately crosses a construction line. Include the artwork's actual bounding area and reference points; a logo centerline alone does not describe how its lowest edge meets the pocket.
Ask the decoration and garment teams to confirm the space and construction sequence required for the chosen process. Do not apply an unverified clearance from a different print or embroidery method. Include this layout check in the wider autumn/winter sample quality review, alongside the garment's other approved details.
Review placement across sizes and wearing conditions
Specify how each placement point changes by size, then review the result on the intended garment shape.
A base-size approval does not define the rest of the size range. State which pocket dimensions and coordinates change, which remain fixed and where a separate size-specific decision is needed. The technical team should confirm the grade against the garment's body-length and width changes; increasing every pocket dimension by the same proportion is not a universal solution.
Use the agreed flat method to check the specification first. Then review the worn position separately on the intended fit reference. Observe hand access, the pocket's position on the body and how the front hangs with hands inserted and removed. These observations inform design approval; they do not establish a load rating or durability result.
Keep the garment size, fit reference and wearing conditions with the comments. Compare like conditions when reviewing a revision. An image taken at a different angle, or a hoodie pulled down for the photograph, can obscure whether the pocket actually moved.
For the next round, separate “move the pocket” from “change the opening” and “change the outline.” Annotate the relevant points on the drawing and identify the revision being replaced. Use the sample review checklist to keep those comments with the other pending approvals.
Send a pocket brief that the next sample can follow
Send one current drawing, a defined measurement method and a clear list of approved and pending decisions.
Attach the pocket specification to the relevant tech-pack sections. Keep the drawing labels consistent with the measurement sheet and sample comments. Replace vague instructions such as “raise slightly” with the named point and project-specific target agreed by the design and technical teams.
Copy-ready placement brief
Is there a standard distance from the pocket to the hem?
No single distance suits every hoodie. Body length, rib depth, pocket shape and the intended worn position affect the decision. Define the exact hem or seam reference and approve the distance for the particular style and size.
Should the pocket grow with every garment size?
Not automatically. Pocket outline, opening and placement can have different grading decisions. Record the agreed size-by-size requirements and review how they work with the garment grade.
Can a reference photo replace a pocket specification?
A photo can communicate the intended appearance, but perspective and garment position make it unreliable as the sole measurement instruction. Pair it with a labelled drawing and finished-garment specifications.
Preparing an adult hoodie brief? Use the hoodie development tools to collect the front drawing, size range, material direction and pocket requirements for project review.
You can also select and copy the text manually.