
Adult Streetwear · T-Shirt Development
Boxy vs Oversized T-Shirt Fit: Width, Length and Sleeves
A boxy T-shirt emphasizes width relative to body length; an oversized T-shirt emphasizes extra room relative to the intended wearer. The terms can overlap. A shirt can be both wide and short, or roomy with a longer body. Neither label specifies the shoulder position, sleeve shape or finished measurements needed for development.
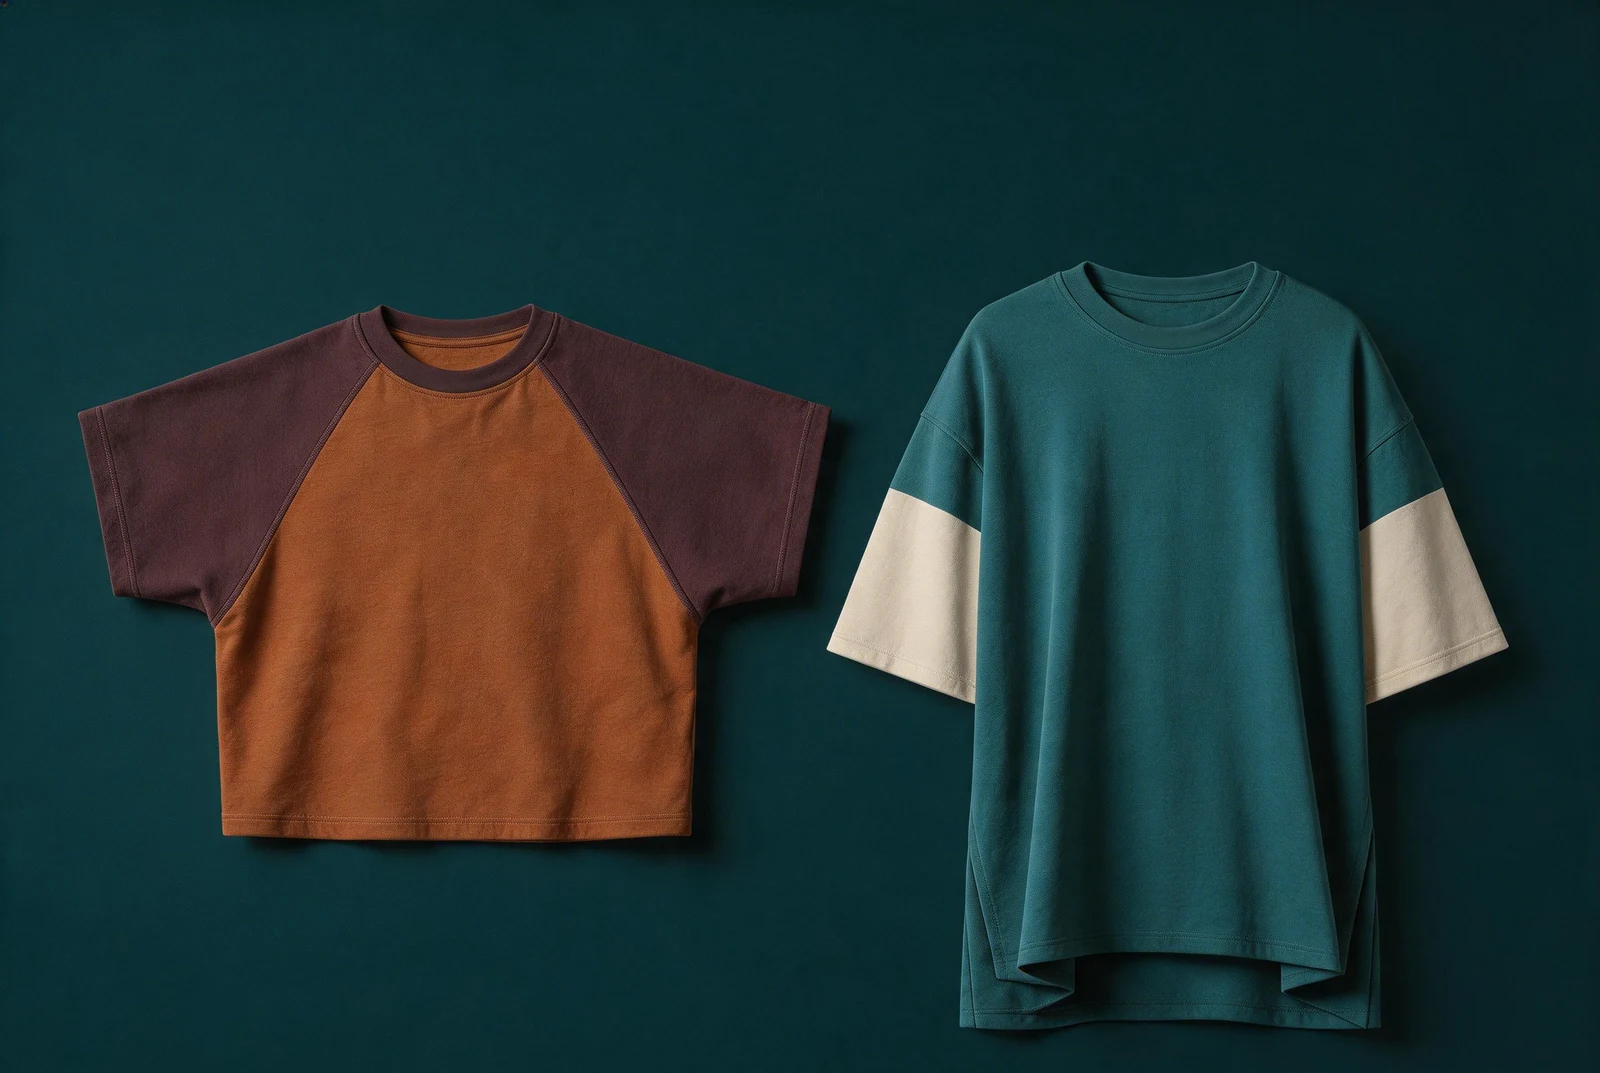
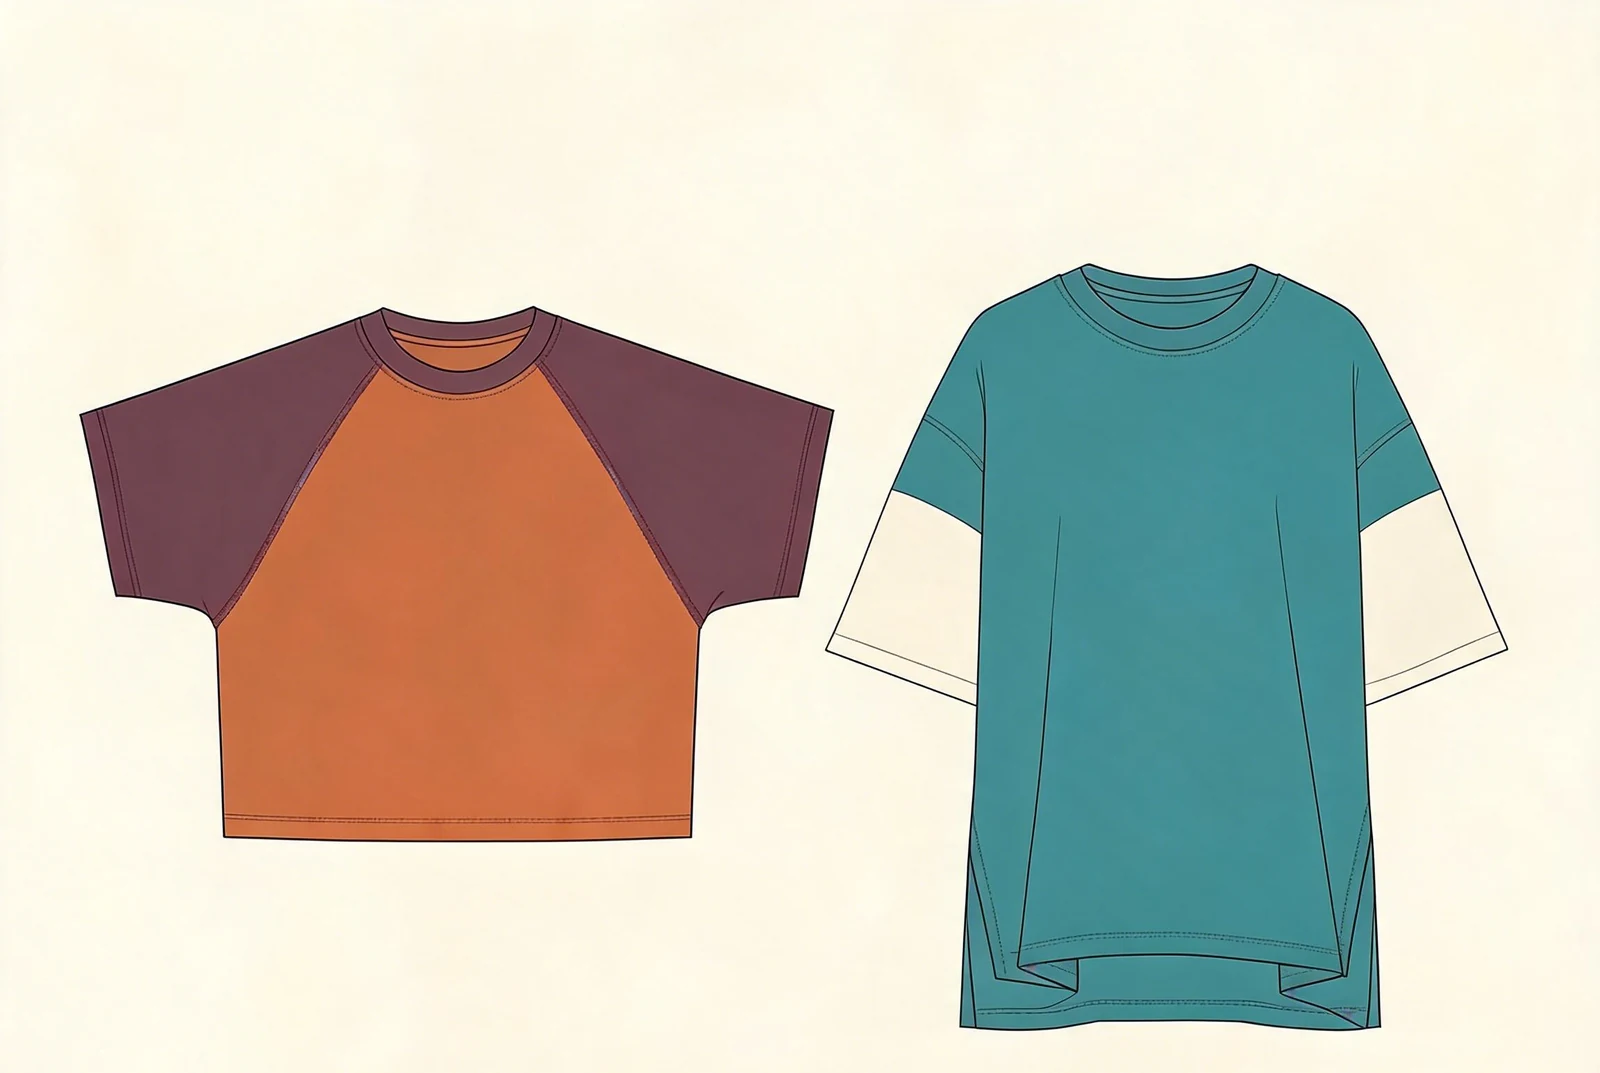
For an adult streetwear collection, choose the intended outline first, then turn it into a base-size specification. This guide explains how to separate those decisions and compare sample revisions. The images illustrate garment design directions and drawing references; they do not establish finished measurements or fit on a wearer.
1. Define the silhouette behind the fit name
Use boxy and oversized as design descriptions, then explain what each means for your collection. There is no universal dimension at which a T-shirt becomes boxy or oversized. Brand labels and size names alone cannot settle the fit.
For a boxy direction, describe the relationship between width and length, where the hem should sit, and whether the side outline should look straight or taper. Boxy does not automatically mean cropped: a shirt can look wide and square without exposing the waist. State the desired hem position on the intended wearer instead of relying on the word.
For an oversized direction, define where the additional room belongs. Extra chest space, a dropped shoulder, a deep armhole and a wide sleeve are separate choices. A longer body is another choice. Increasing all of them together may produce a silhouette that differs from the reference you wanted.
As a planning example only, two proposed base-size shirts might both measure 62 cm across the chest, with body lengths of 66 cm and 76 cm using the same measurement route. The shorter option has a different width-to-length balance, although chest width is unchanged. These invented dimensions illustrate the comparison; they are not a recommended size chart or measurements of the images.
2. Lock width and length to clear measurement routes
Compare like-for-like measurements before deciding that one fit is wider or shorter. Flat garment width, finished garment circumference and wearer chest circumference are different entries. Do not place them in one column without identifying which value is being recorded.
Define the chest measurement line on a drawing: mark its distance below the armhole or another agreed reference. Lay the garment flat in the agreed condition without stretching it, smooth it consistently, and measure across the marked line. Record the unit, sample version and whether the value is a flat width or a circumference.
For body length, identify the start and end points. A route from the high shoulder point beside the neckline is different from a centre-back route. Specify whether the neck rib is excluded, whether the route follows the garment surface, and where it ends at a shaped or stepped hem.
| Point of measure | Define in the brief | Why it matters |
|---|---|---|
| Chest width | Marked level and relaxed flat width | Separates body room from overall length |
| Body length | Start point, route and finished hem endpoint | Makes shorter and longer options comparable |
| Shoulder width | Left and right shoulder-seam endpoints | Records seam placement across the upper body |
| Sleeve length | Shoulder seam or other named start point to cuff edge | Avoids confusing shoulder drop with sleeve extension |
| Sleeve opening | Flat edge-to-edge width or stated circumference | Records the opening independently of sleeve length |
Add the chosen routes to the tech pack measurement chart. Agree tolerances for the specific fabric and construction. A tolerance describes permitted variation around an approved target; it should not be used to leave the intended silhouette undecided.
3. Balance shoulder drop with sleeve length and opening
A wider shoulder can move the sleeve edge even when the sleeve-piece length stays unchanged. Review the seam position and sleeve endpoint together on the intended wearer. Measuring only from the shoulder seam can conceal a change in the total reach of the sleeve.
Start with the desired shoulder seam location. Then mark where the sleeve should end relative to the upper arm or elbow. Record sleeve length using the agreed route, and describe the opening separately. A wide, short sleeve and a narrow, long sleeve can give very different outlines on the same body width.
Armhole depth also needs its own decision. More chest width does not guarantee comfortable movement, and simply lowering the armhole is not a reliable correction for every restriction. On the sample, observe the underarm, sleeve and body during forward reach and an overhead reach. Record where the garment pulls or lifts before proposing a pattern change.
Use front, side and back views of the same identified sample to compare balance. Keep the wearer's posture, camera position and garment condition consistent where practical. Ask the technical team to review connected pattern changes; a request to move one seam can affect adjoining pieces. A drawing helps communicate intent, but does not replace a fitted sample.
4. Review fabric behavior and the finished hem
The same nominal measurements can look different in fabrics with different drape and recovery. Fabric weight alone does not determine how a wide body hangs. Knit structure, finishing, stretch behavior and the garment's construction also matter.
Use the intended fabric for the fit decision where possible. If the first sample substitutes another jersey, identify that substitution and keep fabric-dependent decisions open. A width that looks controlled in one material may fold or cling differently in another. Do not approve a final silhouette solely from a flat image or an unlabelled substitute.
Agree the sample condition before comparing measurements: for example, as received or after the specified care procedure and rest period. Keep those records separate. A length change after washing can affect coverage and proportion, but a photograph cannot establish shrinkage performance or its cause.
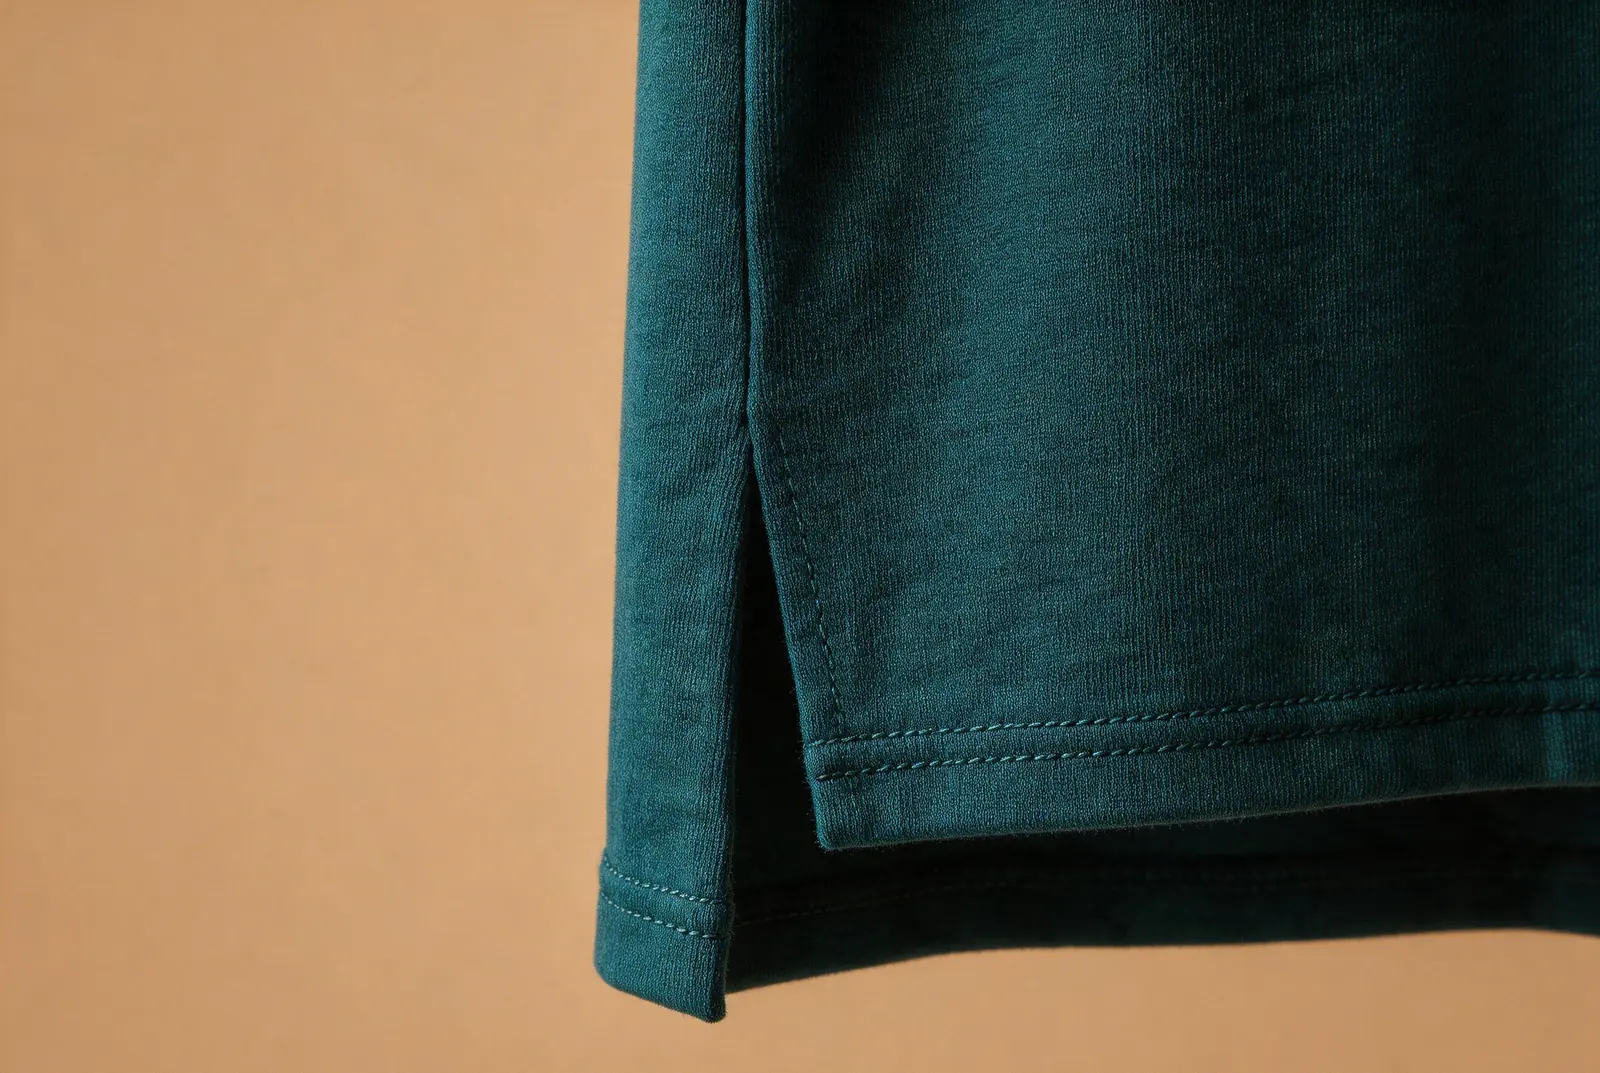
Define the hem treatment with the length. A straight hem, curved hem, side opening or longer back can change both the visible outline and where the tape should end. Record front and back lengths separately when required, along with the side-opening height and its measurement reference. Check the hem during sitting and reaching, as well as standing.
5. Approve the base fit before extending the size range
Resolve the intended base-size silhouette before treating the grade rules as final. Grading changes a defined pattern across sizes; it does not resolve an unclear choice between a short wide body and a longer relaxed one.
Keep one consolidated revision list for each sample. Separate observations from requested outcomes: “the hem sits below the intended waist reference” is an observation; “raise the hem while retaining the approved chest width and shoulder position” describes the desired result. Ask the technical team to confirm the pattern correction, then repeat affected fit checks.
A useful handoff records the following:
- Style code, sample version, intended wearer profile and base size.
- Approved chest width, body length and their measurement routes.
- Shoulder position, sleeve endpoint, opening and movement observations.
- Fabric reference, substitutions, care condition and hem construction.
- Features to preserve, requested revisions and decisions still open.
Once that base direction is agreed, use a separate body and garment measurement record for size grading. Do not assume every dimension should increase by the same amount. Review the relevant sizes with the technical team to preserve the intended proportions across the planned range.
Follow the sample review process to record exactly what has been approved. Fit approval does not automatically approve substituted materials, final decoration or care performance. Request written confirmation of development work, revisions and shipping before comparing sample quotations.
GoVoloom's MOQ is 50 pieces. Size allocation, materials, development scope and production details need project-specific written confirmation. A fit name or reference image does not establish those commercial terms.
6. Questions before developing a boxy or oversized T-shirt
The fit brief should describe observable proportions, not rely on the size label. These questions help distinguish design choices from measurement and sampling decisions.
Is a boxy T-shirt always oversized?
No. Boxy describes the balance of width and length, while oversized describes extra room relative to the intended wearer. The two can overlap, but neither label establishes the other.
Can I create an oversized T-shirt by sizing up a regular fit?
Sizing up can add room, but it also follows that style's existing grading. It may change length, neckline, shoulder position and sleeves differently from the intended oversized design. Review a defined base fit instead.
Does a boxy T-shirt have to be cropped?
No. Boxy does not define a fixed hem position. Specify where the hem should sit on the intended wearer, then set width and length together.
Should I approve T-shirt fit from a flat measurement sheet alone?
No. The sheet records dimensions but does not establish drape, coverage or movement. Review the actual sample in the intended fabric and agreed condition, then document the approved features and open decisions.
Use the custom T-shirt development page to organize the product brief, then send your references and planned quantity. Include the desired body balance, shoulder position and sleeve outline so the discussion starts with a defined fit direction.