
Adult Streetwear · Embroidery Placement
Logo and Name Embroidery Placement: A Streetwear Sampling Brief
For adult streetwear, logo and name embroidery placement needs an approved artwork version, finished dimensions, a defined position and a sample that shows the result on the intended garment. “Small left chest” or “name near cuff” leaves decisions open: whose left, how small, measured from where, and readable in which direction?
A hoodie chest, a sleeve above the cuff and a cap front each need their own placement instructions. Use the same approval method across the collection, while allowing the artwork size and construction to change with the surface.
Lock the artwork before placing it
Approve the design file and its intended appearance before asking the sample team to interpret placement.
Give the artwork a file name and revision identifier. Include the exact spelling, capitalization, punctuation, line breaks and orientation. For script names, preserve the chosen letterforms; supplying only a font name can leave room for substitution. Supply vector artwork where available, plus a readable reference image, and identify the version that controls approval.
Record the finished width and height, thread color references and whether flat, raised or appliqué embroidery is being considered. A screen color is a reference for discussion; approve the physical thread appearance under agreed viewing conditions. Ask which fine details need adjustment at the intended size, then approve those changes explicitly.
Artwork is not a machine stitch file. Digitizing must account for the selected fabric, backing, dimensions and construction. The embroidery technique page explains the broader process; this brief records the decisions for a particular placement. A change to the name, line break or logo proportions should create a new revision, not overwrite the approved reference.
Define measurements that another person can repeat
Measure placement from named garment points to named artwork edges or centers, using a stated garment condition.
State “wearer's left” or “wearer's right.” Draw the garment front or sleeve view and label it so a mirrored photograph cannot reverse the instruction. Define whether the garment is laid flat and relaxed, fastened, or positioned as worn. Do not stretch a cuff to obtain the placement measurement unless the brief specifically calls for that condition.
| Brief field | What to record |
|---|---|
| Garment identity | Style code, sample revision, size and fabric reference |
| Artwork identity | File name, revision, exact text and orientation |
| Finished artwork size | Width and height, including whether outlines are included |
| Horizontal position | Named seam or centerline to artwork edge or center |
| Vertical position | Named neckline, cuff seam or cap reference to artwork edge or center |
| Acceptance | Agreed placement tolerance, measurement condition and approved reference |
Use one unit throughout. Avoid a dimension arrow that stops vaguely beside the lettering. If the position is measured to the artwork center, mark that center on the drawing. Include this sheet in the tech pack for the sample and quote so later comments refer to the same coordinates.
Adapt the placement to chest, cuff and cap
Keep the reference method consistent, but approve each placement on its own garment construction.
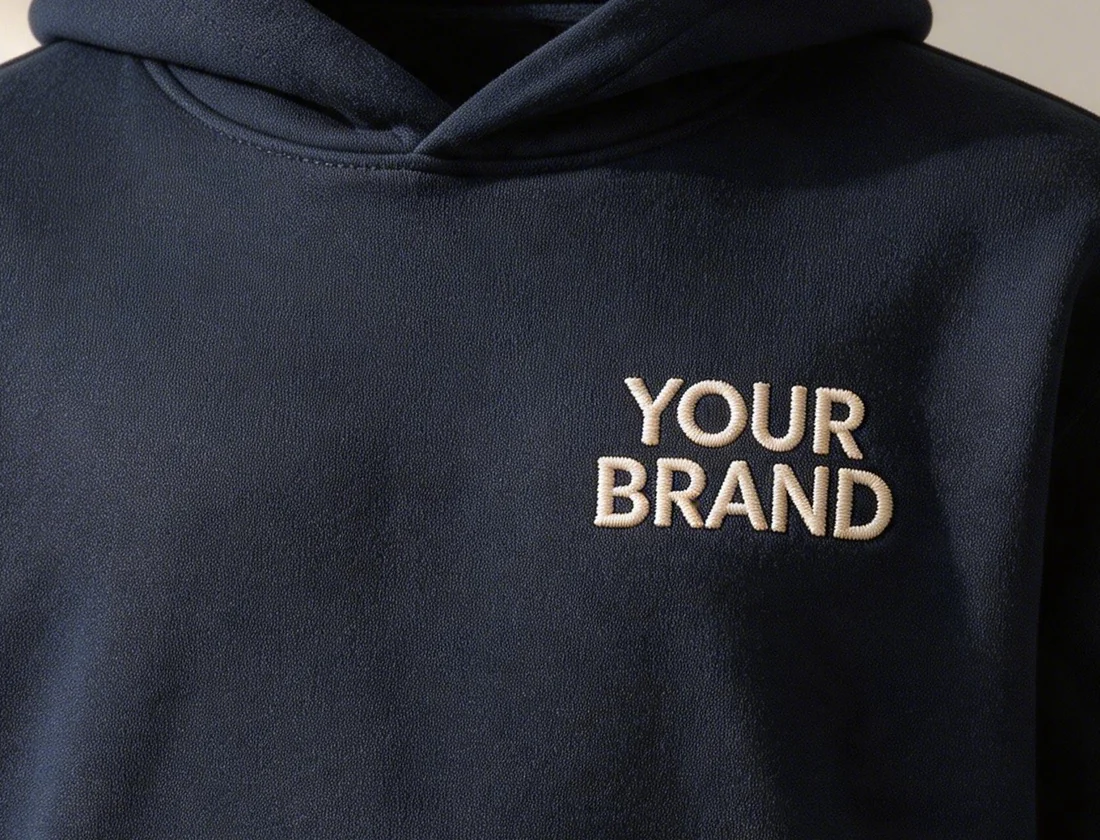
Hoodie chest: balance the wordmark with the silhouette
A dropped shoulder, wide body or zip front changes the space around a chest logo. Check the wordmark against the center front, neckline, armhole and pocket; do not use the photograph's frame as the datum. Record both measured placement and how it looks when worn. If visual balance calls for an offset, draw and measure it rather than leaving “center by eye” as the instruction.
Decide whether artwork dimensions stay constant across sizes. If placement changes with size, provide a size-specific rule and identify which sizes need sample review.
For a hoodie project, prepare a custom hoodie brief that keeps the fabric, fit, quantity and embroidery placement requirements together.
Name near the cuff: specify the panel and reading direction
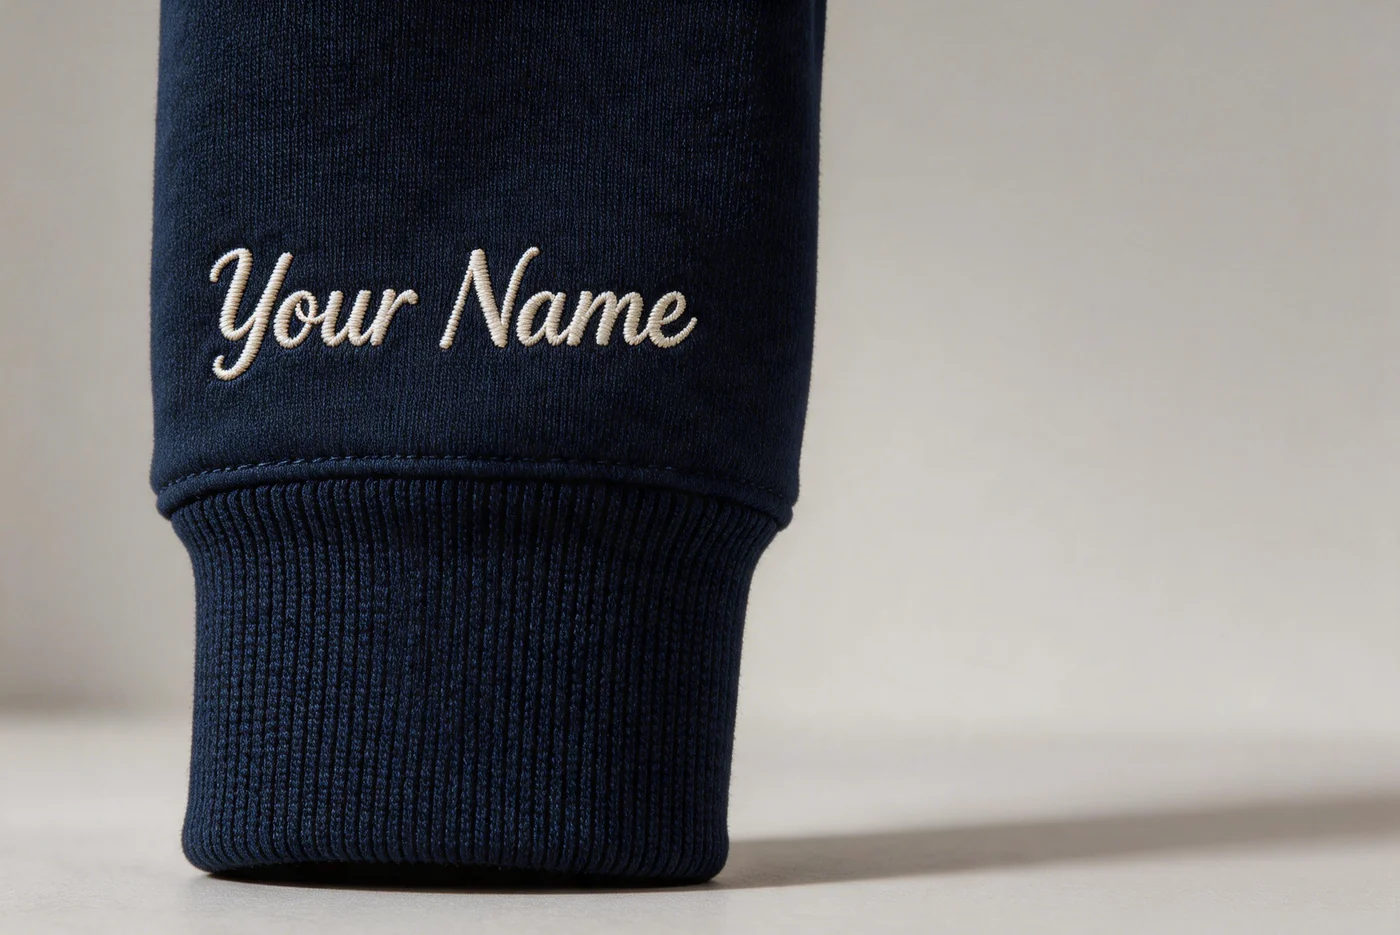
“Cuff embroidery” might mean stitching on the rib or on the sleeve above it. Name the intended panel and mark the distance from the cuff joining seam. Show which way the text reads when the arm hangs down, and check whether sleeve rotation moves it out of view.
For different names, define whether letter height stays fixed or the design fits a fixed width. Request a review of longer and shorter names before approving a shared layout. Shrinking every long name automatically can change the appearance and legibility.
Cap front: review the curved surface
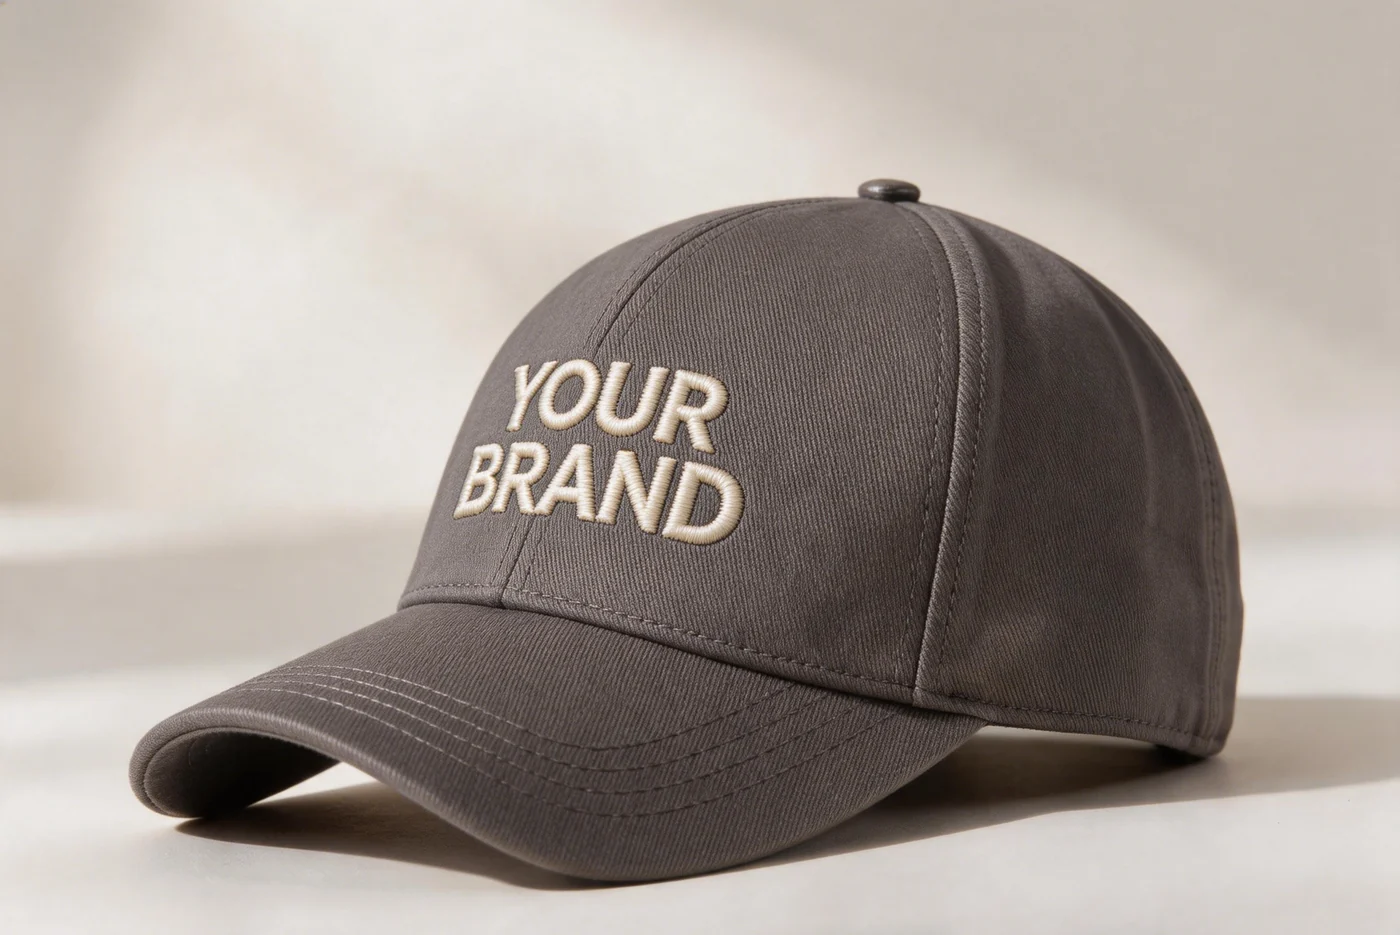
Specify the cap construction and front panel before locking the logo dimensions. Mark the centerline and a clear brim or crown reference. Ask the sampling team to confirm the usable embroidery area and any constraint from the center seam, panel shape or equipment access. A flat artwork preview cannot settle the appearance on a curved crown.
Use the cap development brief to connect the decoration request with the cap shape and materials. Review the lettering from the front and at an angle on the assembled cap.
Review a sew-out and the finished garment separately
Use a sew-out to review the stitched design, then a garment sample to review placement and interaction with construction.
Ask what fabric, backing, thread and finishing the sew-out represents. If anything differs from the intended garment, list the substitution and the approval it cannot yet support. Check letter openings, outlines, spacing and the visibility of the smallest details at the approved size. Record visible puckering, loose threads or gaps as observations; a photograph alone does not establish their cause.
On the garment, remeasure the placement and inspect the reverse where accessible. Review backing edges, skin contact, drape and movement around the decorated area. For the sleeve, check normal wrist movement; for the cap, inspect the crown shape with the cap worn or supported consistently.
Agree any care review and acceptance criteria before it happens, then identify the sample and conditions in the record. Follow the wider clothing sampling process to keep decoration approval connected with material, fit and construction decisions.
Close the brief with a clear approval record
State exactly what is approved, what needs revision and which reference controls the next sample or production stage.
Use the following handoff checklist:
- Style, size and material reference match the reviewed sample.
- Artwork revision, spelling, line breaks and orientation are confirmed.
- Finished dimensions and horizontal and vertical positions are recorded.
- Thread references, backing and any material substitutions are identified.
- Size rules and variable-name rules are agreed where applicable.
- Comments include a marked photo, the required change and the responsible person.
- Approval names the reviewer, date, sample revision and scope; unresolved points remain listed.
“Looks good” is insufficient when only the lettering was reviewed. Write a scoped decision such as “artwork approved; sleeve position to be revised to the attached drawing.” Keep the superseded version in the record so the sample team can distinguish old comments from current instructions.
Send GoVoloom your artwork, placement drawing, garment references, planned quantities and open questions through the project inquiry form. That gives the development discussion a concrete starting point: what must be sampled, what needs clarification and what evidence is required for approval.