
Adult Streetwear · Branding Development
Clothing Label Placement: Neck, Side Seam and Hem Checks Before Sampling
Clothing label placement needs more than a marked dot on a sketch. Specify the finished label size, the seam or edge used as a measuring reference, the reading direction and how the label attaches. Then review the attached label on the garment: a correctly printed label can still sit crooked, rub against skin or disappear inside a seam.
For an adult streetwear collection, separate the visual branding decision from the product-information decision. A small hem tab may be part of the design, while an inside label may carry information that needs to be checked for the destination market. This guide focuses on placement and sample review, with a brief you can add to your tech pack.
Separate the visible label from the full component
Record finished visible dimensions and the material hidden in folds or seams as separate measurements.
A label supplier and a garment maker can interpret the same “label size” differently. One may mean the full unfolded piece; the other may mean the rectangle visible after sewing. Draw the component flat and in its attached form. Mark the fold lines, the intended sewing line and the area that should remain visible. Use one unit throughout the drawing.
Name the label construction without relying on a fold name alone. An end-fold label may have both short edges turned under and sewn down; a centre-fold tab may have its ends inserted into a seam. Show which arrangement you mean. Ask the component supplier to confirm the required fold or insertion allowance instead of adding an assumed amount to the artwork.
Keep the artwork clear of the planned stitch and fold areas. Check the text at its intended finished size, including small size marks or secondary wording. A large screen preview can hide readability problems. If a brand label and size tab are stacked together, draw their order and show which edges must remain accessible.
The tech pack section checklist connects this drawing to the material list and construction notes. Give the label its own component reference and revision. If the garment sample uses a temporary label, record which placement decisions it can demonstrate and which must be checked again with the intended component.
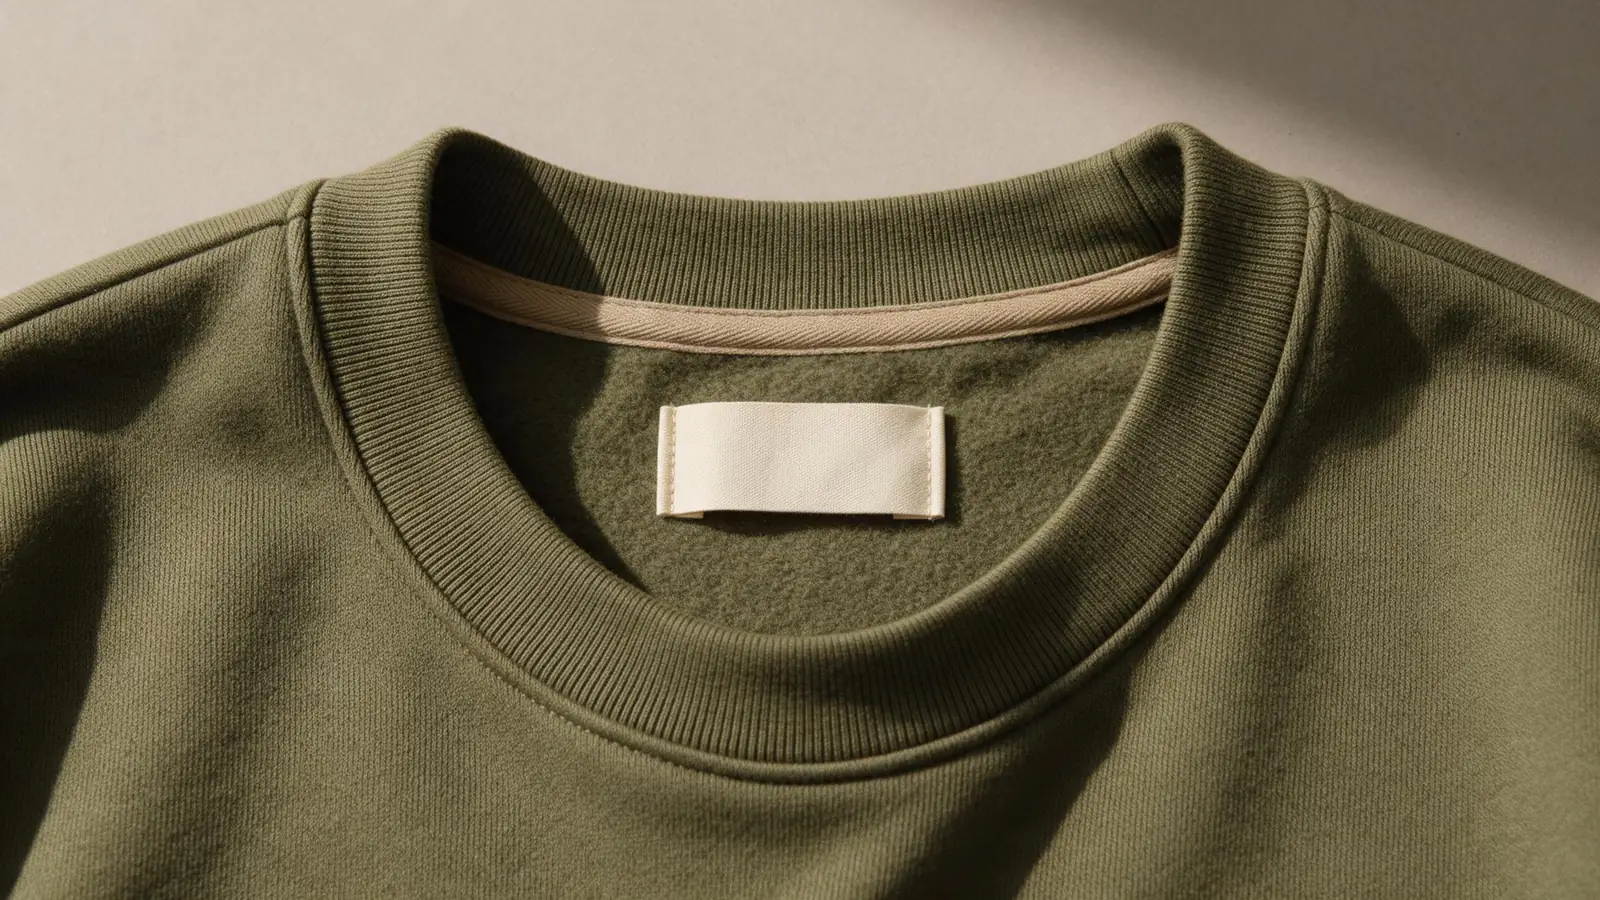
Define the neck position and review skin contact
Use the finished neckline and garment centre as named references, then assess the attached label for comfort.
For an inside back-neck label, state whether “centred” refers to the garment centre back, a back seam or another marked line. Define the vertical measurement from a specific finished seam to a specific label edge. “Below the collar” leaves both endpoints unclear. Show the label with the garment opened so the reading direction is unambiguous.
Neck tape, collar seams, lining and hanging loops can affect the available space. Draw them with the label instead of treating each trim separately. For a separate size tab, show whether it sits beside or below the brand label and which side faces outward when the neckline is opened.
Review the sewn sample from inside and outside. Check whether the label lies flat, whether the attachment distorts the neckline and whether unwanted stitching shows through the outer fabric. Handle the corners and folded edges, then assess contact in the intended wearing position. A photograph cannot establish softness or skin comfort; those questions remain open until the actual component and assembly are reviewed.
Distinguish inside side-seam labels from visible hem tabs
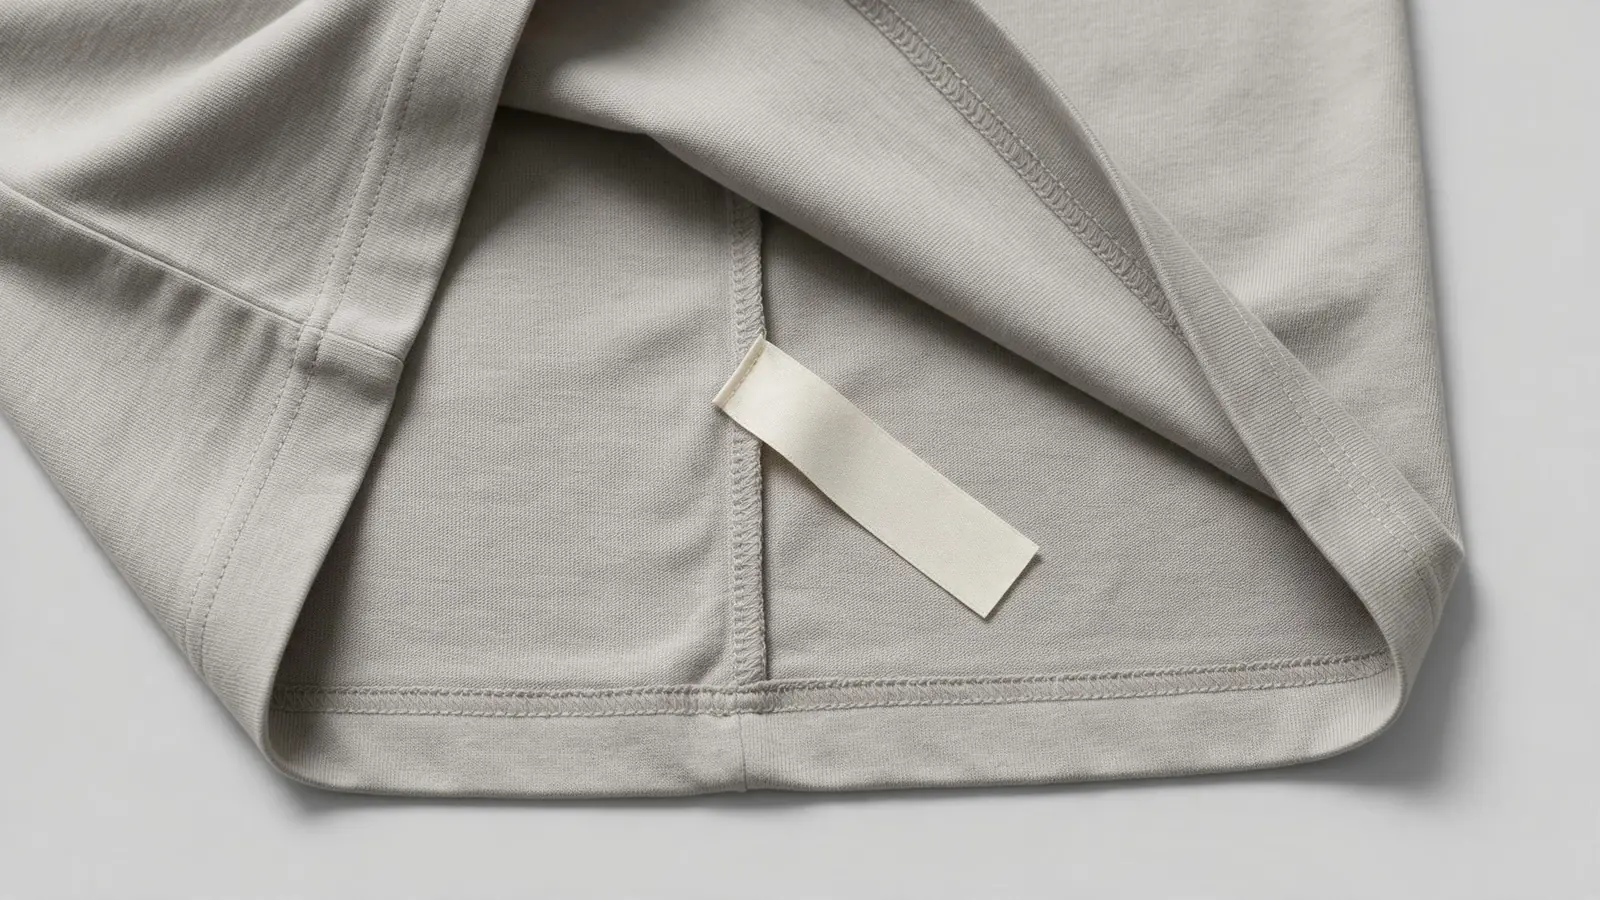
Mark the wearer's side, the attachment reference and the exposed portion before choosing a side-seam or hem position.
For an inside side-seam label, specify wearer's left or right and identify the inside face in the drawing. Give the measurement from a named reference, such as the finished hem, to the label's attachment point. Do not describe only where its free end should fall: changing the label length would then change the sewing position without making that decision explicit.
Show how the label opens for reading and whether several leaves sit together. Check that the finished seam does not cover text or catch a free leaf. Where information belongs on more than one face, supply those faces in reading order and review the assembled result. A blank placement label can demonstrate location, but it cannot approve the final wording or its legibility.
On a T-shirt, review the label together with the side-seam finish and hem turn-up. Consider contact with the body and whether the component shows through the outer fabric. Connect any placement changes to the T-shirt development brief, so the approved fabric and fit remain part of the decision.
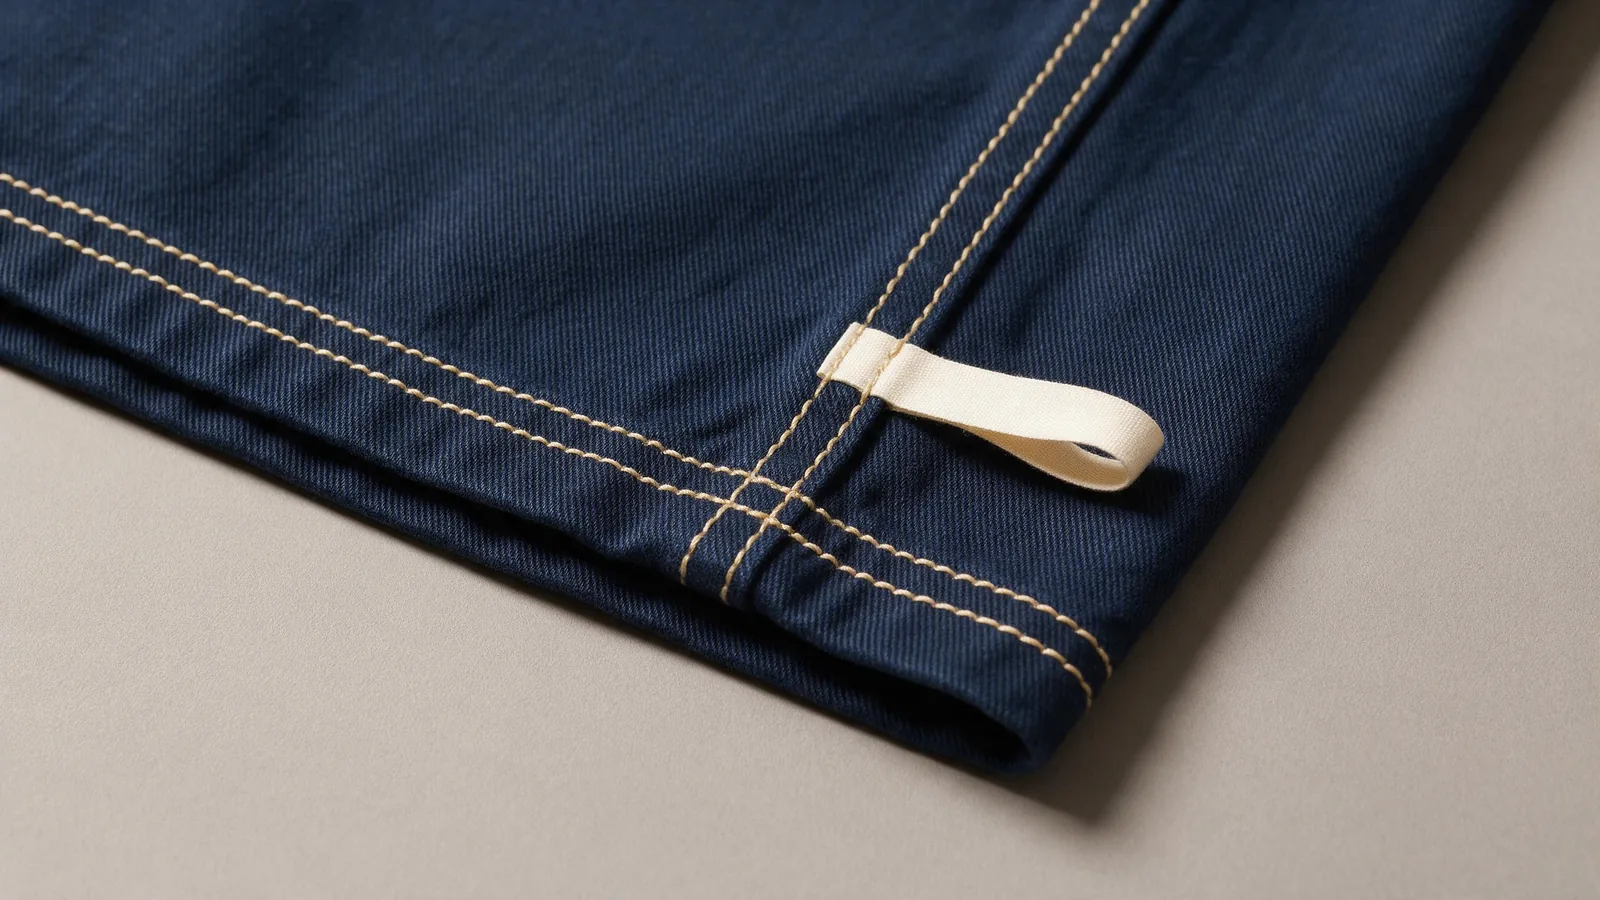
A visible hem tab needs a separate instruction for the part that projects beyond the seam or wraps around the edge. Draw the outside and inside views. Mark the visible height, reading direction and insertion line, then check that the artwork stays clear of stitching. A tab that looks centred when loose may sit differently once the garment hem is folded and sewn.
If the label is close to a side slit, pocket or placket, show that neighbouring feature. Check the smallest and largest relevant garment sizes if the available space changes. Do not automatically scale a brand label with the garment; state whether the component size stays fixed and how its placement should vary across the range.
Approve the attachment and the information separately
Keep placement, attachment, comfort and label text as distinct approval items.
Use the intended label material on the intended garment construction for the final attachment review. Record stitch position, thread appearance, label alignment and any puckering or exposed rough edge. If a corner lifts or the neckline pulls, describe the observed area and ask for a proposed revision. A close-up alone does not establish whether the cause is the label, sewing setup or garment construction.
Review label text against the confirmed garment specification and current requirements for its destination and sales channel. Fibre composition, care instructions, origin and responsible-business information may be relevant, but this is not a complete legal checklist. Assign responsibility for confirming applicable content, language and placement requirements before ordering the final labels.
Any care or durability assessment needs agreed conditions and acceptance criteria. Do not treat a visual placement approval as evidence that the lettering will remain readable or the attachment will perform during use. If a substitute label is proposed, reopen the affected checks rather than assuming that the same dimensions mean the same result.
Follow the sample review process with an identifiable sample and dated revision. Mark each item approved, to revise or still to verify. Keep the accepted garment photographs, component reference and written comments together so a later order does not rely on an outdated screenshot.
Add a label placement sheet to the development brief
Send the drawing, component specification and approval questions together, with unresolved fields clearly marked.
A placement sheet should be readable beside the garment's main specification. Use the same style identifier, size reference and version date on both documents. The private label manufacturing guide explains how branding decisions fit into the wider sample and production plan.
| Brief item | What to record |
|---|---|
| Component | Brand, size, product-information or decorative label; material reference and artwork version |
| Dimensions | Full component, visible finished area, fold lines and agreed insertion or sewing allowance |
| Placement | Wearer's side, inside or outside face, named reference and both measurement endpoints |
| Attachment | Sewn edges, stitch location, thread appearance and relationship to tape, lining or another label |
| Reading order | Front and reverse artwork, direction, leaf order and the information that must remain accessible |
| Sample decision | Component and garment version, approved points, requested changes and outstanding physical or content checks |
Write revision comments as instructions with a reference, rather than “move it slightly.” For example: keep the visible label size, change its distance from the marked neckline seam to the revised drawing value, and return an inside view plus the physical sample for review. This is a suggested comment format, not a completed customer case or a universal placement dimension.
What is the standard distance for a neck label?
There is no single placement distance suitable for every neckline and label. Mark the finished seam and label edge used for measurement, then agree the position on the intended garment sample.
Can a hem brand tab replace an inside information label?
Do not assume so. A decorative tab and required product information serve different purposes. Check the applicable content, language, permanence and placement requirements for the garment and destination before deciding the label arrangement.
Can I approve labels from a photograph?
A clear photograph can help review visible placement and reading direction. Comfort, material feel, concealed attachment and any required durability checks need their own review; the photograph does not approve those properties.
Should label placement change for every garment size?
It depends on the design and available space. State whether the label component stays the same size, identify the measuring reference and review any size-dependent placement changes before approving the range.
GoVoloom orders start at 100 pieces. You can begin with your garment references, intended label position and open questions through the project enquiry form. Front, back and side design views are preferred; front and back are the minimum starting views. Add the reference size, fabric and fit requirements as the brief develops. Use the private label quote-scope checklist to confirm sampling, label sourcing and production requirements for the project.