
Sample Development / Buyer Checklist
Activewear Sample Checklist: 7 Checks Before Bulk
A practical review sheet for clothing brands: check fit, movement, waistbands, seams and care results, then turn observations into clear sample revisions.
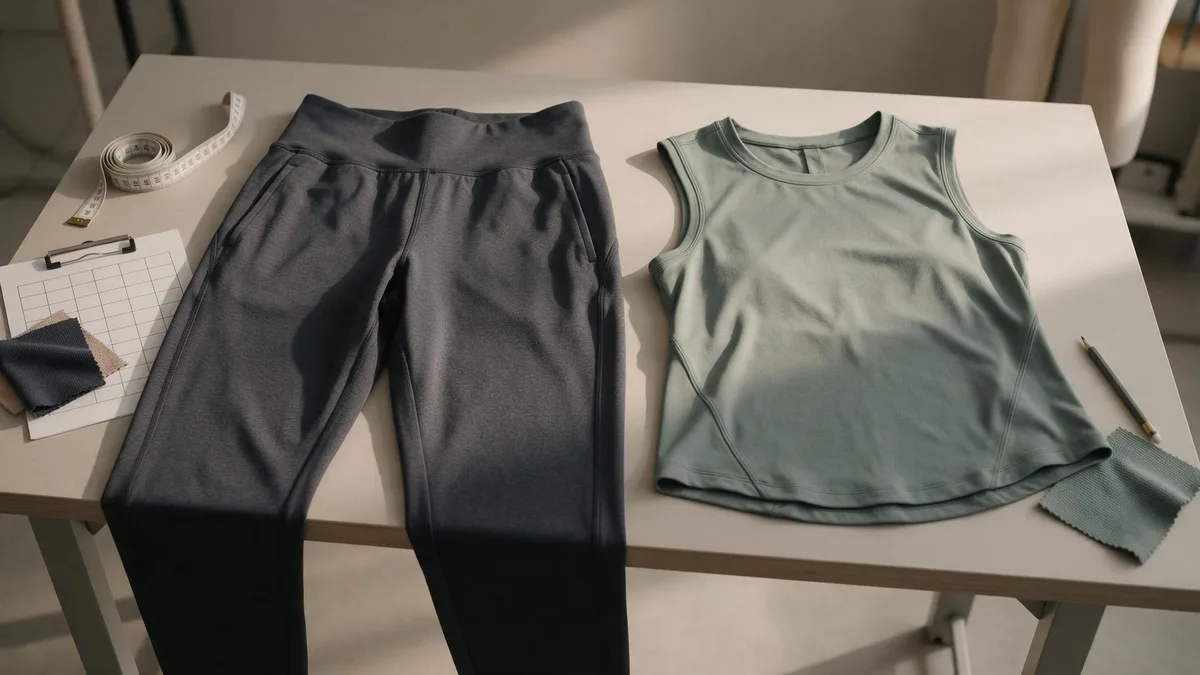
A pair of leggings can look ready in a flat-lay photo and still need another sample round. The waistband may fold during movement, a seam may feel rough, or the fit may change after washing. An activewear sample checklist helps turn those observations into specific decisions before bulk production.
This guide is for brand founders and product developers reviewing leggings and training tops. Use it alongside your tech pack and agreed acceptance criteria. It is a development checklist, not a substitute for laboratory testing or a bulk inspection plan.
What Should an Activewear Sample Review Cover?
Check fit, movement and coverage, waistbands, seams, recovery, care results and the approval record before agreeing to the next production step.
Identify the Sample Before Reviewing It
Start with the style code, sample revision, size, color, fabric reference and tech-pack version. Ask which materials or construction details are substitutes. A fit sample made in available fabric may help with proportions, but it cannot confirm how the final fabric and waistband will behave together.
Keep those details on one review sheet. If the supplier sends two revisions, label them separately before taking photographs. Otherwise, an accurate comment can end up attached to the wrong sample.
Use Seven Checks, Not One Overall Impression
| Check | What to look at | What to record |
|---|---|---|
| 1. Measurements and fit | Agreed measurement points, silhouette and ease | Specification, actual measurement and agreed tolerance |
| 2. Movement and coverage | Reach, bend and intended activity; visible coverage under stretch | Size, activity, lighting and exact location of any concern |
| 3. Waistband behavior | Rolling, slipping, digging in or twisting | Where it happens and during which movement |
| 4. Seams and finishing | Inside and outside joins, hems, labels and contact points | Close-up photo, location and observed issue |
| 5. Recovery | Shape after wear or an agreed stretch assessment | Before/after condition and assessment method |
| 6. Care performance | Dimensions, surface, seams and trims after agreed care | Wash/dry conditions and changes at the same checkpoints |
| 7. Approval record | Open issues, substitutions and permitted next step | Revision, decision, reviewer and date |
Not every concern means rejecting the whole sample. The purpose is to separate what works from what still needs a decision.
Check Fit, Coverage and Waistband Behavior
Measure the garment first, then assess it during its intended activity; a neat appearance on the table does not establish fit or coverage.
Measure First, Then Review Movement
Follow the measurement points in your tech pack. For leggings, these may include relaxed waist, hip, rises, inseam and leg opening. For a training top, check chest, body length, neckline and armhole dimensions. Use the agreed laid-flat or stretched measurement condition, rather than switching between them.
Then arrange a fit review in the intended size. Ask the wearer to stand, sit, bend and perform movements relevant to the product. Note restriction, pulling, excess fabric and areas that need repeated adjustment. Correct flat measurements do not answer every fit question.
Use four consistent photo views for your internal review: front, side, back and the relevant detail, with the wearer's permission. Share only the images and sizing information needed to communicate the issue, not unnecessary personal details.
Make the Opacity Check Repeatable
Treat coverage as a separate observation. Record the actual garment color, size, underlayer, lighting and movement used. Keep these conditions consistent when comparing revisions. A reassuring photograph in soft light is not evidence that every color and size will provide the same coverage.
Describe what was visible and where, rather than writing only “not squat-proof.” If coverage is part of your product claim, agree on a suitable evaluation protocol and acceptance criteria before approval. A casual stretch check is useful for finding concerns, but is not certification.
Still deciding between fabric options? Use the nylon vs polyester for activewear guide for that earlier decision. This checklist evaluates the resulting garment rather than declaring one fiber the winner.
Watch the Waistband Without Constant Readjustment
Ask the wearer to begin with the waistband positioned as intended, then avoid pulling it back into place throughout every movement. Record whether it folds, shifts or creates a pressure point, and whether the issue occurs at the front, sides or back.
Do not immediately prescribe “make the elastic tighter.” Ask the pattern and sample team to review the observation against the waistband construction, measurements, material and fit. Changing one component can affect other parts of the garment.
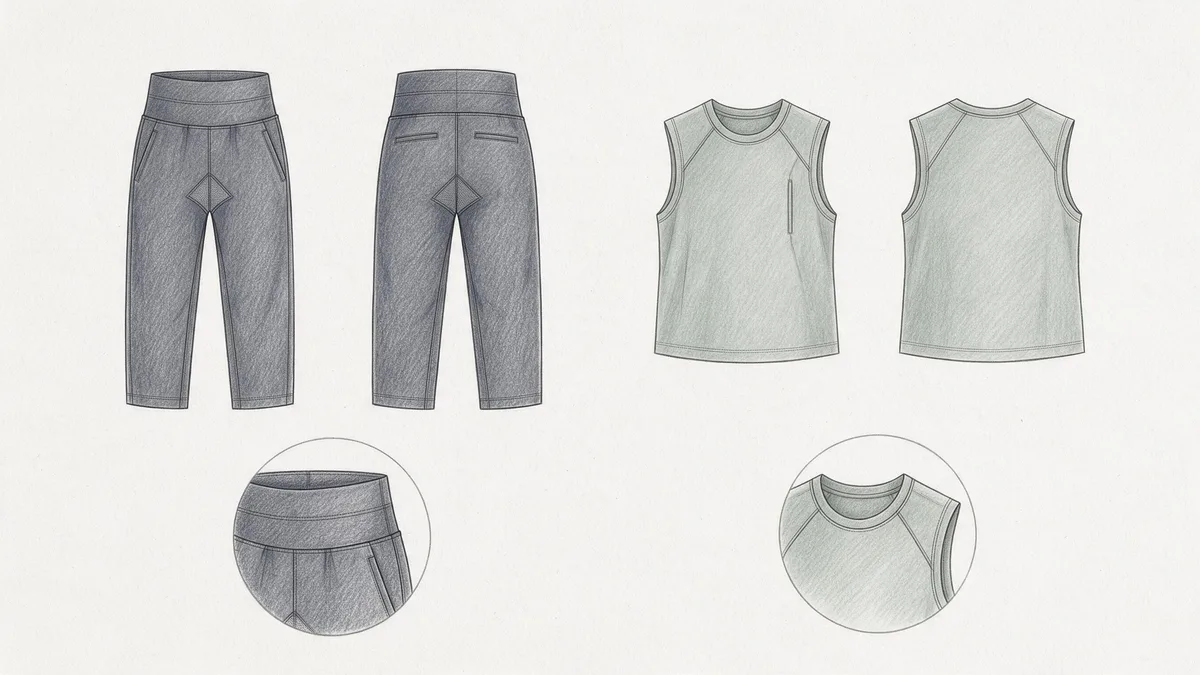
Review Seams, Recovery and Laundering
Inspect construction and post-care changes separately, using agreed conditions instead of treating a quick pull or one wash as proof of performance.
Inspect the Inside as Well as the Outside
Turn the sample inside out. Inspect the gusset joins, waistband attachment, inner leg seams, armholes and hems where relevant. Look for visible skipped stitches, loose thread ends, uneven joins, puckering and exposed edges. Check the placement of labels against the intended skin-contact areas.
During the fit review, ask about rubbing or a hard seam edge. Record the exact location. A seam name or clean photograph alone does not establish comfort or durability; avoid approving a construction merely because it is described as “flatlock.”
Separate Stretch from Recovery
How far a material extends and how it returns toward its original shape are different questions. For a development review, compare the garment before and after the agreed wear activity, noting persistent bagging or distortion and when the observation was made.
For numerical claims, ask the laboratory to select a suitable method and document the specimen, direction, load or extension, cycles and recovery period. Do not compare results from unlike conditions as if they were interchangeable. SGS describes performance verification at the fabric, fabric-system and finished-garment levels; choose the level that matches the claim you need to support. SGS: Comfort & Performance Wear.
Repeat the Review After Agreed Care
Agree on the care procedure before reviewing wash performance. Record the washing and drying conditions and number of cycles. Measure the same points before and after care, under the same agreed measurement conditions, and inspect seams, surface appearance, trims and labels again.
AATCC TM150 addresses garment dimensional changes after home laundering, but its published scope warns that it may not suit some stretch fabrics. Ask the laboratory which method fits your sample rather than automatically requesting TM150 for every activewear style. AATCC TM150 scope.
Do not quietly change the care procedure between revisions. If the proposed care label changes, record that decision and decide whether the sample needs another review under the revised instructions.
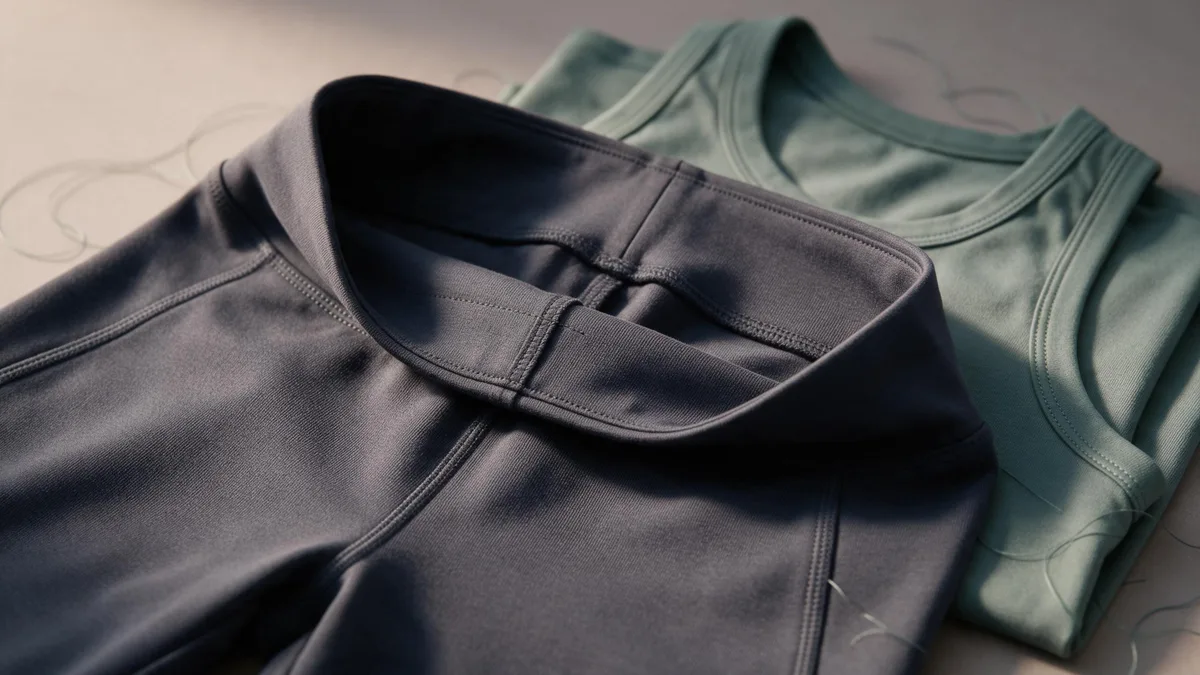
Turn Findings into a Sample Revision Brief
Send one clear issue per row, with its location, observation, evidence and requested next step; keep approval limits visible.
Write One Actionable Issue per Row
“Improve quality” gives the sample team little to work with. A useful row tells them what you observed and what you need them to investigate or change. Separate the observation from your suggested solution.
The entries below are illustrative feedback examples, not GoVoloom test results or customer records:
| Area | Observation | Evidence to attach | Requested next step |
|---|---|---|---|
| Front waistband | Upper edge folds during the agreed bend movement | Side-view photo and sample revision | Review construction and fit; explain proposed change |
| Inner gusset join | Wearer reports a rough contact point | Marked close-up of the specific join | Review seam finish and confirm the revised construction |
| Leg opening | Post-care measurement differs from the agreed specification | Before/after measurements and care record | Investigate the difference and assess against the agreed tolerance |
Add an owner, response and next-sample verification column. Fill numerical fields only with actual measurements. Keep observations that are still unverified clearly marked as questions.
Use this seven-field note for each issue; the blank fields are for your own observations, not assumed results:
Sample / revision: [style, size, color and revision]
Location: [measurement point or seam position]
Observed issue: [what happened, without guessing the cause]
Review conditions: [activity, care procedure or measurement setup]
Evidence: [marked photo or actual measurement]
Requested action: [question or change for the sample team]
Next review: [owner and what must be checked again]
Keep the Approval Scope Explicit
Write whether the sample is approved for a defined stage, needs revision, or is pending information. “Fit approved; final fabric and care performance pending” is more useful than an unqualified “approved.” Keep a reference sample and the corresponding approved document version.
The clothing sampling process explains how these decisions fit into the wider development sequence. Before authorizing bulk, resolve material substitutions and open comments rather than assuming that approval of an earlier sample covers later changes.
Prepare the Brief for Your Next Sample
Send the sample identity, intended use, current specification and prioritized comments together so the next development step has a clear scope.
Send the Information Needed to Review Changes
Prepare a compact package containing:
- Style code, sample revision, size and color.
- Intended activity and desired fit or coverage.
- Current tech pack and available fabric information.
- Marked photos and the review sheet, with actual measurements where available.
- Agreed performance criteria, care procedure and any relevant laboratory reports.
- The issues to resolve first and the decision needed for the next sample.
For private label activewear development, these records help connect a design idea with pattern, material and construction decisions. Reference images can explain appearance, but cannot replace a measurement specification or performance requirement.
You do not need to invent missing test results to start a discussion. State what is known, what remains open and which decisions need support. Discuss your activewear sample brief with GoVoloom, or send it to sales@govoloom.com.